
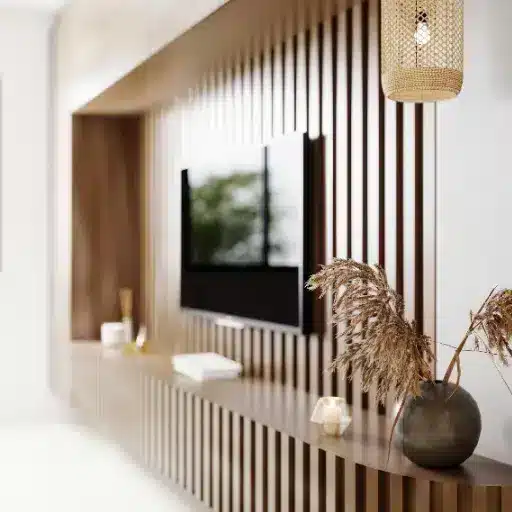
Wood Veneer Panels Maintenance: The Complete Care Playbook for Long-Lasting Wood Interiors
The best way to maintain wood veneer panels is to control humidity first, clean gently second, and repair damage early. Keep relative humidity between 35% and 55%, dust weekly with a dry microfiber cloth, clean with a lightly dampened cloth and pH-neutral cleaner only when needed, and never spray liquid directly onto the surface.
The walnut veneer wall panels in the hotel lobby looked flawless on opening day. Six months later, the facilities manager noticed hairline cracks along the corridor, a dull film near the reception desk where the cleaning crew had been using an all-purpose spray, and a slight bowing where the south-facing windows let in afternoon sun. The humidity monitor would have read 22% on that February morning. All of it was preventable.
Wood veneer panels are not laminated. They are a thin slice of real wood, 0.5 to 1.0 millimeters thick, bonded to an engineered substrate. That means they breathe, expand, contract, fade, scratch, and delaminate in ways synthetic materials do not. Most owners receive a care card with three bullets and no context. The result is premature aging and costly replacement. This guide gives you the complete wood veneer panels maintenance playbook that should have arrived with your panels.
Key Takeaways
- Humidity control matters more than cleaning. Keep relative humidity at 35-55% RH. A $15 hygrometer prevents more damage than any wood cleaner.
- Never spray liquid directly on veneer. Always mist the cloth first. Liquid seeping into seams causes delamination.
- Match maintenance to your finish type. Oil/wax finishes need quarterly reapplication. Lacquer and UV-cured finishes need almost none.
- Repair scratches early. Superficial scuffs respond to touch-up markers. Deep gouges need hard wax repair. Delamination needs the iron method.
- UV protection is non-negotiable for south-facing walls. Unprotected veneer shows measurable fading within 6-12 months.
Why Wood Veneer Panels Need Specialized Maintenance
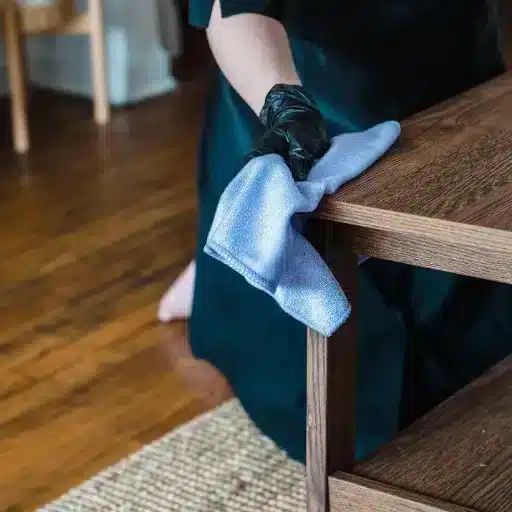
Veneer is thin and hygroscopic. At 0.5 to 1.0 millimeters, the wood face absorbs and releases moisture rapidly. The substrate beneath it expands and contracts at a different rate, stressing the glue bond with every seasonal shift.
Architectural panels face harsher conditions than furniture. They live on walls exposed to direct sunlight, HVAC drafts, high-traffic contact, and cleaning crews armed with all-purpose sprays. A lobby wall panel gets bumped by luggage, wiped with ammonia-based cleaner, and blasted by a heating vent six inches away.
The cost difference is stark. Replacing a single 4-by-8-foot walnut veneer wall panel costs roughly $800 to $1,500, including labor and finish matching. Maintaining it properly costs about $40 per year in supplies and a $15 hygrometer.
The Cost of Neglect
James, a facilities director for a boutique hotel chain in Denver, inherited a 2019 renovation with rift-sawn oak veneer panels throughout the guest corridors. By 2024, the panels near the elevator banks were cupped and cracked. The building’s HVAC system dried the corridors to 18% RH in winter. The repair quote came in at $47,000. A $200 humidifier system would have prevented it entirely.
Warranty Reality Check
Most veneer panel warranties cover manufacturing defects. They rarely cover environmental damage. Cracking from low humidity, swelling from moisture, and fading from UV are almost always excluded. The warranty protects you from a bad panel. It does not protect you from bad maintenance.
If you want a broader primer on how veneer panels are built before diving into care protocols, start with our complete guide to wood veneer panels, then return here for the maintenance detail.
Daily and Periodic Cleaning for Wood Veneer Panels Maintenance
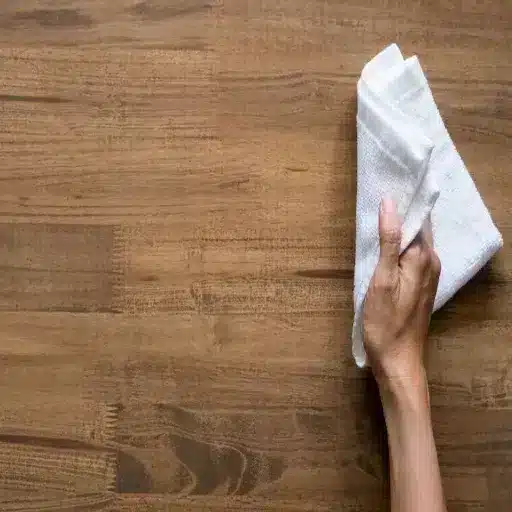
The golden rule of wood veneer panel maintenance is simple. Never spray liquid directly onto the veneer surface. Always mist the cloth first. Liquid pooling at seams penetrates the substrate, weakens the adhesive, and causes the veneer face to lift.
The Right Routine
Daily or twice weekly: Dust with a soft, lint-free microfiber cloth. Follow the grain direction. Microfiber traps particles without scratching. A feather duster just moves dust around. A dry paper towel can leave micro-abrasions.
Weekly or as needed: Dampen a microfiber cloth with water or a mild dish soap solution — one drop of soap per cup of water. Wring the cloth until it is barely damp. Wipe with the grain. Dry immediately with a clean, dry cloth.
Monthly: Inspect for new scratches, check humidity levels, and dust hard-to-reach areas.
Safe Cleaning Products
| Product | Best For | Notes |
|---|---|---|
| pH-neutral wood cleaner | General veneer panel cleaning | Safer than alkaline or acidic alternatives |
| Mild dish soap (diluted) | Routine damp cleaning | One drop per cup of water |
| Murphy Oil Soap (diluted 1:10) | Heavier soiling on oil-finished panels | Reduce concentration for thin veneer |
| Distilled water | All damp cleaning | Avoids mineral deposits from tap water |
Products to Avoid
These products damage veneer in specific ways:
- Ammonia-based cleaners break down lacquer and polyurethane, causing clouding.
- Silicone-based polishes create buildup on lacquered surfaces, requiring professional stripping.
- Bleach and harsh chemicals strip color and weaken adhesive.
- Abrasive scrubbers and Magic Erasers cut through 0.5-millimeter veneer in seconds.
- Steam cleaners penetrate the substrate and cause delamination.
- Vinegar, as a regular cleaner, has a pH of roughly 2.5. Regular use etches finishes.
The Microfiber Rule
The cloth matters more than the product. A high-quality microfiber cloth removes 99% of surface bacteria with water alone. It traps dust particles rather than pushing them across the delicate veneer face. Invest in dedicated microfiber cloths for your panels and wash them separately from towels that might pick up abrasive debris.
Humidity and Temperature Control: The Hidden Killer
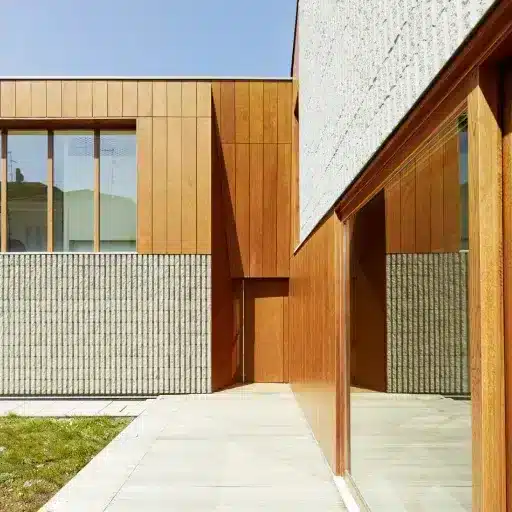
If you remember one thing from this guide, remember this. Humidity control is more important than cleaning. A perfectly clean panel at 20% relative humidity will crack. A dusty panel at 50% relative humidity will survive.
The Optimal Range
The consensus across furniture manufacturers, veneer suppliers, and conservation experts is clear. Maintain relative humidity between 35% and 55%. The ideal temperature range is 65 to 75 degrees Fahrenheit (18 to 24 degrees Celsius).
What Happens When It Is Too Dry
Below 30% relative humidity, wood cells shrink. The veneer face contracts faster than the substrate. The result is hairline cracks, loosening joints, and finish crazing. In extreme cases, the veneer separates from the substrate entirely.
What Happens When It Is Too Humid
Above 60 to 65% relative humidity, wood swells. The substrate expands, stressing the glue bond. The veneer buckles or bubbles. Prolonged humidity above 70% invites mold and insect infestation.
Environmental Controls That Work
Monitor continuously. A digital hygrometer costs $10 to $20. Place one in every room with significant veneer panel coverage. Check it weekly.
Humidify in dry months. In heated buildings during winter, relative humidity often drops below 20%. A whole-room or HVAC-integrated humidifier brings it back into range. For small spaces, a desktop ultrasonic humidifier works.
Dehumidify in wet climates. In tropical or coastal environments, a dehumidifier prevents the swelling and mold that ruin panels.
Maintain clearance from heat sources. Keep panels at least 12 inches from radiators, HVAC vents, fireplaces, and direct heat lamps. Localized drying causes cracks even when the room humidity is acceptable.
Acclimation Before Installation
New panels need 24 to 48 hours in their final environment before installation. This allows the veneer and substrate to reach equilibrium moisture content with the room. Skipping acclimation is a common cause of post-installation warping and joint failure. For a step-by-step guide to proper installation, see our article on wood veneer panel installation.
Scratch and Damage Repair: From Scuffs to Delamination
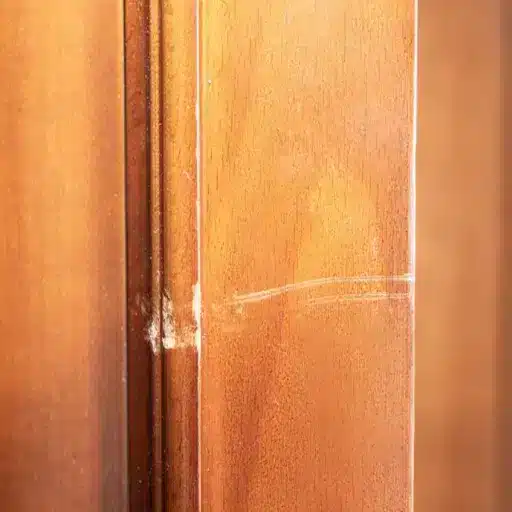
Damage happens. The question is whether you catch it early and fix it correctly, or let it progress until replacement is the only option.
Superficial Scratches
Light scuffs that have not broken through the finish respond to simple treatments. Rub a raw walnut over shallow scratches — the natural oils fill minor gaps. Alternatively, use a furniture touch-up marker matched to the wood tone. Wax fill sticks in various wood colors also work for quick concealment.
Moderate Scratches
Scratches that have damaged the finish but not exposed the substrate need more attention. Apply Howard Restor-A-Finish with 0000 steel wool, working with the grain. It cleans and blends the damaged area without requiring full refinishing. For less staining, Howard Feed-N-Wax nourishes and protects the veneer.
Deep Scratches and Gouges
When the scratch cuts through the veneer into the substrate, you need a structural repair. The hard wax repair method works best: choose a wax fill stick slightly lighter than the wood tone, melt it into the scratch with a heat tool, add darker wax drops to match the grain, smooth flush, and remove excess with an abrasive pad working with the grain.
For larger gouges, use stainable wood filler. Apply with a putty knife, sand smooth with 320-grit paper when dry, stain to match, and seal with a protective coating.
Indentations
Dents without a broken finish can often be steamed out. Spray distilled water on the area, cover with a clean cloth, and apply a warm iron in small circular motions. The steam swells compressed wood fibers. Warning: this can loosen poorly glued veneer. Test on an inconspicuous area first.
Delamination Repair
When the veneer lifts or bubbles away from the substrate, you have delamination. Two methods fix it depending on the severity.
Iron method for small bubbles: Place a damp cloth over the bubbling spot, press with a medium-hot iron for 10 to 15 seconds, then press the veneer down with a smooth block and hold until cool. The heat reactivates the original adhesive.
Heat gun method for larger areas: Apply gentle heat to loosen old glue, lift the edge carefully, inject new wood glue with a syringe, press the veneer back down, and clamp overnight.
Sanding Veneer
Sanding requires extreme caution. Veneer is only 0.5 to 1.0 millimeters thick. Start with 320-grit paper or finer, always with the grain. Excessive sanding exposes the substrate. When in doubt, use 0000 steel wool for minimal abrasion.
When to Call a Professional
Call a refinisher when damage covers more than 10% of a panel, when multiple panels are affected, or when panels are historic or high-value. Also call when damage involves structural issues like substrate warping or widespread delamination.
UV Protection and Fading Prevention
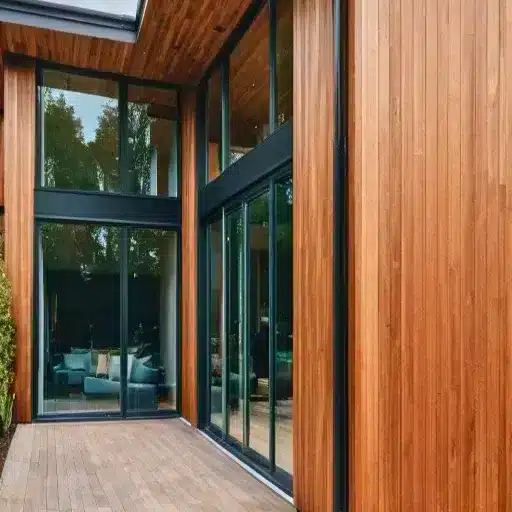
South-facing walls and atriums are the highest-risk zones for veneer fading. Wood contains lignin, a polymer that breaks down under ultraviolet light. The result is a gradual color shift that makes replacement panels impossible to match.
Window Films and Tints
UV-blocking window films are the most effective defense. Spectrally selective films block 99% of UV radiation while allowing visible light through. They cost $5 to $12 per square foot installed. Compared to panel replacement at $800 to $1,500 per sheet, the film pays for itself if it prevents even one instance of fading.
Shading Strategies
Blinds, drapes, and exterior overhangs reduce direct sun exposure. Landscaping with deciduous trees provides summer shade while allowing winter sun.
Finish Choices That Resist Fading
UV-cured lacquers and pigmented stains offer more fading resistance than natural clear finishes. If your project has significant sun exposure, specify a UV-resistant topcoat during fabrication.
Monitoring Fading
Take reference photos of panels at installation and compare annually. Early intervention with window film or shading prevents the need for replacement.
Finish-Specific Maintenance Protocols
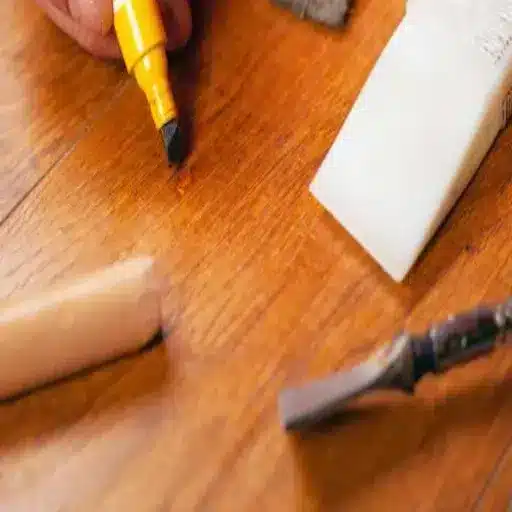
Not all veneer panels are finished the same way. Matching your maintenance routine to the finish type prevents half the problems that send facilities managers searching for repair quotes.
| Finish Type | Cleaning Method | Reapplication Schedule | Products to Avoid | Best For |
|---|---|---|---|---|
| Oil/Wax | Dry or lightly damp cloth | Paste wax or oil: quarterly | Silicone polishes, ammonia | Residential, low-traffic |
| Lacquer/Polyurethane | Damp cloth + mild soap | None (refinish when worn) | Waxes, silicone, and abrasives | Commercial, high-traffic |
| UV-Cured | Damp microfiber + pH-neutral cleaner | Minimal maintenance | Harsh solvents, abrasives | Healthcare, hospitality |
| Unfinished | Keep clean and dry only | Seal immediately | All liquids, all cleaners | Temporary/warehouse only |
Oil and Wax Finishes
Oil and wax finishes penetrate the wood and need regular replenishment. Reapply paste wax or furniture oil every three to four months in commercial settings, every six months in residential spaces. Without reapplication, the wood dries out and becomes susceptible to staining.
Lacquer and Polyurethane Finishes
These film-building finishes create a hard topcoat that needs no ongoing reapplication. Clean with a damp cloth and mild soap. Never apply wax over lacquer — the wax creates a cloudy buildup that requires professional stripping.
Hardwax-Oil Finishes
Hardwax oil combines the penetration of oil with the durability of wax. It repairs locally — you can re-oil a scratched area without refinishing the whole panel. Reapply every three to four months in high-traffic commercial spaces.
When to Refinish vs. Replace
Refinishing makes sense when the veneer face is intact, but the finish is worn. It costs 30% to 50% less than replacement. Replace when the veneer is cracked, delaminated over large areas, or faded beyond matching. If damage covers less than 15% of the panel and the veneer is structurally sound, refinish. If damage exceeds 25% or involves substrate failure, replace.
Commercial vs. Residential Maintenance Schedules
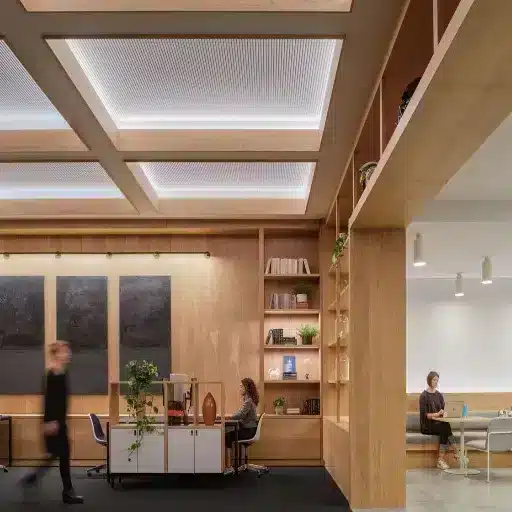
A hotel lobby and a home office need different maintenance intensity. Traffic, cleaning crew schedules, and HVAC system scale all affect how often you need to intervene.
High-Traffic Commercial: Hotels, Airports, Retail
- Daily: Dust high-touch panels with a microfiber cloth.
- Weekly: Damp-clean visible panels. Inspect for damage.
- Monthly: Check humidity. Touch up minor scratches.
- Quarterly: Professional deep clean. Reapply protective coating where needed. Inspect UV film on south-facing windows.
- Annually: Full condition assessment. Refinish or replace worn panels.
Office and Corporate
- Weekly: Dust all panels. Damp-clean high-traffic areas.
- Bi-weekly: Damp-clean all visible panels.
- Monthly: Inspect for damage. Check humidity.
- Semi-annually: Professional deep clean.
Residential
- Weekly: Dust with a microfiber cloth.
- Monthly: Damp-clean as needed. Inspect for damage.
- Quarterly: Check humidity. Oil or wax, if applicable.
- Annually: Deep clean. Assess the finish condition.
Kitchen cabinets see more moisture and temperature swings than most residential applications. For cabinet-specific care, see our guide to wood veneer panels for kitchen cabinets.
Healthcare and Hospitality Considerations
Healthcare settings require infection-control-compatible cleaning products. Some disinfectants contain alcohol or bleach that damages the veneer. Always verify cleaner compatibility with the finish manufacturer. In hospitality, prioritize guest-facing areas like lobbies and corridors.
Common Maintenance Mistakes That Ruin Veneer Panels
These errors show up on nearly every maintenance consultation we run. Watch for them in your own facility.
- Using all-purpose cleaners with ammonia or bleach. They strip finish and weaken the adhesive. Use pH-neutral products only.
- Spraying liquid directly on the surface. It pools at seams and causes delamination. Mist the cloth, not the panel.
- Ignoring humidity levels. This is the single most common cause of cracking and warping. Buy a hygrometer.
- Placing panels within 12 inches of heat sources. Radiators and vents create localized dry zones that crack veneer.
- Using steam cleaners. Moisture penetrates the substrate and causes the face to lift. Never use steam on veneer.
- Skipping acclimation before installation. Panels installed without acclimation warp within weeks.
- Waxing lacquered surfaces. Wax creates a cloudy buildup that requires professional removal.
- Ignoring small scratches until they become deep gouges. A touch-up marker takes 30 seconds. Replacement takes 30 days.
The 20-Year Maintenance Mindset
Wood veneer panels are not install-and-forget. They respond to humidity, temperature, sunlight, touch, and chemistry. Treat them with respect, and they reward you with decades of warmth. Neglect them, and they become a line item in next year’s renovation budget.
The framework is simple. Control the environment first. Clean gently. Repair damage before it spreads. Match maintenance intensity to traffic level. Prevention always costs less than replacement.
Three actions move every wood veneer panels maintenance program forward.
- Install hygrometers and commit to a humidity range. 35% to 55% relative humidity is the target. Humidify in winter. Dehumidify in summer. Check weekly.
- Train your cleaning crew on the right products and methods. pH-neutral cleaner. Microfiber cloths. No spray bottles. No ammonia. No steam.
- Inspect quarterly and repair immediately. Small scratches become deep gouges. Small bubbles become full delamination. Early intervention is the difference between a 10-minute fix and a $1,500 replacement.
VitalWood Global supplies sustainably sourced wood veneer panels with a range of finish options — oil, lacquer, UV-cured, and hardwax oil — each with its own maintenance protocol. Request a maintenance kit with microfiber cloths, pH-neutral cleaner samples, and a humidity monitor, or speak with our team about specifying the right finish for your project’s traffic and environmental conditions. Beautiful wood interiors are not a matter of luck. They are a matter of maintenance.