
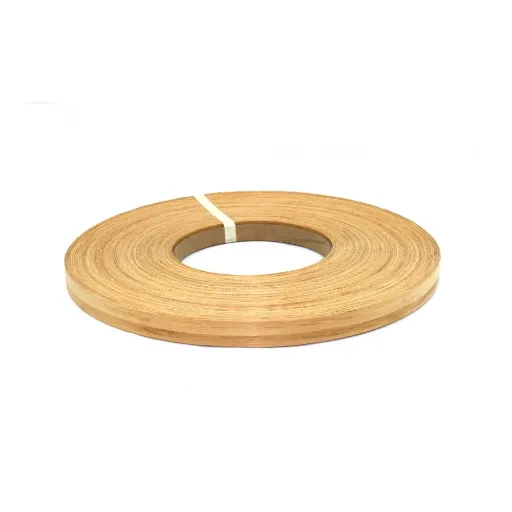
Wood Edge Banding: Hide Plywood Edges Like a Pro
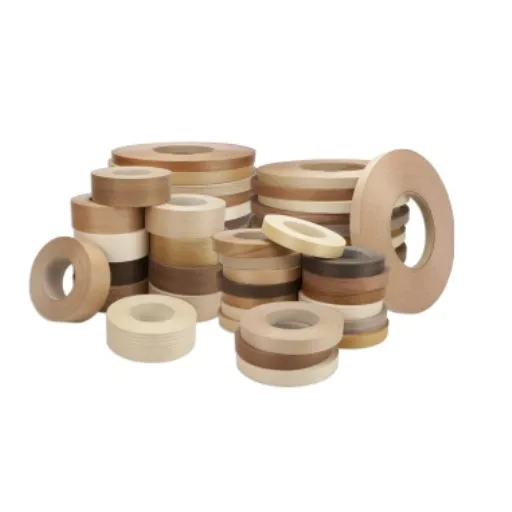
Wood edge banding turns raw plywood into something you’d actually show a client. It’s real wood veneer tape—oak, birch, maple—laid tight along exposed edges so nobody sees the layered core or feels the roughness under their fingers.
Real Wood vs Plastic: Why It Matters
Nobody spots a cheap job faster than exposed plywood edges. Wood edge banding uses real veneer to blend seamlessly with your panels; plastic just sits there, pretending to be wood.
PVC edge banding quick reality check
PVC edge banding is tough as nails. It shrugs off kitchen spills, resists cleaners that would eat wood alive, and comes in perfect color‑matched profiles for high‑volume runs like student housing or office desks. You can machine‑glue it fast, trim it clean, and forget it for a decade. At 0.45 mm thick, it barely adds bulk, and the flexibility means it wraps radiused corners without cracking.
But up close, it telegraphs. Run your finger along a PVC‑banded shelf after a year, and you feel the seam. Under raking light, the texture doesn’t quite match plywood or veneer faces—it’s too uniform, too shiny. Fine for hidden drawers or back‑of‑house. Less so on a dining table where hands rest.
When wood banding wins every time
Wood edge banding belongs where touch and light matter. On a walnut‑veneered credenza, real walnut tape along the top edge makes the whole piece read as solid lumber from five paces; PVC would scream “composite” no matter the print. It sands, stains, and finishes exactly like the face veneer, so color shifts with age happen together, not one strip fading faster than the field.
You’d notice this most in residential or hospitality—anywhere people linger, lean, or graze surfaces with their eyes. A 23 mm shelf front banded in matching oak flows visually into the end grain; plastic breaks the spell. Plus, it repairs like wood: sand a chip, restain, done. PVC gouges need full replacement. So yeah, wood costs more upfront. But the job looks intentional forever.
3 Thickness Choices That Change Everything
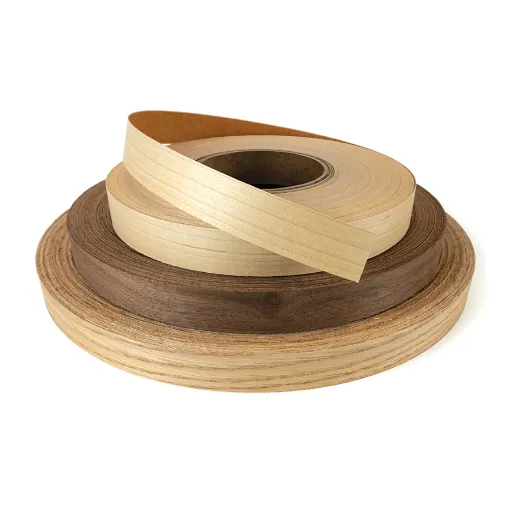
Thickness in wood edge banding isn’t just a spec—it dictates feel, durability, and whether your project looks cheap or custom. Pick wrong, and you’re fighting bubbles, chips, or a flimsy edge forever.
Standard 1 mm is the workhorse. Matches 18–19 mm plywood or MDF perfectly after trim, gives enough meat for sanding and finishing without telegraphing the core layers underneath. You see it on 90% of kitchen cabinets and office desks—robust enough for daily bangs, sands flat to match veneered faces. A 23 mm wide roll leaves just enough overhang for clean flush trimming on a router table.
But step down to 0.5 mm, and you’re in delicate territory. Barely adds bulk, ideal for thin shelves or when you want the edge to “disappear” visually against a painted panel. It wraps tight curves—like a 50 mm radius on a kids’ table—without cracking, and takes stain like the face veneer it matches. Too fragile for heavy traffic, though; one good knock near a door edge and you’re patching.
Scale up to 2–3 mm for premium or high‑abuse jobs. This is where wood edge banding starts mimicking solid stock—think beefy conference tabletops or hotel nightstands that take real handling. The extra thickness resists denting from luggage corners or vacuum wands, and you can ease or chamfer post‑glue without burning through. On a 38 mm thick shop counter, 3 mm oak banding flows like the real thing; anything thinner looks like trim tacked on.
You’d notice thickness most at hand height. Thin tape feels “right” on light furniture. Thicker bands signal quality where people touch and scrutinize. Match it to your panel and use case—1 mm covers most sins, but don’t skimp where edges take punishment.
Glue‑Up Without Tears (or Machines)
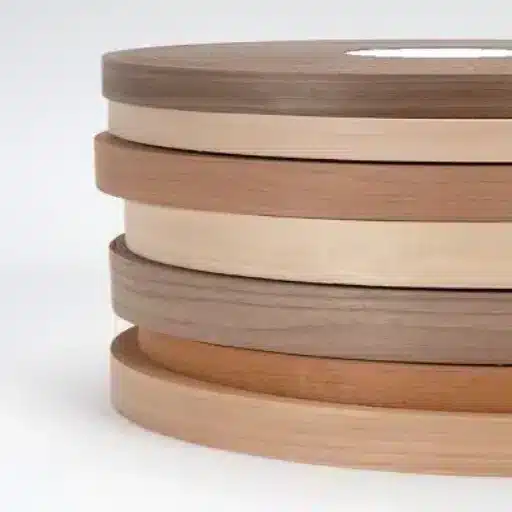
You don’t need a $5,000 edge bander to get pro results with wood edge banding. A household iron, sharp blade, and patience beat factory lines for one‑offs or small runs.
Hand iron tricks for clean results
Set your iron to cotton—no steam. Lay the pre‑glued tape with a 1–2 mm overhang top and bottom, then glide slow and firm along the edge, letting the hot melt glue liquify fully before moving. Pause 3–5 seconds at ends to wick heat into corners. You’ll smell the glue working; that’s when it’s ready.
Roll immediately after. A silicone roller or wooden block at 45 degrees squeezes glue into the plywood fibers and pops air bubbles you’d never see until finishing. On a 1.2 meter shelf edge, two passes front and back lock it down tighter than clamps. Let it cool 10 minutes—no cheating—then trim flush.
What kills adhesion every time
Dust. A single grit particle under the tape creates a football‑shaped delam a month later when humidity shifts. Wipe edges with 99% isopropyl right before ironing; no substitutes.
Cold glue lines. If the iron’s too cool or you rush, the adhesive doesn’t fully melt—think half‑set Jell‑O holding the edge. Test on scrap: glue should string when you lift the tape, not sit solid.
Oily substrates. Fresh plywood sometimes carries mill residue; one drop of mineral spirits degreases the whole run. Skip this on melamine or sealed edges—they need primer instead.
Uneven pressure. Tape bridges high spots and lifts in valleys, so roll until your thumb can’t dent it. You’d notice loose spots first under hand pressure, long before they peel. Fix with a hot iron touch‑up before trimming. Patience here saves rework.
Matching Species to Your Project
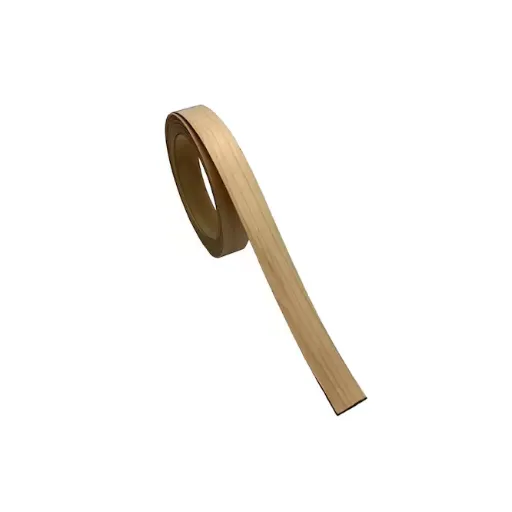
Wood edge banding only works when it disappears into the face veneer or surface it’s protecting. Mismatch the species, and your perfect plywood panel suddenly looks like a kit from the hardware store.
Oak is the safe default. Red or white oak banding pairs with oak veneer faces or solids, blending grain direction so a cabinet end looks like one continuous board. Its cathedral patterns hide minor alignment slips, and it stains predictably to dial in exact color matches. On a 1.8-meter island front, oak tape keeps the whole edge reading uniform even under kitchen fluorescents.
Maple and birch go clean and modern. Pale tones suit painted or light‑stained projects—think Scandi shelving or white lacquer buffets. Maple’s fine, even grain sands invisibly into birch plywood edges; you’d notice zero transition on a console table. Birch works the same way but picks up warmer undertones as it ages.
For drama, walnut or cherry. Deep chocolate walnut banding elevates grey‑toned modern millwork or contrasts nicely against lighter maple faces. Cherry starts pinkish, matures rich, so it tracks aging on heirloom dining tables. Both demand precise species alignment since color swings hard between heart and sap wood.
Match cut, too. Quarter‑sawn banding on rift‑cut panels keeps grain lines straight; plain sliced on plain sliced flows cathedral to cathedral. Test a sample glued to scrap under your finish. If it doesn’t fool you at arm’s length, swap species. That’s the only way it reads right.
Common Disasters and How to Skip Them
Wood edge banding fails fast when you rush corners—literally. Ninety percent of callbacks trace to three dumb mistakes anyone can dodge with a minute’s prep.
Chips and splinters at trim time. You iron the tape perfect, then hack at it with a dull blade and half the edge fractures like stepping on thin ice. Use a fresh single‑bevel knife or zero‑clearance flush trim bit, scoring the overhang lightly before cutting. On a 2.4 meter run of cabinet doors, that single pass leaves glass‑clean lines; dull tools leave you sanding glue and fibers for hours.
Bubbles and blisters mid‑project. Air pockets form when glue doesn’t melt evenly or the substrate’s greasy—suddenly your oak banding looks like it’s floating over the plywood edge. Roll hard immediately after ironing, two firm passes with a silicone roller, and watch trapped air squeeze out like toothpaste from a tube. If you see a bubble later, hit it with a hot iron tip for 4 seconds, roll again. Gone.
Peeling after months. This killer shows up when humidity swings hit unsealed end grain or weak initial adhesion. Standard pre‑glued tape hates plywood edges with mill oil; wipe with mineral spirits first, let flash off. Seal trimmed edges top and bottom with three thin shellac or sanding sealer coats before final assembly—you’d notice the difference in a steamy kitchen after one winter. Unprotected banding curls like wet paper.
Color mismatch disasters. Species close on the spool look worlds apart under finish. That “matching” maple banding goes brassy yellow while your birch face stays pale; test glue‑ups on scrap, spray your full finish schedule, and compare at arm’s length under shop lights. Swap rolls if it pulls focus. Clients spot tonal jumps before they notice joinery.
Tape twisting on curves. Tight bends kink the grain or lift ends unless you go slow. For a 75 mm radius table apron, heat the iron hotter, work 50 mm sections, and over‑roll each one before moving. Straight edges? No drama. Curves demand patience or you’re picking fibers out of glue for days.
Frequently Asked Questions (FAQ)
-
Does wood edge banding work on curved cabinet doors?
Yes, but pick tape under 1 mm thick and pre‑heat each 75 mm section with your iron. It wraps a 60 mm radius table leg smoothly without kinking, unlike thicker rolls that snap or lift. Roll firmly right after to squeeze glue into the curve—expect minor sanding to blend the grain direction seamlessly. -
Why is my wood edge banding peeling off the plywood?
Usually mill oils or cold glue. Wipe edges with mineral spirits, then iron slow until you smell adhesive melting fully. On a 1.8 m kitchen base run, this locks it permanently; skip it and humidity pops the tape after two months near the sink. -
Can I stain wood edge banding to match my oak veneer?
Totally. Sand lightly after trimming, then hit it with the same dye or oil as your panels. For a walnut console edge, two coats of General Finishes dye brings the banding dead even with the face—no visible seam under dining room lamps. -
What’s better for kitchens—wood or PVC edge banding?
Wood if you want premium feel and refinishing option; PVC for bulletproof spill resistance. A 23 mm oak banded island takes daily wipes fine if sealed top/bottom, but PVC shrugs off curry spills on rental units where tenants don’t care. -
How do I cut wood edge banding without chipping?
Score the overhang first with a fresh utility knife at 45 degrees, then shear flush. On 18 mm birch plywood shelves, this leaves razor edges; blunt blades splinter fibers you’ll sand forever trying to hide.
References
-
Architectural Woodwork Institute (AWI). (2024). A Guide to Wood Veneers and Edge Treatments. https://awiqcp.org/a-guide-to-wood-veneers/
-
APA – The Engineered Wood Association. (n.d.). Plywood Edge Banding and Finishing Specifications. https://www.apawood.org/plywood
-
Woodworkers Guild of America (WWGOA). (2016). Solutions for Gluing Edge Banding with Hand Tools. https://www.wwgoa.com/video/solutions-for-gluing-on-edge-banding-with-clamps-012797
-
AWI Quality Certification Program. (2022). Specifying Architectural Wood Edge Banding. https://awiqcp.org/news-and-blog/how-to-specify-architectural-wood-veneer/
-
The Wood Database. (n.d.). Wood Veneer and Edge Banding Species Characteristics. https://www.wood-database.com/