
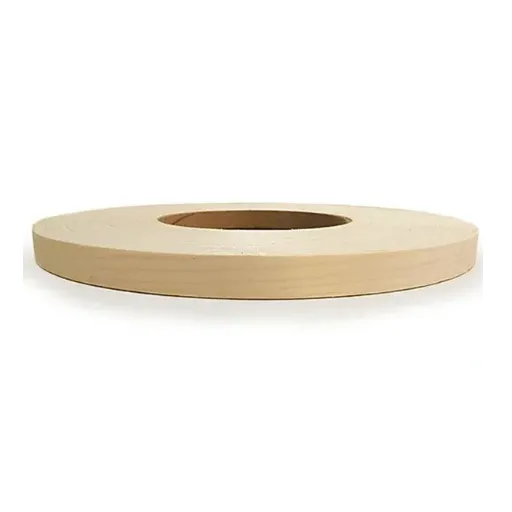
Pre-glued Edge Banding: What It Is, How It Works, and When to Use It
Pre-glued Edge Banding is one of those small workshop materials that can save a surprising amount of time when you’re finishing plywood, MDF, or other panel edges. It’s simple on the surface, but the difference between a clean, lasting result and a frustrating one usually comes down to how well you choose it and apply it.
What exactly is pre-glued edge banding?
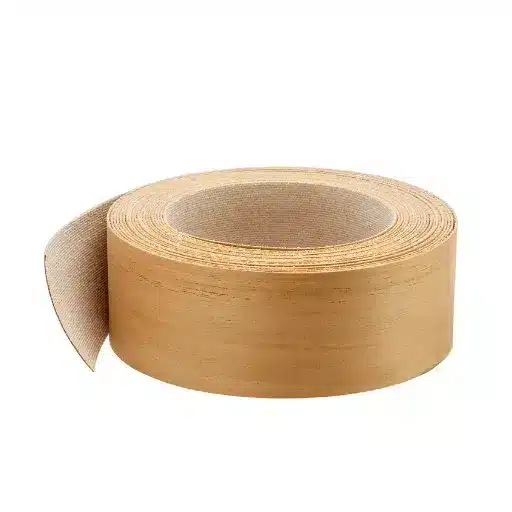
Pre-glued edge banding is a ready-to-apply strip used to cover the raw edge of plywood, MDF, or particleboard. The glue is already on the back, so you heat it, press it in place, and trim the excess. Simple idea. Very handy.
It’s usually made from wood veneer, though you’ll also see melamine and PVC versions depending on the job. The veneer type is the one that feels most natural on furniture and cabinets, because once it’s trimmed and finished, it blends in instead of shouting “cover-up.” That’s the whole point, really: give a clean edge without dragging out a glue pot or getting too fussy over a small run of parts.
Think of it like the quick, tidy cousin of traditional edge banding. It’s not meant for every situation, but for a lot of shop work, it gets the job done fast and clean.
Why woodworkers use it
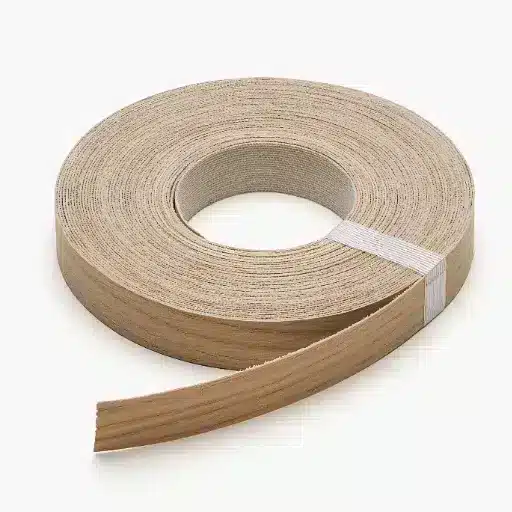
Pre-glued edge banding earns its place in the shop because it keeps a small job from turning into a whole setup. If you’re just cleaning up a shelf edge, a drawer part, or a few cabinet panels, it feels a bit like using a sharp utility knife instead of setting up a full saw station.
Fast application on small jobs
For one-off pieces, speed matters. You heat the strip, press it on, trim the overhang, and move on.
That’s the appeal. No mixing glue, no waiting around for open time, no juggling clamps while the adhesive decides whether it wants to cooperate.
It’s especially handy when the workpiece count is low and the task is repetitive. A dozen shelf edges, maybe a couple of cabinet sides, and you can see the time savings right away.
Clean results without a glue pot
A glue pot is great when you need volume, but not every project deserves that kind of ritual. Pre-glued Edge Banding gives you a cleaner, more controlled workflow, and that matters when you want a neat edge without extra mess.
There’s less chance of a squeeze-out, and less cleanup after the fact. You’re not scraping dried glue off your fingers or chasing blobs around a finished panel.
Still, the result depends on good pressure and decent heat. The material does the easy part; the craft shows up in the details.
Where it tends to save time
It saves the most time in small batches, repair work, and shop tasks where setup would take longer than the actual application. If you’ve only got a few edges to finish, pre-glued banding is the shortcut that doesn’t feel like a shortcut once it’s trimmed flush.
You also notice the difference when the job is part of a larger build, and you’re trying to keep momentum. No interruption, no waiting, no second system to manage. Just move from panel prep to finish and keep going.
Why woodworkers use it
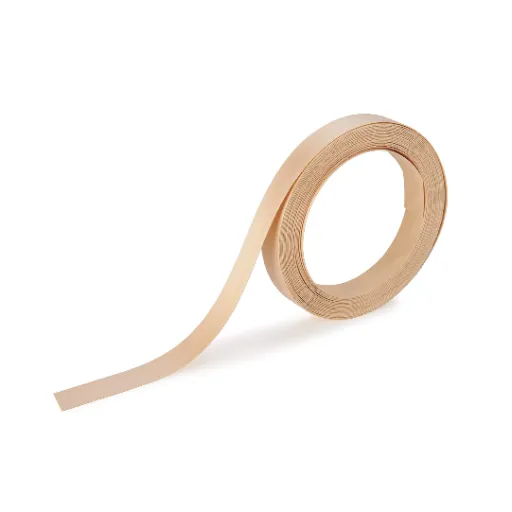
Pre-glued edge banding earns its place in the shop because it keeps a small job from turning into a whole setup. If you’re just cleaning up a shelf edge, a drawer part, or a few cabinet panels, it feels a bit like using a sharp utility knife instead of setting up a full saw station.
Fast application on small jobs
For one-off pieces, speed matters. You heat the strip, press it on, trim the overhang, and move on.
That’s the appeal. No mixing glue, no waiting around for open time, no juggling clamps while the adhesive decides whether it wants to cooperate.
It’s especially handy when the workpiece count is low and the task is repetitive. A dozen shelf edges, maybe a couple of cabinet sides, and you can see the time savings right away.
Clean results without a glue pot
A glue pot is great when you need volume, but not every project deserves that kind of ritual. Pre-glued Edge Banding gives you a cleaner, more controlled workflow, and that matters when you want a neat edge without extra mess.
There’s less chance of a squeeze-out, and less cleanup after the fact. You’re not scraping dried glue off your fingers or chasing blobs around a finished panel.
Still, the result depends on good pressure and decent heat. The material does the easy part; the craft shows up in the details.
Where it tends to save time
It saves the most time in small batches, repair work, and shop tasks where setup would take longer than the actual application. If you’ve only got a few edges to finish, pre-glued banding is the shortcut that doesn’t feel like a shortcut once it’s trimmed flush.
You also notice the difference when the job is part of a larger build, and you’re trying to keep momentum. No interruption, no waiting, no second system to manage. Just move from panel prep to finish and keep going.
Is it the right choice for your project?
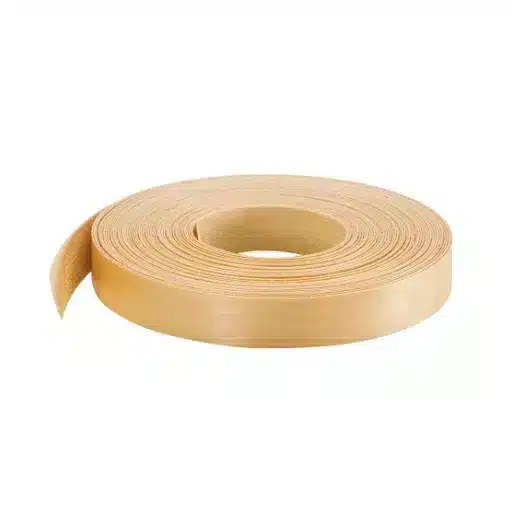
Pre-glued Edge Banding is a strong fit when the job is straightforward and the edge is doing normal work. It makes sense on cabinets, shelving, drawer parts, and repair jobs where you want a clean finish without setting up a more complicated adhesive system.
Straight edges vs. curves
It performs best on straight runs and gentle shapes. A long cabinet side or a simple shelf edge is right in its comfort zone, where the strip can sit flat and bond evenly.
Curves are a different story. Tight bends can fight the material, especially if the banding is thicker or the radius gets small enough that the strip wants to lift on the inside edge.
You can sometimes coax it around a mild curve, but that’s more of a careful workaround than the ideal use case. If the shape is pronounced, another type of edge banding usually gives you a cleaner result with less frustration.
Cabinet work, shelving, and repairs
Cabinet work is probably where pre-glued banding shows up most often. It’s handy for face frames, panel edges, toe-kick areas, and any part where you need the edge to look finished without turning the project into a production line.
Shelving is another easy win. You trim a shelf, cover the raw front edge, and the piece goes from unfinished to presentable in a few minutes. That’s not glamorous, but it’s exactly the sort of task this material was made for.
It also shines in repairs. If an older cabinet has a chipped or worn edge, pre-glued banding can be a quick way to refresh the look without rebuilding the whole part. A small patch, a little heat, a careful trim — and the repair disappears more than you’d expect.
So, if your project is mostly flat, fairly small, and you care about speed as much as appearance, it’s a very sensible choice. If you’re dealing with tight curves, heavy wear, or a job that needs industrial durability, you may want to look at a different edge-finishing method.
Sizes, materials, and finishes to look for
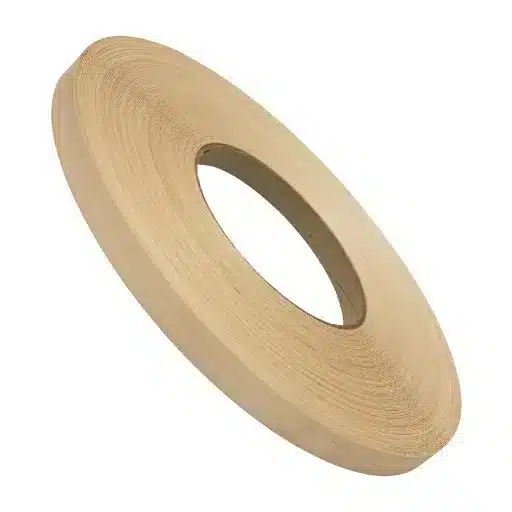
Choosing the right Pre-glued Edge Banding is mostly about matching the material to the job. Some projects want the look of real wood, others need something tougher or more moisture-resistant, and a few just need a quick, clean face on a utility piece.
Veneer, melamine, and PVC options
Veneer is the classic pick when you want the edge to blend into wood panels. It feels the most natural, and once it’s trimmed and finished, it can disappear pretty well on furniture, cabinets, and visible shelving.
Melamine is a practical choice for laminated panels and shop-built pieces. It’s smooth, consistent, and usually the easiest route when you want a crisp manufactured look without trying to fake a wood grain that isn’t there.
PVC sits in a different lane. It’s tougher, more forgiving in rougher environments, and often used when durability matters more than a pure wood look. You’d notice the difference right away if the piece is going to take bumps, moisture, or repeated handling.
Width, thickness, and roll length
Width matters more than people think. Too narrow, and you’re left fighting coverage; too wide, and you create extra trimming work you didn’t need.
Thickness affects both the look and the feel. A thinner strip can disappear nicely on lighter-duty furniture, while a thicker one gives a more substantial edge but may need a steadier hand during trimming and sanding.
Roll length is where planning saves you trouble. A short roll is fine for a few shelves or a repair, but a larger cabinet run can eat material faster than expected, especially if you make a couple of test cuts or waste a few inches on setup. It’s one of those small details that feels unimportant until you’re halfway through a job and short by a foot or two.
Matching color and grain
This is where good work starts to look expensive. With veneer banding, try to match not just the color, but also the grain direction and general figure of the panel so the edge doesn’t read as a separate piece.
Natural wood changes from strip to strip, so a perfect match is rare. Still, you can get close enough that most people would never spot the seam unless they were standing there with their nose a little too near the panel.
For melamine and PVC, matching is more about surface tone and sheen. A slightly off-white edge can stick out fast, and a glossy strip on a matte board looks wrong in a way that’s hard to ignore.
If you’re unsure, compare the banding against the actual board in natural light. Shop lighting can fool you, and the color that looks fine at the bench may look just a bit off once the piece is in the room.
Common problems people run into
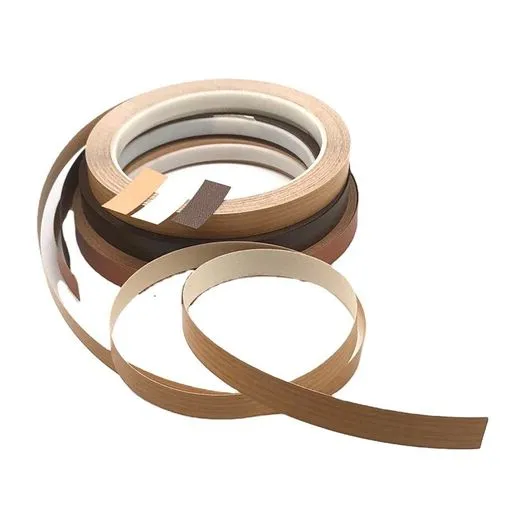
Even when Pre-glued Edge Banding is a simple material, the mistakes tend to be the same: poor prep, uneven heat, and rushing the finish. The good news is that most of these problems are fixable if you catch them early.
Lifting at the edges
Edge lifting usually starts with one of two things: the panel edge wasn’t clean enough, or the adhesive never got enough heat and pressure to fully bond. A dusty surface is enough to cause trouble, and in the long run, you might not notice it until the corner starts peeling back like a loose sticker.
That’s why edge prep matters so much. Wipe the surface down, make sure the board edge is flat, and press firmly while the adhesive is active.
Corners are the usual weak spot. If the strip lifts there, reheat just that area and press it again before it cools.
Burn marks and weak adhesion
Burn marks occur when the heat is too intense or is held in one spot for too long. You’ll see it more on lighter wood tones, where a slightly scorched patch stands out immediately and ruins the clean look you were after.
Weak adhesion is the other side of the same problem. Too little heat, too little pressure, or moving too fast can leave the glue only half-activated, which means the strip feels attached until it doesn’t.
A small iron test on scrap can save you a headache. It sounds simple, but it tells you a lot about how the material responds before you commit to the real piece.
Chipping during trimming
Chipping usually shows up when the trimming tool is dull, the cut is too aggressive, or the substrate edge is brittle. Veneer can be especially unforgiving here, since a rough pass can tear the face and leave a ragged edge that’s hard to hide.
Use a sharp cutter and work with control, not force. Short strokes help, and so does trimming with the grain where possible.
If the edge chips anyway, don’t keep cutting harder. Clean it up gently, sand lightly, and stop before the fix becomes bigger than the original problem.
Frequently Asked Questions (FAQ)
-
Can I use pre-glued edge banding on plywood?
Yes, and that’s one of the most common uses for it. It works especially well on exposed plywood edges where you want a cleaner finish without setting up a glue pot or applying separate adhesive. For a shelf or cabinet side, the key is making sure the edge is smooth and dust-free before you heat and press it down. -
What tools do I need to apply it?
Not many. An iron is usually the main tool, plus a sharp trimmer or utility knife, and a sanding block for cleanup. A small J-roller helps too, especially on a 4-foot cabinet side where even pressure matters. If you’ve ever done one strip with your hand and one with a roller, you’d notice the difference right away. -
Does pre-glued edge banding hold up over time?
It can, if it’s applied properly and used in the right setting. For indoor furniture, shelving, and cabinet work, it usually performs well. A drawer side in a dry room is a pretty normal case. If the piece will face heat, moisture, or heavy wear, though, you may want a stronger edge-finishing option. -
How do I match the banding to my board?
Look at color, grain, and sheen together. A close grain match matters more than people think, especially on visible furniture parts. If you’re matching oak veneer to a cabinet panel, compare it in natural light, not just under workshop bulbs. A strip that looks fine on the bench can stand out once it’s installed. -
Why is my edge banding lifting at the corners?
Corner lift usually means one of two things: the edge wasn’t prepped well, or the adhesive didn’t fully activate. It happens a lot on the last inch of a panel if the pressure drops off too soon. Reheat that spot, press it firmly, and let it cool before trimming again. If the board edge is rough, fix that first.
References
-
Woodshop News Magazine. (2022). Edgebanding basics. https://www.woodshopnews.com/features/edgebanding-basics
-
EdgeBandUSA. (n.d.). Preglued Edgebanding Application Guidelines. https://www.edgebandusa.com/documents/preglued-application-instructions.pdf