
How To Clean Antique Wood Furniture: Preserve The Patina, Protect The Value
How do you clean antique wood furniture safely? Dust first with a soft, lint-free cloth working with the grain, then wipe with a barely damp, well-wrung cloth and a few drops of pH-neutral soap in distilled water, drying each section immediately. Identify the finish before you begin, skip vinegar, ammonia, silicone polishes, and steam, and wax sparingly once or twice a year at most.
Most antique owners do not realize that the most valuable thing on their piece is not the wood or the finish. It is the patina, the soft, glowing history built from decades of oxidation, handling oils, and thin layers of wax. Auction data shows that an antique with intact patina can sell for 20 to 50 percent more than a similar piece that has been over-cleaned, while stripping that patina can erase up to 80 percent of a piece’s value.
That is why cleaning an heirloom feels so risky. The everyday products that shine modern furniture, vinegar, spray polish, a soaking cloth, are exactly the ones designed to destroy the shellac, wax, and oil finishes most genuine antiques wear. The good news: once you understand the finish and follow a gentle, conservation-minded routine, cleaning an antique is simple. The hard part is knowing when to stop.
In this guide, you will learn why patina drives value, how to identify your antique’s finish, the safe cleaning methods that protect the original surface, what to never use, and when to step back and call a professional conservator.
Key Takeaways
- Patina drives antique value: intact patina can boost auction prices 20-50%, while stripping it can cut a piece’s value by 50-80%.
- Always identify the finish first with the denatured-alcohol test; shellac (common on pre-1920s to 1940s furniture) is damaged by water, alcohol, and ammonia.
- Most antiques need only dry dusting with a soft cloth working with the grain; clean wet only when dust is not enough.
- Never use vinegar, lemon, ammonia, silicone polishes, steam, or excess water on antique finishes.
- When in doubt about a valuable or damaged piece, consult a professional conservator rather than experimenting.
Why Patina Is the Real Value: Clean to Preserve, Not Perfect
Patina is not dirt. It is the warm, mellow sheen that develops over generations as oxygen reacts with the finish, as skin oils polish the surface, and as thin coats of wax are laid down and gently buffed. Along with honest surface wear, it is the evidence of a piece’s age and history, and collectors pay a premium for it.
The numbers make the point. Antiques with their patina intact have been reported to fetch 20 to 50 percent more at auction, while stripping or refinishing can reduce a piece’s value by 50 to 80 percent. When Margaret inherited her grandmother’s 1920s mahogany sideboard, she meant well: she wiped it down with a lemon-oil “polish” she trusted for years. Within hours, the surface bloomed milky white. A local appraiser told her the acid had etched the shellac and that the original finish could never be restored, only repaired. The sideboard’s value dropped by thousands.
The principle is simple and worth repeating: clean to preserve, never clean to perfect. An antique should show its age. The goal is to remove dust and grime without removing the finish, the patina, or the character that gives the piece its worth. If a stain is part of the piece’s story, leaving it is often the smarter, more valuable choice.
For the same reason, refinishing is almost never the answer for a genuine antique. Stripping and re-coating destroys the original finish and the patina in one step. Cleaning is always preferable to refinishing, and learning how to clean antique wood furniture without damaging the finish is the skill that protects both the heirloom and its value.
How to Identify the Finish on Antique Wood Furniture First
Before any cleaner touches the wood, you need to know what is protecting it. Different finishes react to products in completely different ways, and the wrong choice can cause permanent damage.
The most reliable test is the denatured-alcohol test. Soak a cotton swab in denatured alcohol and dab it on an inconspicuous spot, such as the underside of a drawer or the back of a leg.
- If the finish softens, turns tacky, or wipes away, it is likely shellac, which was the standard finish on most furniture from the 1800s through the 1940s. Shellac is alcohol-soluble and sensitive to water, heat, and ammonia, so treat it with extreme care.
- If alcohol does not soften it, try lacquer thinner. If that softens it, the finish is lacquer.
- If neither solvent reacts, the piece likely has an oil or wax finish, or a modern varnish or polyurethane coating that was added later.
- Look at the surface too. Fine, alligator-like cracking called “alligatoring” signals an old, original finish that needs a gentle hand.
When you cannot identify the finish confidently, treat the piece as delicate. That conservative default protects you from the most common cleaning mistakes. If the piece is valuable, historically significant, or you simply cannot tell, this is one of the moments to call a conservator. For deeper research, the Canadian Conservation Institute publishes conservation-grade guidance on caring for historical wood finishes.
| Finish | How to Identify It | How to Clean It |
|---|---|---|
| Shellac | Softens with denatured alcohol | Dry dust only; avoid water, alcohol, ammonia |
| Lacquer | Softens with lacquer thinner | Very gentle, well-wrung cloth; alcohol-free |
| Varnish/polyurethane | No reaction to alcohol or lacquer thinner | Standard gentle damp cleaning |
| Oil or wax | No reaction to solvents | Dry dust; nourish with wax, never strip |
| Bare/unfinished wood | No finish visible | Dry methods; never soak |
How to Clean Antique Wood Furniture: Dry Dusting First
For most antiques, dusting is the only cleaning they need. Dust particles are abrasive, and regular dusting prevents the buildup that tempts you into harsher cleaning later.
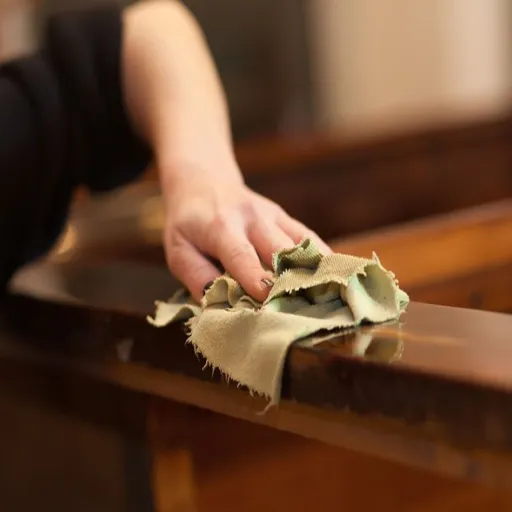
Use a soft, lint-free microfiber cloth or a natural-bristle brush such as horsehair. For carvings, spindles, and crevices, a soft brush reaches corners a cloth cannot. Skip feather dusters, which simply push dust around, and never use abrasive cloths on antique surfaces.
Always wipe with the grain of the wood. Circular motions create tiny cross-grain scratches that show up under raking light and can dull the surface over years of cleaning. Dust from top to bottom, and finish with the carved details.
A simple weekly dusting is enough for most antiques. If the surface looks clean after dusting, stop there. Over-cleaning damages more antiques than dust ever will.
The Gentle Damp-Cleaning Method When Dust Is Not Enough
When an antique has fingerprints, surface grime, or years of light buildup, move to a barely damp clean. The method matters more than the product. The routine below follows the same conservation-minded approach restoration suppliers like Van Dyke’s Restorers recommend for cleaning antique furniture.
- Mix a few drops of pH-neutral, unscented dish soap or castile soap into a small bowl of distilled water. Distilled water avoids the minerals in tap water that leave white spots on wood.
- Dip a soft cloth, wring it out until it is nearly dry, and wipe a small section following the grain.
- Dry that section immediately with a clean, dry cloth before moving on.
- Work in small sections, about a foot at a time, and never let moisture sit on the surface.
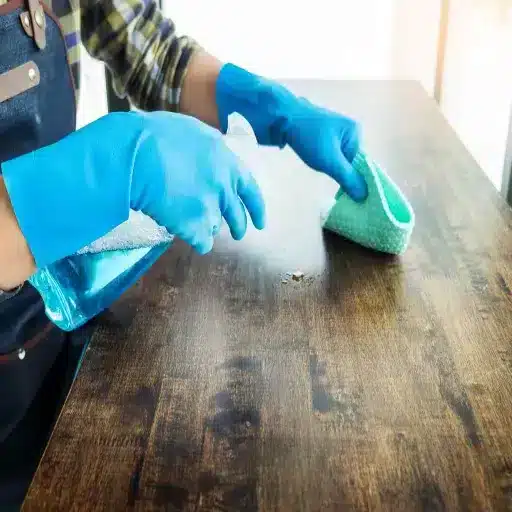
Never pour or spray liquid directly onto antique furniture. Water that seeps into joints, veneer edges, or glue lines can cause swelling, warping, and permanent damage. Always wet the cloth, not the wood.
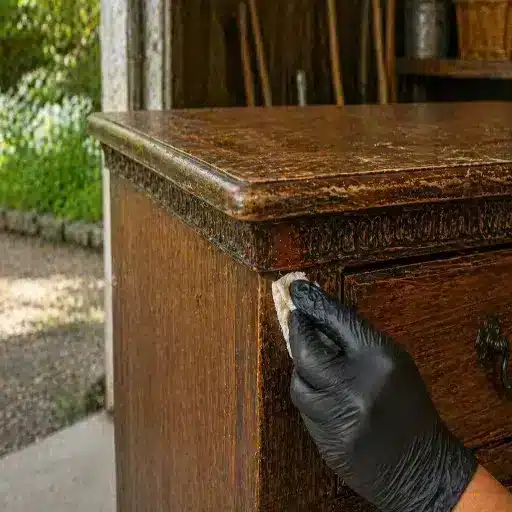
For genuinely heavy grime, fingerprints, or old polish residue, odorless mineral spirits are the professional’s choice. Applied sparingly with a soft cloth and wiped off immediately, they dissolve wax and grease without harming most finishes. Test on a hidden area first, and work in a well-ventilated room with gloves.
What NOT to Use on Antique Furniture, and the Science of Why
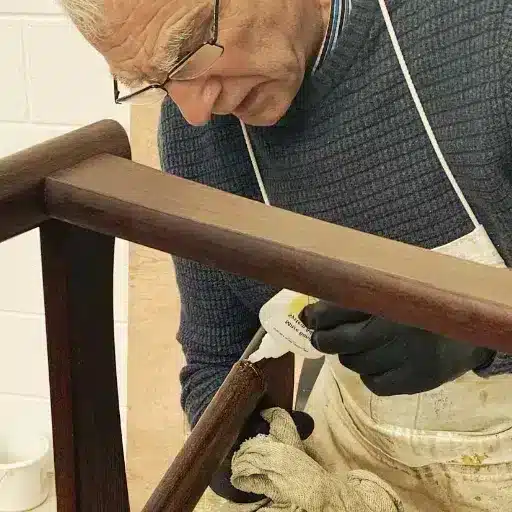
The list of products to avoid is short, and each one earns its place.
- Vinegar and lemon solutions. Vinegar has a pH around 2.2. Applied repeatedly, it etches lacquer, dulls finishes, and strips the wax that protects antiques. Despite popular DIY advice, it does not belong on valuable wood.
- Ammonia and alcohol-based cleaners. Ammonia clouds and strips shellac. Alcohol dissolves shellac outright. Both are common in all-purpose sprays, so check labels before spraying anything near an antique.
- Silicone polishes and “instant shine” sprays. Silicone leaves a film that traps grime, clouds over time, and makes any future refinishing far harder. The Smithsonian Museum Conservation Institute has warned that alcohol and silicone in many “wood safe” products can soften or degrade original finishes.
- Murphy’s Oil Soap and similar oil soaps on delicate pieces. Some guides recommend heavily diluted oil soap, and it can work on sturdy, sealed pieces. But on original shellac, wax, or oil finishes, it is risky. When in doubt, the gentler pH-neutral option is safer. There is no finish worth gambling for the convenience of one product.
- Steam, soaking water, and abrasive pads. Steam and excess moisture cause warping and swelling. Steel wool below 0000 grade, scouring pads, and sandpaper gouge the surface.
- Sanding or power tools. These create heat that melts finishes and remove wood you can never put back.
If you want a cleaner you can trust, our guide to the best wood cleaner breaks down which products match which finishes, and which to leave on the shelf.
How to Remove Wax Buildup and Years of Grime From Antique Furniture
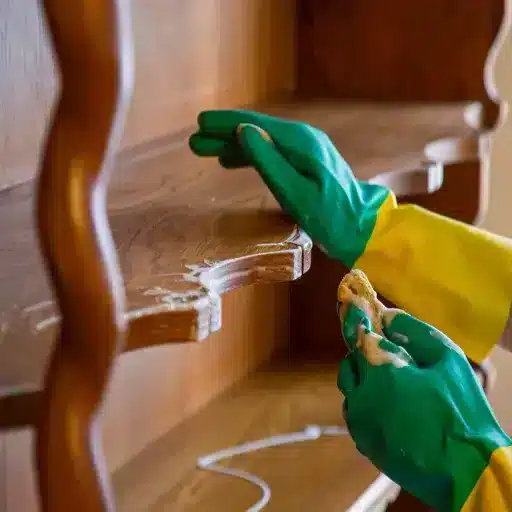
Old furniture often carries decades of wax, polish, and grime layered over the original finish. The surface looks cloudy or sticky, and fingerprints hold where you touch. This buildup is not the finish itself; it can often be removed safely.
Mineral spirits are the restorer’s tool here. Dampen a soft cloth with odorless mineral spirits and work a small area with the grain, wiping the dissolved residue away as you go. The wax softens and lifts without stripping the finish underneath. Test in a hidden spot first: if pigment transfers to the cloth, stop and call a professional.
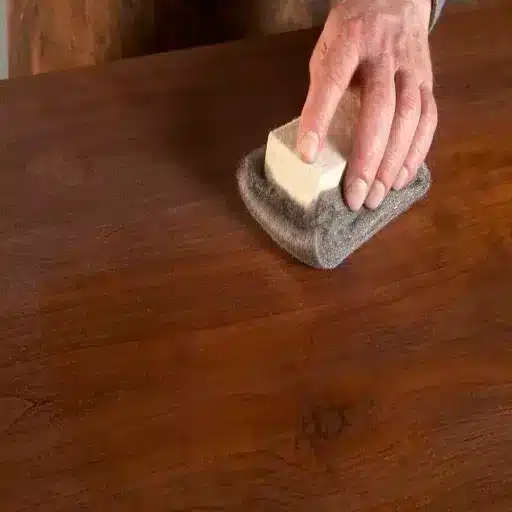
For stubborn corners and crevices, 0000 (super-fine) steel wool lightly dampened with mineral spirits can help. Use it gently, with the grain, and rarely. Coarser grades will scratch.
Daniel bought a Victorian oak sideboard at auction, its surface hidden under years of accumulated polish. Rather than strip and refinish it, he worked section by section with mineral spirits and 0000 steel wool, wiping each pass clean. Over an afternoon, the old layers came away and the original glow returned. The sideboard never needed stripping, and its value was preserved.
When buildup is so thick that you cannot tell what is underneath, or when the finish itself is flaking, cracking, or failing, stop. That is a conservation problem, not a cleaning one.
Treating Common Problems: Water Rings, Mold, and Light Stains
Every antique eventually meets a water ring, a spot of mold, or an accident.
- Water rings and white marks. On shellac and wax finishes, white rings are often moisture trapped in the finish. Gentle heat from a hair dryer on low, moved constantly, can sometimes lift them. Never use harsh abrasives. For stubborn rings, the dedicated methods in our guide to removing water stains from wood are a safer reference than improvising.
- Mold and mildew. Ventilation prevents most mold. For light surface mold, gentle cleaning and improved airflow may be enough. If mold has penetrated the wood or spread widely, treat it as a conservation issue and call a professional.
- Ink, alcohol, and food stains. What is safe depends entirely on the finish. On an unidentified finish, leave the stain rather than risk damaging the surface. Some marks, on a writing desk or a dining table, are part of the piece’s history and add character.
Waxing and Conditioning Antique Furniture: Less Is More
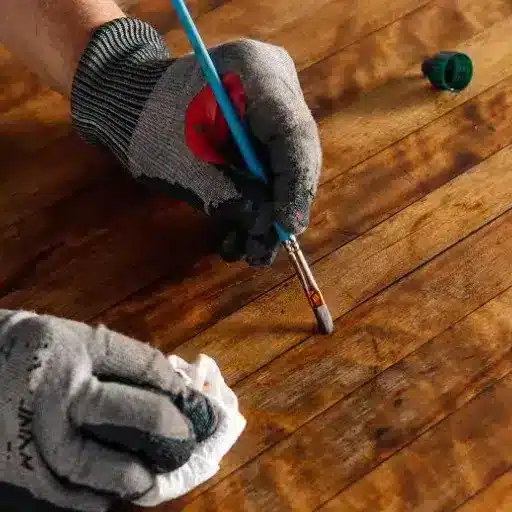
Once an antique is clean, a thin coat of paste wax protects the finish, adds a warm sheen, and keeps the wood from drying out. But the rule is restraint.
- Paste wax made from beeswax, carnauba, or a blend is the classic choice. Apply a thin coat with a soft cloth, let it dry, then buff gently. Once or twice a year is plenty.
- Microcrystalline wax is the museum-grade option used by conservators. It is acid-free and offers strong protection for genuinely valuable pieces.
- Silicone polishes and aerosol sprays are the opposite of what antiques need. They build up, cloud, and complicate future care.
Never wax over a dirty surface. Wax traps dust and oils underneath, and the next cleaner you use will smear them around. Clean first, then wax. And remember: most antiques do not need polish at all. A clean, dusted surface with an occasional thin coat of wax is all a well-loved piece requires.
Caring for Antique Furniture by Species, Construction, and Room
Species and construction change how an antique responds to care.
- Solid oak, mahogany, walnut, and rosewood are the common species in fine antique furniture. They respond differently to moisture and oils, but all of them prefer gentle methods and stable conditions.
- Veneered antiques are more delicate than solid wood. The thin veneer layer can bubble or lift if moisture penetrates the edges.
- Carved pieces and hardware need soft brushes for crevices, and metal hardware is often best left alone or lightly cleaned rather than polished aggressively.
- Painted, gilded, or decorated surfaces should be dust-only for most owners. Their finishes are fragile and specialist territory.
The room matters as much as the cleaning. Wood is hygroscopic; it absorbs and releases moisture. Keep antiques in a stable 40 to 55 percent relative humidity. Too dry, and joints crack and veneer lifts. Too humid, and wood swells, warps, and breeds mildew. Keep pieces away from direct sunlight, which fades finishes, and away from heating vents and radiators. A small hygrometer is a worthwhile investment for a room full of antiques.
When to Stop and Call a Professional Conservator
The most valuable skill in antique care is knowing when not to DIY. The American Institute for Conservation recommends calling a professional conservator when you see:
- Mold or mildew that has spread or penetrated the wood
- Loose, bubbling, or lifting veneer
- Cracked, flaking, cloudy, or softening finishes
- Deep stains or water damage
- Active splits, loose joints, or structural issues
- Insect damage, especially with fine powdery sawdust
Attempting to fix these yourself can cause irreversible harm and lower the piece’s value. This is also the right call when a piece is valuable, historically significant, or has a finish you cannot identify. A conservator works slowly, reversibly, and with materials a homeowner does not have.
For those who choose to build new rather than repair, quality matters. Every well-made piece starts with responsibly sourced material, which is why VitalWood Global works exclusively with certified, sustainable forests. You can get in touch to talk through a project.
FAQ
How do you clean antique wood furniture?
Dust first with a soft, lint-free cloth working with the grain, then use a barely damp, well-wrung cloth with pH-neutral soap in distilled water, drying each section immediately. Identify the finish first, and skip vinegar, ammonia, silicone, and steam.
What is the best way to clean antique wood furniture?
The gentlest method that removes the dirt. For most antiques, that is dry dusting. When more is needed, a well-wrung cloth with a few drops of pH-neutral soap in distilled water, working with the grain and drying immediately, is the safest approach.
Can you use vinegar to clean antique furniture?
No. Vinegar is acidic, around pH 2.2, and can etch lacquer, dull finishes, and strip wax. It is among the most common causes of permanent antique finish damage.
Is Murphy’s Oil Soap safe for antique furniture?
Not on original shellac, wax, or oil finishes. Some use heavily diluted oil soap on sturdy, sealed pieces, but on delicate antiques the risk is not worth it. Use a gentle pH-neutral option instead.
Should you use Pledge on antique furniture?
No. Silicone-based polishes leave a film that traps grime, clouds over time, and makes future refinishing harder. They are the opposite of what antiques need.
How do you remove wax buildup from antique furniture?
With odorless mineral spirits applied with a soft cloth, working in small sections and wiping residue away. For stubborn areas, 0000 super-fine steel wool used lightly and with the grain can help. Test in a hidden spot first.
Can you refinish antique furniture without hurting its value?
Refinishing almost always reduces an antique’s value by removing the original finish and patina. Cleaning is always preferable to refinishing. Consult a conservator before stripping anything.
How often should you wax antique furniture?
Once or twice a year at most, using a thin coat of paste or microcrystalline wax, buffed after it dries. Most antiques need no more than that.
Conclusion
Cleaning an antique is really an act of preservation. The patina is the value, and the finish is a record of the piece’s history that no modern product can replace. Identify the finish first, dry-dust with the grain, clean wet only when needed with a barely damp cloth, and never reach for vinegar, ammonia, silicone, or steam. Wax sparingly, care for the room around the piece, and know when to call a conservator.
Every time you clean gently, you extend the life of a piece that may outlive you. That is the most sustainable choice a wood owner can make: one heirloom cared for properly means one fewer tree harvested to replace it. When you do choose new wood, make it responsibly sourced, FSC-certified material that will earn its own patina over the next hundred years. Start with our complete guide to how to clean wood for every surface in your home, and learn how to clean wood furniture properly for the pieces that still have modern finishes. Your heirlooms, and the forests they came from, will thank you.