

How to Clean Wood Before Staining: A Step-by-Step Guide
Yes, you need to clean wood before staining. Dust, grease, mill glaze, and old residue block stain from penetrating evenly, which causes blotchy color, poor adhesion, and a finish that flakes within a year. The fix is a simple five-stage workflow: assess the surface, clean away contaminants, degrease with a solvent, let the wood dry, then remove every trace of sanding dust before you open the can.
Maya learned this the hard way. Last spring she refinished her oak dining table and skipped the cleaning step because the wood “looked clean” after she sanded it. She wiped it with a dry cloth, brushed on a rich walnut stain, and stepped back to admire the result.
Two hours later she was staring at a blotchy, patchy mess. Fingerprint-shaped bare spots showed exactly where grease from her hands had silently blocked the stain. She had to sand the whole top down and start over, adding a full weekend to her project.
That frustration is far more common than most DIYers expect. Industry guidance from Form Wood puts it bluntly: roughly 95% of all wood-finishing problems trace back to inadequate preparation, and cleaning is the step people skip first. In this guide you’ll learn what’s actually sitting on your wood, how to remove each contaminant, how to clean wood after sanding, and exactly how long to wait before you stain. By the end you’ll know how to clean wood before staining the right way, every time.
Key Takeaways
- Yes, clean wood before staining every time: contaminants block stain penetration and cause blotchiness, poor adhesion, and premature finish failure.
- Use the splash test to check for mill glaze on new wood; if water beads, remove the glaze with TSP before you stain.
- The most skipped step is cleaning wood after sanding: remove bulk dust, then wipe with a tack cloth and mineral spirits.
- Avoid water for pre-stain cleaning, because it raises the grain and forces you to sand again.
- Let the wood dry 24 to 48 hours (or 48 hours with under 18% moisture for exterior wood) before staining.
Why Cleaning Wood Before Staining Decides Your Finish
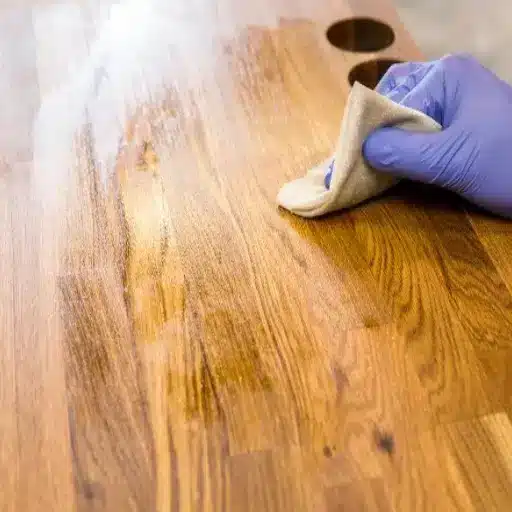
Wood is a porous material. Stain works by soaking into those pores and hardening in place, which means anything sitting on the surface gets in the way. Sawdust, grease, sweat, old polish, wax, and mill glaze all act like a barrier between the stain and the wood fibers.
When that barrier is uneven, the stain soaks in where it can and bounces off where it can’t. The result is the classic blotchy, uneven color Maya saw on her table. Worse, a contaminant between wood and stain also weakens adhesion, so the finish can peel or flake once the piece is in use.
This is why preparation matters more than the stain itself. No matter how good the can is, it cannot fix a dirty surface. The good news is that cleaning takes minutes, not hours, and the tools are cheap. If you want the full workflow from cleaning through conditioning and coating, our guide on how to prepare wood for staining walks through every step after the surface is clean.
Cleaning Is Not the Same as Sanding
Many how-to guides treat cleaning and sanding as one step, but they do different jobs. Sanding smooths the surface and opens the grain. Cleaning removes the contaminants that sanding alone can redistribute or press deeper into the wood. You need both, in order: clean first, sand, then clean again to remove the dust sanding creates.
First, Assess What’s on Your Wood
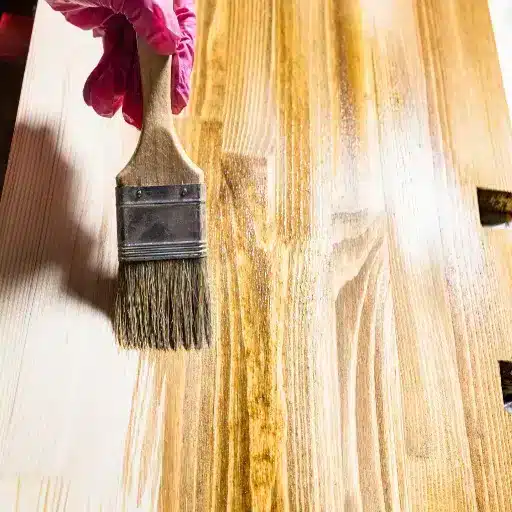
Before you reach for a cleaner, spend two minutes identifying the condition of the surface. The right method depends entirely on what you’re dealing with.
The Splash Test for Mill Glaze
New wood from a lumber yard often carries a thin, hard layer called mill glaze. It forms when the planer blades heat and burnish the surface, sealing the pores. The splash test reveals it in seconds.
Flick a few drops of water onto the wood. If the water soaks in within about 10 minutes, the surface is open and ready. If it beads up, puddles, or sits on top, mill glaze is present and must be removed before staining, or the finish will sit on the surface and eventually peel. This is a common cause of the “stain won’t take” problem on brand-new cedar decks and fresh lumber.
The Tape Test for Loose Wood and Old Finish
Press a strip of painter’s tape onto the surface, then pull it off. If fibers or flakes of old finish come away with it, the surface is too loose to stain cleanly. Scrape and sand down to solid wood before you clean, or the new finish will lift the old material right off.
Know Your Contaminant
Different dirt needs different removers. Here’s the quick decision framework:
| Contaminant | Where you find it | How to remove it | Caution |
|---|---|---|---|
| Sawdust and loose dust | Anywhere after sanding | Brush, shop vac, tack cloth | Always the first pass |
| Grease and hand oils | Furniture, trim, cabinet fronts | Mineral spirits or denatured alcohol | Never use water alone |
| Mill glaze | New lumber, planed wood, cedar decks | TSP solution or commercial wood cleaner | Test with the splash test first |
| Wax and old polish | Previously finished pieces | Mineral spirits, wax remover | Use a lint-free cloth |
| Old stain and varnish | Refinishing projects | Solvent or stripper, then sand | Check lead paint on old pieces |
| Mold and mildew | Weathered outdoor wood | Diluted bleach or oxygen bleach | Rinse thoroughly, let dry |
| Rust and tannin stains | Cedar, oak, near metal | Oxalic acid brightener | Neutralize and rinse after |
If you’re working with bare wood that has no finish at all, our guide on how to clean unfinished wood covers the gentler methods those surfaces need. For sealed, finished surfaces that need routine care, our complete guide to how to clean wood is the better starting point.
Tools and Supplies for Pre-Stain Cleaning
You don’t need a specialty arsenal. Most of these you already own:
- Soft-bristle brush or shop vac for bulk dust
- Lint-free rags (old cotton t-shirts work well)
- Tack cloth for the final dust pass
- Mineral spirits or denatured alcohol for degreasing
- Trisodium phosphate (TSP) for mill glaze and heavy grime
- A commercial wood cleaner or degreaser for stubborn buildup
- Oxalic acid brightener for tannin and rust stains
- Safety gear: gloves, safety glasses, and a respirator in a ventilated space
For choosing between commercial products, our guide to the best wood cleaner breaks down which products suit which surfaces.
How to Clean New, Unfinished Wood Before Staining
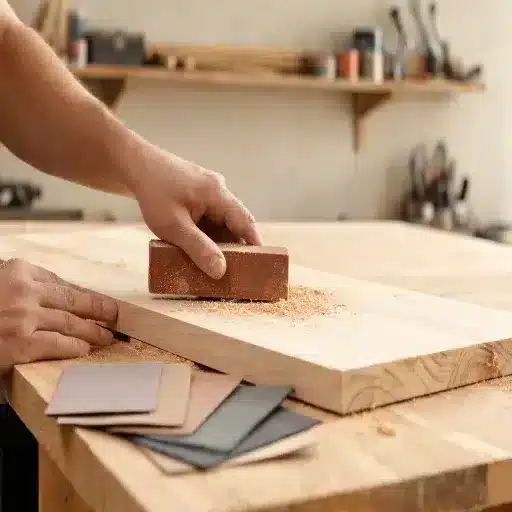
Learning how to clean wood before staining starts with new wood, which is usually cleaner than a refinishing project but still needs this sequence.
Step 1: Remove dry dust. Brush or vacuum the entire surface, including corners and end grain. Sawdust hides in every joint.
Step 2: Remove mill glaze. Run the splash test. If water beads, mix TSP with warm water per the label directions, scrub with a brush, and rinse thoroughly. You can also use a dedicated wood cleaner designed to lift mill glaze.
Step 3: Degrease with a solvent. Wipe the surface with mineral spirits or denatured alcohol on a lint-free rag. This cuts any invisible oils from handling and shipping, and it won’t raise the grain the way water would.
Step 4: Let the wood dry completely. Give it 24 to 48 hours. Moisture in the wood is the enemy of stain penetration, so do not rush this step.
Step 5: Sand. Follow the grit progression in our guide to preparing wood for staining, working from coarse to fine in the direction of the grain.
Step 6: Remove all sanding dust. This is the step people skip, and it’s covered in depth below.
Resinous and Oily Woods Need Extra Care
Softwoods like pine bleed pitch, and oily hardwoods like teak and ipe resist stain naturally. For pine, wipe with a solvent after sanding to lift surface resin, and consider a wood conditioner for blotch-prone species. For teak and other oily woods, wipe the surface with acetone or mineral spirits just before staining, then stain promptly. If you’re staining pine specifically, our article on how to stain pine wood explains the conditioner step in detail.
How to Clean Wood After Sanding: The Step Most People Skip
This is the single most common mistake in wood finishing. You sand to 220 grit, the surface looks smooth and clean, and you grab the stain. But sanding generates a fine dust that clings to the surface through static, and a dry cloth alone won’t lift it all. Any dust left behind becomes a speckled, gritty patch under your stain.
The three-pass routine takes under five minutes and makes a visible difference.
Pass 1: Remove Bulk Dust
Use a shop vac with a brush attachment or a soft-bristle brush to pull the visible sawdust off. Work with the grain, and don’t forget edges and end grain.
Pass 2: Wipe with a Tack Cloth
A tack cloth is a sticky, cheesecloth-like fabric that lifts fine dust a brush can’t reach. Fold it to expose a clean face, and use light, sweeping strokes in the direction of the grain. Pressing hard is a mistake, because it can leave a waxy residue that itself blocks stain. Refold as the surface picks up dust.
Pass 3: Wipe with Mineral Spirits
Pour a little mineral spirits onto a lint-free rag and wipe the surface with the grain. Mineral spirits dissolve any remaining oily residue, don’t raise the grain, and evaporate quickly. As a bonus, they darken the wood and preview the finished color, so you can confirm the tone before you commit. Let the solvent evaporate fully, then give the surface one more light pass with a clean tack cloth if you want to be extra careful.
Some woodworkers prefer denatured alcohol for this final wipe because certain mineral spirit brands can leave a chalky residue on some woods. Both work, and the goal is the same: a perfectly dust-free surface that’s ready for stain.
Watch this quick walkthrough of the pre-stain cleaning process, from mill glaze removal to the final tack cloth pass.
How to Clean Previously Finished or Weathered Wood Before Restaining
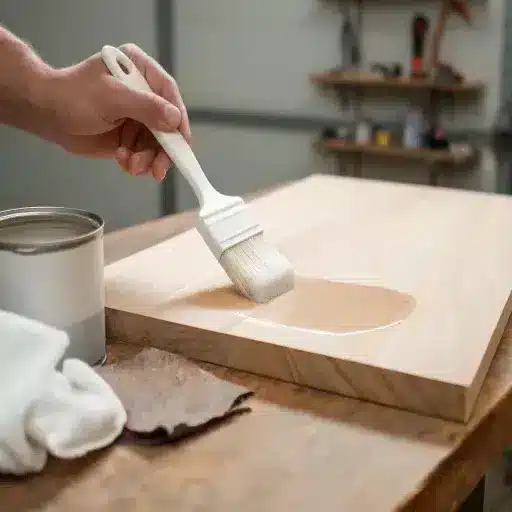
Refinishing brings a different set of contaminants. The goal is to get back to clean, bare wood so the new stain can bind.
Remove old finish. For wax and polish, mineral spirits lifts them without harming the wood underneath. For old varnish and paint, use a chemical stripper or solvent, scrape carefully, then sand. If the piece is old enough to predate the 1970s, test for lead paint before sanding.
Brighten gray, weathered wood. Outdoor wood that has turned gray needs a wood brightener or oxygen bleach to restore the warm color before staining. Rinse thoroughly afterward.
Remove mold and mildew. Treat affected areas with diluted bleach or an oxygen-bleach cleaner, scrub gently, and let the wood dry completely.
Remove rust and tannin stains. Cedar, oak, and redwood can develop dark stains from metal or water. An oxalic acid wood brightener removes these, but it must be neutralized and rinsed per the label.
Cleaning Solutions: What to Use and What to Avoid
Match the solution to the contaminant, and you’ll get a cleaner result with less effort.
| Situation | Best solution | What to avoid |
|---|---|---|
| Routine dust after sanding | Tack cloth, mineral spirits | Water, which raises the grain |
| Grease and hand oils | Mineral spirits, denatured alcohol | Dish soap left to dry on the wood |
| Mill glaze on new wood | TSP solution, commercial wood cleaner | Bleach alone, which won’t remove glaze |
| Wax and polish buildup | Mineral spirits, wax remover | Ammonia-based cleaners |
| Gray, weathered wood | Wood brightener, oxygen bleach | Acidic vinegar at full strength |
| Tannin and rust stains | Oxalic acid brightener | Scrubbing with steel wool |
| Oily woods (teak, ipe) | Acetone or mineral spirits wipe | Water-based cleaners |
The TSP Recipe for Mill Glaze
For tough mill glaze, many professional finishers use a TSP solution. A common formula from PPG mixes roughly 4 ounces of TSP with 1 quart of bleach and 3 quarts of water. Apply it, scrub with a stiff brush for 15 to 20 minutes without letting it dry, then rinse. Always test in an inconspicuous area first and follow safety instructions, because TSP and bleach are strong chemicals.
How Long Should Wood Dry Before Staining?
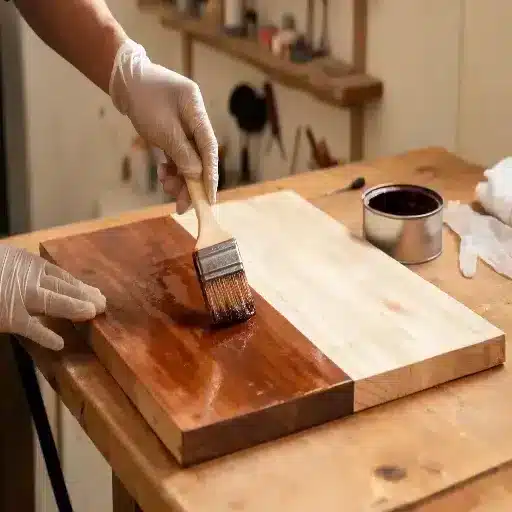
Drying is not an optional pause, it’s part of cleaning. Stain cannot penetrate wet wood, and trapped moisture causes blotching and blistering later.
For interior pieces, allow 24 to 48 hours after cleaning before staining. For exterior wood, Cabot’s guidance recommends up to 48 hours of drying or until moisture content drops below 18%. A moisture meter removes the guesswork; aim for under 12% for interior work where possible.
Watch the weather too. Cool, humid conditions slow drying, so wait for a stretch of 50 to 85 degrees Fahrenheit with low humidity before you clean and stain exterior wood.
Common Mistakes When Cleaning Wood Before Staining
These five errors cause most of the finish failures we hear about:
- Skipping the degrease step. You can’t see hand oil, but the stain will.
- Using water to clean before staining. Water raises the grain, so you end up sanding again anyway.
- Pressing too hard with a tack cloth. The waxy residue it leaves blocks stain just like dust does.
- Not letting solvents evaporate. Staining over wet mineral spirits traps solvent in the finish.
- Cleaning with the wrong solvent for the contaminant. Water won’t cut grease, and a degreaser won’t remove mill glaze.
If you do end up with a blotchy result despite your best prep, our guide on how to fix blotchy wood stain explains how to correct it without starting over.
FAQ
Do you need to clean wood before staining?
Yes. You should clean wood before staining because dust, grease, mill glaze, and old residue block stain from penetrating evenly, causing blotchy color and poor adhesion. Clean the surface, degrease with mineral spirits, and remove all sanding dust with a tack cloth before you stain.
How do you clean wood after sanding before staining?
Remove bulk dust with a brush or shop vac, wipe with a tack cloth using light strokes, then wipe the surface with mineral spirits along the grain. Let the solvent dry completely before staining.
Can you use vinegar to clean wood before staining?
Vinegar is fine for light surface dirt on some woods, but it’s acidic and can react with certain species and raise the grain. Mineral spirits or denatured alcohol is the safer, more effective choice for pre-stain cleaning.
Can you use water to clean wood before staining?
Avoid it. Water raises the grain, which forces you to sand again, and it leaves the wood too damp to accept stain. Use a solvent-based wipe instead.
How long after cleaning can you stain wood?
Wait 24 to 48 hours for interior wood, and up to 48 hours or under 18% moisture content for exterior wood. When in doubt, use a moisture meter.
What is mill glaze and how do you remove it?
Mill glaze is a thin, hardened layer left on new wood by planer blades. It seals the pores and makes stain bead up. Remove it with a TSP solution or commercial wood cleaner, then rinse and dry.
Conclusion
Learning how to clean wood before staining properly is the most important step in any finishing project. Assess the surface first, remove the right contaminants, degrease with a solvent, let the wood dry fully, and finish with a tack cloth after sanding. Do that and your stain will go on evenly, bond strongly, and last for years instead of months.
At VitalWood Global, we believe a great finish starts with great wood. Our lumber is sourced from certified sustainable forests and inspected for consistency, so it takes stain predictably and performs beautifully. If you’re planning a refinishing project, explore our sustainably sourced wood products and our how to stain wood guide to take the next step with confidence. And if you’d like help selecting the right material, get in touch with our team.