
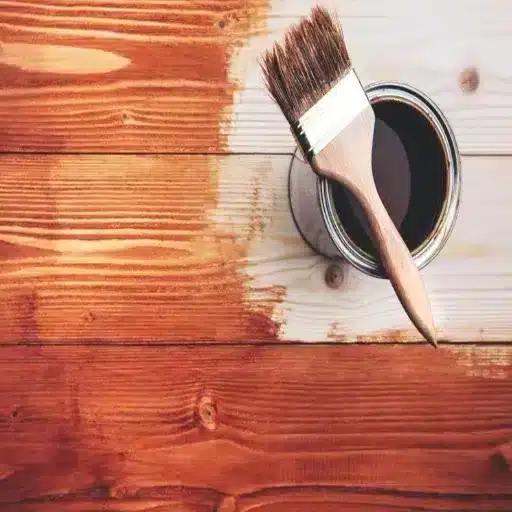
How to Stain Pine Wood: A Step-by-Step Guide to a Smooth, Even Finish
You can stain pine wood beautifully, but the secret is controlling how much stain the wood absorbs. Pine is a softwood with uneven grain density, so some areas drink in color while others resist it. The result is often blotches, streaks, or a muddy look. The fix is simple: proper sanding, a pre-stain conditioner, thin stain coats, and a clear topcoat. In this guide, you will learn how to stain pine wood from start to finish, including how to avoid the most common mistakes and how to choose finishes that are kinder to the planet. If you want a broader look at the full staining process, our guide to how to stain wood covers every species and technique.
Key Takeaways
- Always sand pine progressively from 120 to 220 grit, always working with the grain.
- A pre-stain wood conditioner is the best defense against blotchy, uneven color on pine.
- Gel stains and water-based low-VOC stains are excellent choices for pine and for eco-conscious workshops.
- Wipe off excess stain within 2–5 minutes to prevent dark splotches and sticky patches.
- Seal stained pine with polyurethane, shellac, or a water-based sealer to protect the finish.
Why Pine Is Tricky to Stain
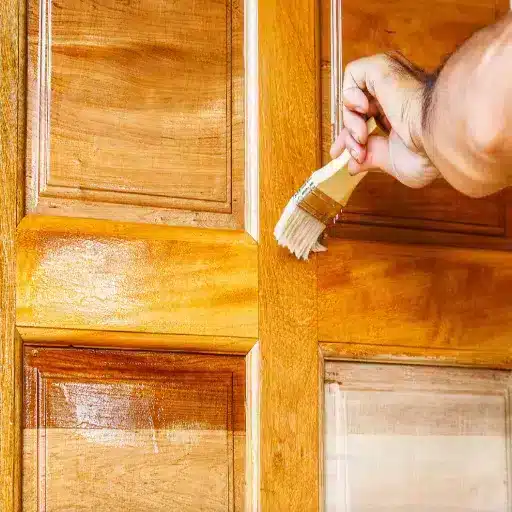
Pine looks innocent, but it can fight back the moment the stain touches the surface. The problem starts inside the wood. Pine is a softwood made up of alternating bands of earlywood and latewood. Earlywood is porous and soft; it soaks up stains like a sponge. Latewood is dense and hard; it absorbs very little. When stain lands on both zones at once, the soft areas turn dark while the dense areas stay light. That contrast creates the blotchy look that frustrates so many DIYers.
This pattern is sometimes called grain reversal. Instead of the wood looking richer and deeper, it can look streaky and uneven. Popular Woodworking covers the science behind grain reversal and pine staining in detail. Pine also contains knots that can leak resin, especially under finish or in warm conditions. That resin can bleed through stain and topcoat, leaving yellow or brown spots that ruin an otherwise clean surface.
The good news? Pine is forgiving once you understand it. Unlike some hardwoods, it’s affordable, easy to sand, and widely available. With the right prep and products, you can turn a plain pine board into a piece that looks warm, rich, and intentional.
Tools and Materials You Will Need
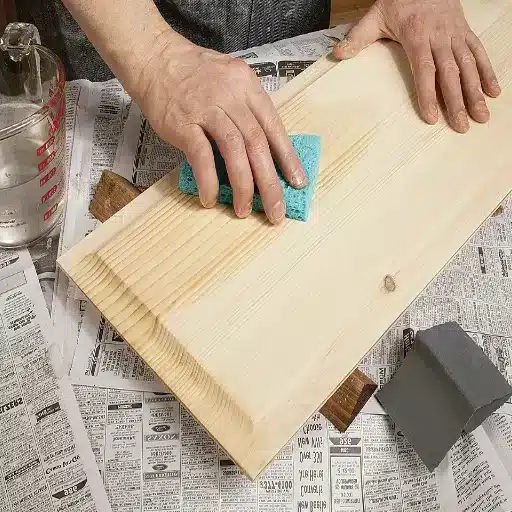
Gather everything before you start. Staining is a timing-sensitive process, and stopping midway to hunt for a brush or rag can leave marks.
- Sandpaper: 120, 180, and 220 grit
- Sanding block or random-orbit sander
- Tack cloth or clean, lint-free rags
- Wood filler that takes stain
- Pre-stain wood conditioner
- Wood stain: oil-based, water-based, or gel
- Stir stick
- Foam brush, natural-bristle brush, or lint-free cloth
- Protective gloves, safety glasses, and a dust mask
- Drop cloth or cardboard to protect your work area
- Clear topcoat: polyurethane, shellac, or water-based sealer
- 320-grit sandpaper for between coats
If you are working on a large project, buy a little extra conditioner and stain. Running out halfway through a tabletop is not a situation you want to face. Not sure which pine is right for your project? Our guide to the best wood for staining helps you choose species that take color predictably.
How to Prepare Pine Wood for Staining
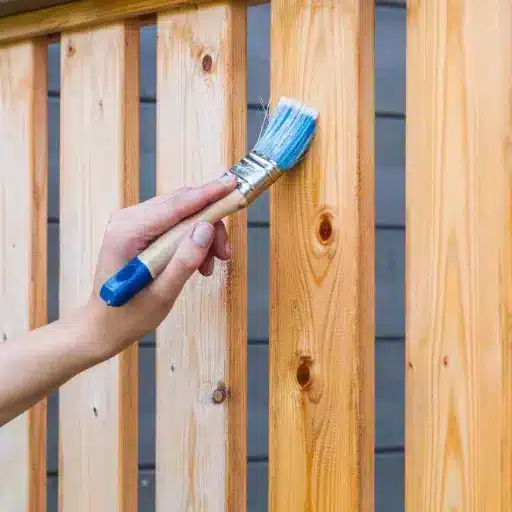
Preparation is where most pine staining projects are won or lost. Skipping steps here will magnify every problem later.
Inspect and Repair
Start by checking the boards for dents, cracks, and loose knots. Fill nail holes and small gaps with wood filler that is designed to accept stain. Standard fillers that do not stain will show up as pale spots. Press the filler in slightly above the surface, let it dry, then sand it flush.
If a knot is loose or oozing resin, seal it before staining. A thin coat of dewaxed shellac over the knot blocks resin bleed and gives the area a more uniform appearance. This is especially important on tabletops, shelves, and other horizontal surfaces where knots are visible.
Sand With the Grain
Sand the wood in stages. Begin with 120 grit to remove mill marks and smooth joints. Move to 180 grit, then finish with 220 grit. Always sand with the grain, especially on the final pass. Cross-grain scratches do not show on raw pine, but they jump out once the stain hits the surface.
For end grain, the cut ends of boards, sand a little finer, up to 320 grit. End grain absorbs stain faster than face grain and can turn much darker if left at the same roughness.
Remove Every Speck of Dust
Vacuum the surface and the surrounding area. Then wipe the wood with a tack cloth or a clean rag lightly dampened with mineral spirits. Any dust left behind will stick to the stain and create raised bumps. Let the surface dry completely before moving on.
For more details on surface prep, see our complete guide on how to prepare wood for staining.
Should You Use a Pre-Stain Conditioner on Pine?
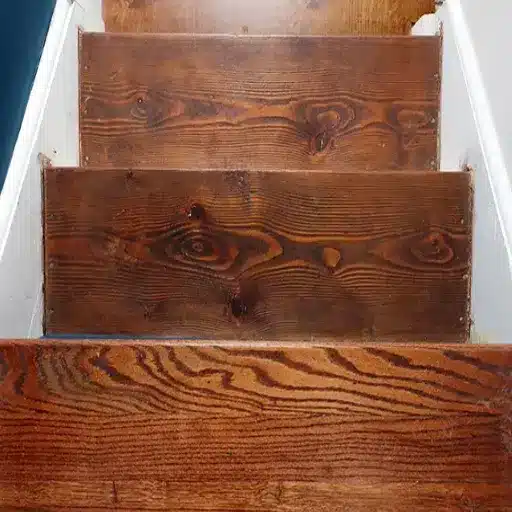
Yes. For most pine projects, a pre-stain wood conditioner is not optional; it is insurance. Conditioner is a thin sealer that partially fills the porous earlywood so stain cannot soak in too quickly. The result is a more uniform color from one board to the next and fewer dark splotches. Minwax explains how pre-stain wood conditioner prepares soft woods like pine for even staining.
Match the Base
Use an oil-based conditioner with an oil-based stain. Use a water-based conditioner with a water-based stain. Mixing bases can cause poor adhesion, uneven color, or a finish that never quite dries.
How to Apply Conditioner
- Stir the conditioner gently. Do not shake it.
- Apply a liberal, even coat with a brush or clean cloth, working with the grain.
- Let it penetrate for 5 to 15 minutes, or follow the manufacturer’s label.
- Wipe off any excess with a clean, dry cloth.
- Let it dry for 15 to 30 minutes, then apply the stain within the recommended window, usually within 2 hours.
If you wait too long, the conditioner can harden and lock the pores. In that case, lightly sand with 180-grit to reopen the surface before staining.
Conditioner vs. No Conditioner
| Factor | No Conditioner | With Conditioner |
|---|---|---|
| Color uniformity | Often blotchy and streaky | Much more even |
| Dark splotches | Common in soft earlywood | Reduced significantly |
| End grain darkness | Very dark | Closer to face, grain color |
| Drying behavior | Can stay sticky in thick areas | More predictable |
| Best for | Rustic or aged looks | Most furniture and cabinetry |
If blotches still appear, our guide to blotchy wood stain fixes walks through recovery methods.
Choosing the Best Stain for Pine
Not all stains behave the same way on pine. Your choice depends on the look you want, your workspace, and how much time you have.
Oil-Based Stains
Oil-based stains are the traditional choice. They penetrate well, produce rich color, and give you a longer working time. That longer open time is helpful for beginners because it reduces lap marks. The trade-off is a stronger odor, longer drying time, and cleanup with mineral spirits. Most oil-based stains need 12 to 24 hours before you can apply a topcoat.
Water-Based Stains
Water-based stains dry quickly, have less odor, and clean up with soap and water. They are a strong choice if you are working indoors or want a lower-VOC option. The downside is that they raise the grain of the wood, so you may need to do a final light sanding after a test coat. Drying time is usually 2 to 4 hours under normal conditions.
Gel Stains
Gel stains are thick and sit on top of the wood rather than soaking deep. That makes them one of the best options for pine because they minimize blotching. They are especially useful when you want an even, dark color without layering many coats. Cleanup depends on the base, oil or water.
Stain Type Comparison
| Stain Type | Best For | Drying Time | Odor/VOC | Cleanup |
|---|---|---|---|---|
| Oil-based | Rich color, longer working time | 12–24 hours | Higher | Mineral spirits |
| Water-based | Fast drying, low odor, indoor use | 2–4 hours | Lower | Soap and water |
| Gel stain | Even color on blotchy-prone pine | Varies by base | Varies by base | Varies by base |
For a deeper comparison, read our guide to the types of wood stain.
How to Apply Stain to Pine Wood
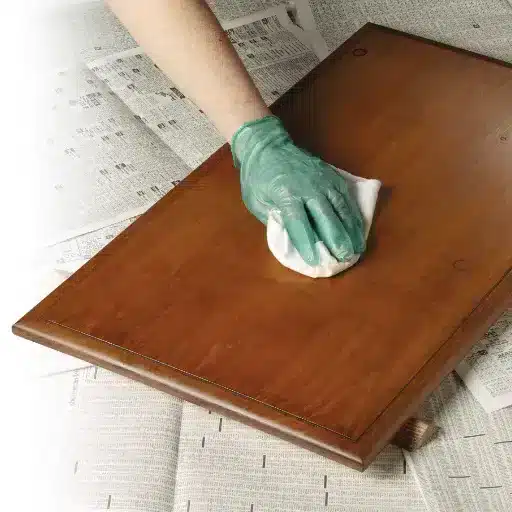
Once the wood is conditioned and dry, it is time to stain. Work in a well-ventilated area and wear gloves.
- Stir the stain thoroughly. Pigments settle to the bottom of the can. Shaking can introduce bubbles.
- Test on scrap. Use an offcut from the same project to preview the color.
- Apply with the grain. Use a brush, foam applicator, or lint-free cloth. Work in small sections, about 2 to 3 feet at a time.
- Let it sit briefly. For oil-based stains, wait 2 to 5 minutes. The longer you wait, the darker the color.
- Wipe off the excess. Use a clean cloth and wipe with the grain. Do not leave thick puddles.
- Build color in thin coats. If the color is too light, let the first coat dry, then apply a second thin coat.
Maya’s dresser story: Maya found a beat-up pine dresser at a thrift store and wanted a warm walnut look for her bedroom. She sanded it to 220 grit, applied conditioner, then brushed on an oil-based stain. She let it sit for three minutes, wiped it off, and the color was perfect. The secret was that she didn’t rush the wipe-off step. The soft earlywood absorbed just enough color without turning muddy.
Drying and Sealing Pine After Staining
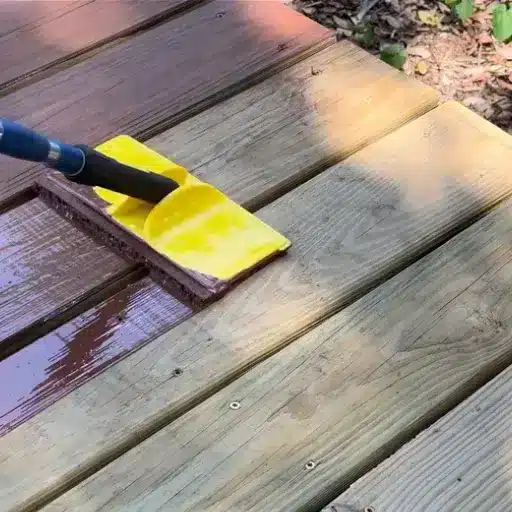
Pine stain needs time to dry before you seal it. Rushing this step traps solvents in the wood and can leave the finish soft or sticky for weeks.
Drying Times by Stain Type
- Oil-based stain: 12 to 24 hours before topcoat
- Water-based stain: 2 to 4 hours before topcoat
- Gel stain: Follow the manufacturer’s label, often 8 to 24 hours
Humidity and temperature matter. In a damp basement, drying can take twice as long. A warm, dry shop speeds things up.
Sealing the Finish
A clear topcoat protects stained pine from scratches, moisture, and daily wear. Choose based on your project:
- Polyurethane: Tough and water-resistant; great for furniture and tabletops.
- Shellac: Dries fast and adds warmth; good for low-traffic pieces.
- Water-based sealer: Low odor and low VOC; ideal for indoor projects.
Apply two or three thin coats, sanding lightly with 320 grit between each. Wipe away dust before applying the next coat.
How to Stain Pine Dark Without Blotches
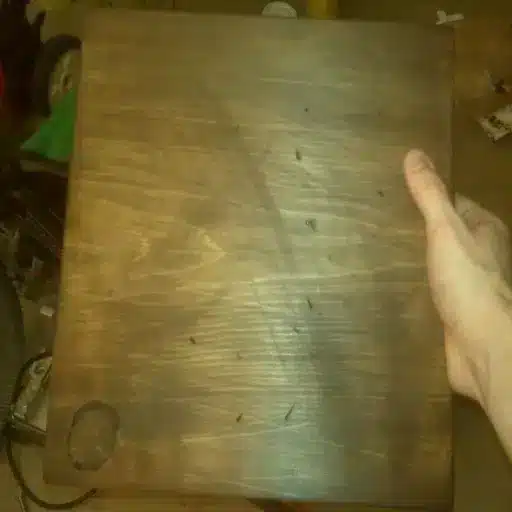
A dark stain on pine is one of the most requested looks and one of the easiest to get wrong. The darker the stain, the more obvious any blotchiness becomes.
The safest path is a gel stain. Because it sits on the surface, it does not rely on deep absorption, so the color stays uniform. Apply it in thin coats and build up to the depth you want. Another option is a layered approach: apply a light dye or thin stain first, seal it with shellac, then add a darker glaze on top. This method, used by professional finishers, gives you control over the final tone.
Avoid trying to get a dark color in one heavy coat. Thick stain puddles in soft areas, dries tacky, and looks muddy. Patience with thin coats always wins on pine.
Common Pine Staining Mistakes (and How to Fix Them)
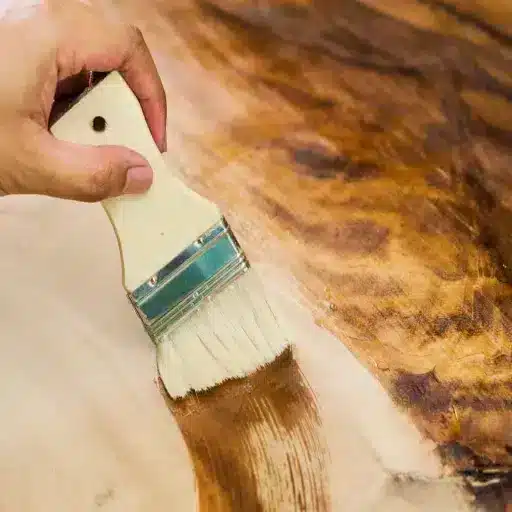
Even experienced woodworkers run into issues with pine. Here is how to handle the most common ones.
Blotchy or Uneven Color
This is almost always caused by skipping conditioner or wiping the stain too late. Sand the piece lightly with 220 grit, apply conditioner, and restain with a thinner coat. WOOD Magazine shares additional methods to avoid or fix blotchy stains on softwoods.
Stain Too Dark
If the stain is still wet, wipe more off immediately. If it has dried, you can lighten it by wiping with a cloth dampened with mineral spirits for oil-based stains or water for water-based stains. For severe cases, sand back to bare wood and start over.
Sticky or Tacky Finish
A sticky stain means excess product was left on the surface. Wipe it firmly with a clean rag. If it remains tacky after a day, strip the area with the appropriate solvent and restain.
Lap Marks
Lap marks happen when one section dries before you blend in the next. Work in small areas and keep a wet edge. Gel stains are more forgiving because they dry slowly.
Resin Bleed-Through
Seal knots with shellac before staining. If resin bleeds after staining, spot-seal the knot and touch up the finish.
For a full troubleshooting guide, see how to fix blotchy wood stain.
Project-Specific Tips: Furniture, Plywood, and Exterior Pine
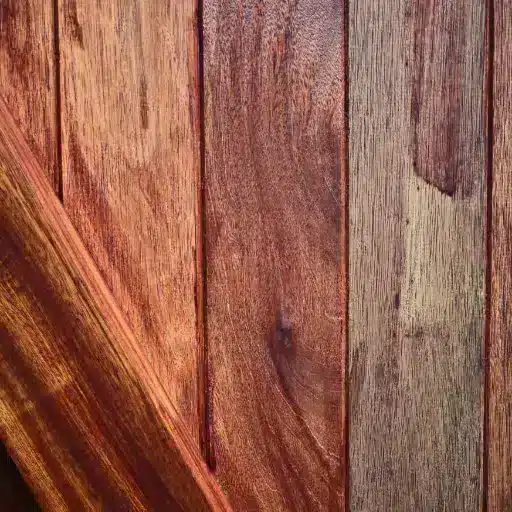
Different pine projects need slightly different approaches.
Pine Furniture
Furniture takes daily use, so durability matters. Sand thoroughly, use conditioner, choose a color that complements the room, and finish with at least two coats of polyurethane.
Pine Plywood
Plywood has a thin face veneer that sands away quickly. Start with 180-grit sandpaper and sand very lightly. Avoid aggressive orbital sanders. Condition and stain as usual, but test first on a scrap corner.
Exterior Pine
Decks, fences, and outdoor furniture need exterior-rated stain and sealer with UV protection. Semi-transparent stains are common for decks. Expect to recoat horizontal surfaces every two to three years.
Sustainable Pine Staining: Eco-Conscious Choices
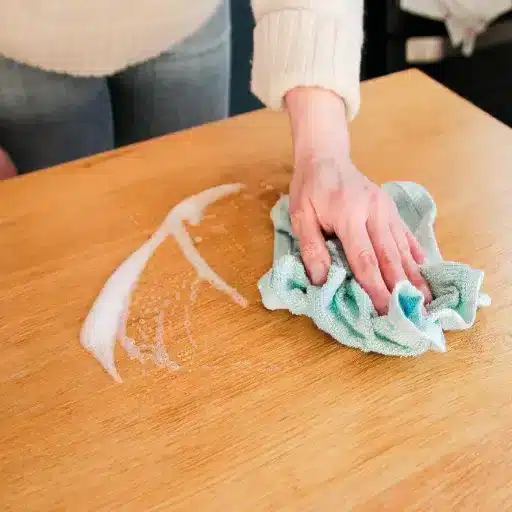
At VitalWood Global, we believe great results should not come at the expense of the planet. The wood you start with matters just as much as the finish you put on it. Choosing FSC-certified pine from responsibly managed forests ensures that your project supports reforestation, biodiversity, and fair labor practices.
When it comes to finishes, look for low-VOC or water-based stains and sealers. Many modern water-based stains perform just as well as oil-based options while releasing fewer fumes. Proper disposal matters too. Oil-soaked rags can spontaneously combust if piled together. Lay them flat to dry outdoors, place them in a sealed metal container, or follow your local hazardous waste guidelines.
James’s table story: James builds custom dining tables in a small shop in Oregon. A client asked for a dark pine farmhouse table with a low-VOC finish because of allergies in the family. James used FSC-certified pine, a water-based pre-stain conditioner, and a water-based gel stain. The table looked rich and even, and the client loved that the workshop did not smell like solvent for a week. It was a reminder that sustainable choices can also be beautiful ones.
Frequently Asked Questions
Do I have to use pre-stain conditioner on pine?
For most projects, yes. Pine absorbs stain unevenly, and conditioner is the easiest way to prevent blotches. If you want a rustic, uneven look, you can skip it, but most furniture and cabinetry benefit from conditioner.
Can I stain pine without sanding?
You can, but the results will be poor. Sanding removes mill marks, smooths the surface, and opens the wood so conditioner and stain can work evenly. Skipping sanding usually leads to streaks and blotches.
How long does pine stain take to dry?
Oil-based stains need 12 to 24 hours. Water-based stains usually dry in 2 to 4 hours. Gel stains vary by product. Always check the manufacturer’s label.
What is the best stain for pine?
Gel stains are often the best for beginners because they reduce blotting. Water-based stains are great for low-VOC indoor projects. Oil-based stains give rich color and longer working time.
How do I fix a blotchy pine stain?
Lightly sand the surface, apply a pre-stain conditioner, and restain with a thinner coat.
Can I stain pine plywood?
Yes, but sand gently. The face veneer is thin and can sand through quickly. Use 180-grit or finer and test on a hidden area first.
Should I use oil-based or water-based stain on pine?
Oil-based stains offer rich color and longer working time. Water-based stains dry faster, smell less, and clean up with water. Choose based on your workspace, timeline, and environmental priorities.
Conclusion
Staining pine wood does not have to be frustrating. The key is to respect the wood: sand it smooth, seal the pores with conditioner, apply stain in thin coats, and protect it with a clear topcoat. Whether you are refinishing a thrift-store dresser like Maya or building a custom table like James, the same principles apply.
Start with quality, responsibly sourced pine, and your project already has a head start. The right wood takes stain more predictably, looks better, and supports sustainable forestry. For the full process across all species, revisit our pillar guide on how to stain wood.
Ready to find the right pine for your next staining project? Contact the VitalWood Global team for personalized recommendations on species, grades, and finishes that match your vision.