
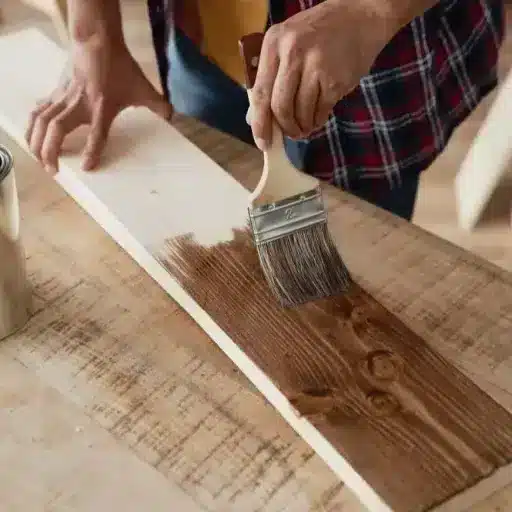
How to Prepare Wood for Staining: A Complete Prep Guide for Even Results
The best way to prepare wood for staining is to clean the surface, sand it progressively with the grain, remove all dust, and apply a pre-stain wood conditioner on soft or porous woods. This sequence opens the wood pores evenly, removes surface defects, and prevents the blotchy, uneven color that ruins most beginner stain jobs.
If you’ve ever stained a tabletop and ended up with dark patches where the grain drank too much color, you already know the truth. The stain usually gets the blame, but the real problem started hours earlier. Most staining failures trace back to skipped steps, wrong sandpaper grits, or hidden residue left on the surface.
In this guide, you’ll learn how to prepare wood for staining on furniture, cabinets, decks, and outdoor projects. We’ll cover the right sandpaper progression, when to use a wood conditioner, how to handle old finishes, and the mistakes that cause blotching.
For the complete staining workflow after prep, see our how to stain wood pillar guide.
Key Takeaways
- Always sand before staining to open pores, remove mill glaze, and create even absorption.
- Use a grit progression like 100 → 150 → 220 for most furniture; stop at 180 for softwoods like pine.
- Clean obsessively between sanding passes with a vacuum and tack cloth.
- Apply pre-stain wood conditioner on pine, maple, birch, cherry, and other blotch-prone woods.
- Test stain on a scrap piece or hidden area before committing to the full project.
Do You Have to Sand Wood Before Staining?
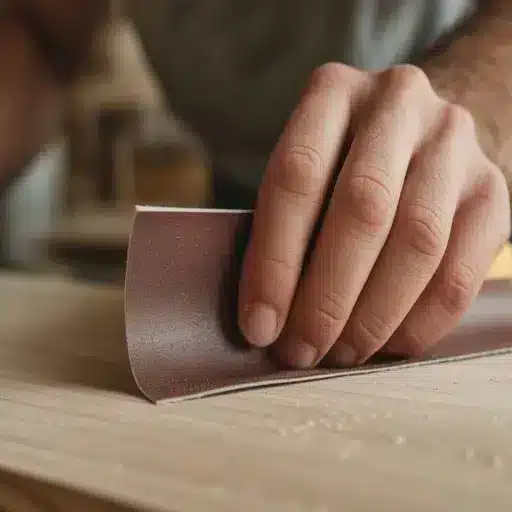
Yes, in almost every case. Sanding is the single most important step in wood stain preparation. Stain needs open pores to soak into. A smooth factory finish, mill glaze, or old topcoat blocks penetration and leaves the color sitting on the surface.
Sanding also removes scratches, dents, and surface contaminants that would show through the stain. Even wood labeled “ready to finish” usually benefits from a light sanding. New lumber often has mill glaze, a smooth surface film that prevents stain from absorbing evenly.
There are a few exceptions. You can sometimes use gel stain over a clean, sealed surface without sanding back to bare wood. Some exterior stain-and-sealer combos are designed to go over cleaned, weathered wood with minimal sanding. For most furniture, cabinets, doors, and trim, sanding is non-negotiable.
When Maya built her first bookshelf, she skipped sanding because the pine boards felt smooth to the touch. The stain went on blotchy and dark in random patches. She sanded the piece back to bare wood, started over with 150-grit paper, and the second attempt looked like a different project entirely.
Tools and Materials You’ll Need
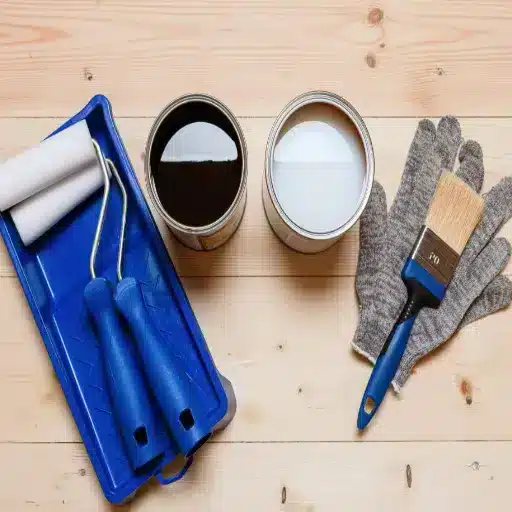
Having the right supplies on hand keeps the prep workflow moving. Here’s what to gather before you start.
- Sandpaper: 80, 100, 120, 150, 180, and 220 grit. Buy a few sheets of each.
- Random-orbit sander or sanding block: For flat surfaces, a power sander saves time. Hand sanding works better for edges, corners, and detailed areas.
- Tack cloth: A sticky cloth that picks up fine dust after sanding.
- Vacuum with brush attachment: Removes loose dust before the tack cloth.
- Mineral spirits or wood cleaner: For degreasing and revealing hidden glue spots.
- Wood filler: Choose a stainable formula that matches your wood.
- Putty knife: For applying filler and scraping off glue.
- Pre-stain wood conditioner: Essential for softwoods and porous hardwoods.
- Lint-free rags: For wiping conditioner, stain, and cleanup.
- Safety gear: Dust mask or respirator, safety glasses, and gloves.
- Scrap wood from the same project: For testing stain color and absorption.
Good preparation starts with good material. Sustainably sourced wood with consistent grain and fewer knots saves time on filler and repairs. That’s why we always recommend starting with quality lumber from responsibly managed forests.
How to Prepare Wood for Staining Step by Step
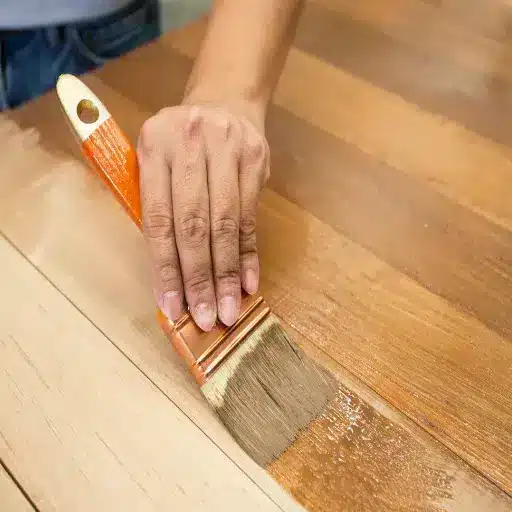
Follow this sequence for furniture, cabinets, doors, and most interior projects. These are the core steps for how to prepare wood for staining.
1. Inspect the Wood
Look for knots, cracks, nail holes, glue squeeze-out, and uneven areas. Mark problem spots so you can address them before sanding. Stain highlights every flaw, so fixing them now is faster than fixing them later.
2. Clean the Surface
Remove dirt, dust, grease, and mildew. For most interior wood, a wipe-down with mineral spirits on a lint-free rag is enough. For exterior projects, use a wood cleaner or a bleach-and-water solution, then rinse and let dry for 24–48 hours.
3. How to Remove Old Stain From Wood Before Restaining
If the wood has old stain, paint, or varnish, remove it before sanding. Chemical strippers work well for thick or layered finishes. Sanding also works, but start coarse and work your way up. You need to get back to bare, uniform wood for the new stain to absorb evenly.
Tip: If you’re refinishing a large piece, a chemical stripper followed by 100-grit sanding is usually faster than sanding alone.
4. Repair Imperfections
Fill nail holes, cracks, and dents with stainable wood filler. Overfill slightly, let it dry, then sand flush. Test the filler on scrap first. Some fillers absorb stain differently than the surrounding wood and can create dark or light spots.
Seal knots with shellac or a knot sealer to prevent resin from bleeding through the stain. Knots are dense and absorb stain unevenly, so sealing them is a small step that prevents big headaches.
Quick knot check: Brush a thin coat of shellac on any dark knots before staining. It takes minutes and saves hours of touch-up later.
5. Sand With the Grain
Always sand in the direction of the wood grain. Cross-grain scratches show up dramatically once stain hits them. Use a progression of grits and don’t skip more than one grade at a time.
For bare furniture or cabinets:
- Start with 100-grit to remove rough areas and old finish remnants.
- Move to 150-grit to smooth scratches.
- Finish with 180-grit or 220-grit for final smoothing.
For softwoods like pine, fir, or spruce, stop at 180-grit. Going finer closes the pores. That reduces stain absorption and causes blotching.
6. Remove Dust Between Grits
Vacuum the surface after each sanding pass. Then wipe with a tack cloth to remove the fine dust the vacuum misses. Dust left on the surface creates gritty spots and prevents the stain from bonding properly.
7. Apply Pre-Stain Wood Conditioner
On pine, maple, birch, cherry, alder, poplar, and other blotch-prone woods, apply a pre-stain wood conditioner. This partially seals the most porous areas. The stain then absorbs at a more even rate.
Apply a thin, even coat with a brush or lint-free cloth. Let it penetrate for 5 to 15 minutes, then wipe off the excess. Stain within about two hours for the best results.
Match the bases. Oil-based conditioner pairs with oil-based stain. Water-based conditioner pairs with water-based stain. Mixing them can cause poor absorption or a cloudy finish.
8. Test the Stain
Apply the stain to a scrap piece or an inconspicuous area. Make sure the scrap has been sanded and conditioned the same way as your project. This test shows you the true color and reveals any absorption problems before you commit the full piece.
What Grit Sandpaper Before Staining Wood?
The right grit depends on the wood species, the project, and the starting condition of the surface.
| Project Type | Starting Grit | Intermediate Grit | Final Grit |
|---|---|---|---|
| New furniture or cabinets | 100–120 | 150 | 180–220 |
| Refinishing old pieces | 80–100 | 120–150 | 180–220 |
| Softwoods (pine, fir, spruce) | 100–120 | 150 | 180 max |
| Hardwoods (oak, walnut, ash) | 120 | 150 | 180–220 |
| Exterior decks and fences | 80–100 | 120 | 150–180 |
A common furniture sequence is 100 → 150 → 220. For pine, use 100 → 150 → 180. Never jump from a coarse grit straight to a fine one. Deep scratches from the coarse paper remain visible after staining.
When Daniel refinished his grandmother’s oak dresser, he started with 80-grit to strip the old lacquer. He then moved through 120, 150, and finished with 220. The final stain went on so evenly that he thought the first coat was too light. It wasn’t. The wood was just properly prepared.
Pre-Stain Wood Conditioner: When and How to Use It
A pre-stain wood conditioner isn’t a sealer. It’s a thin, penetrating treatment that partially fills the most absorbent pores, so the stain doesn’t soak in too deeply in some spots. The result is more uniform color with fewer dark patches.
Woods That Benefit Most
- Pine, fir, spruce, cedar
- Maple, birch, alder, poplar
- Cherry (can blotch even though it’s a hardwood)
- Any wood with uneven grain density
Woods That Usually Don’t Need It
- Oak
- Walnut
- Ash
- Mahogany
These woods have more open, consistent grain. They absorb stain evenly without help.
Application Steps
- Stir the conditioner gently. Don’t shake it.
- Apply a thin, even coat with a brush, foam brush, or lint-free cloth.
- Work with the grain and cover the entire surface.
- Let it penetrate for 5 to 15 minutes.
- Wipe off any excess with a clean, dry cloth.
- Let it dry for 15 to 30 minutes, or follow the manufacturer’s instructions.
- Apply the stain within about two hours.
If you wait too long, the conditioner can seal the surface too much. The stain won’t absorb well. If that happens, a very light scuff-sand with 220-grit can reopen the surface.
Preparing Different Wood Species
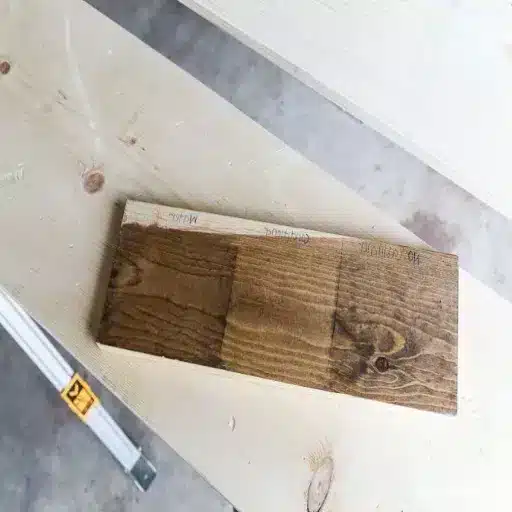
Not all wood behaves the same during prep. Matching your approach to the species prevents the most common staining problems.
Pine and Softwoods
Softwoods absorb stain unevenly because earlywood and latewood have very different densities. Use a wood conditioner, stop sanding at 180-grit, and consider a gel stain for more control. For more details, see our guide on how to stain pine wood.
Oak and Ash
These open-grained hardwoods stain evenly and rarely need conditioner. Sand to 220-grit for a smooth surface. The grain will still show through beautifully.
Maple and Birch
These are blotch-prone hardwoods. The grain is tight and uneven, so the stain can look muddy without conditioner. Sand to 220-grit and always use a pre-stain conditioner.
Cherry
Cherry darkens naturally over time. Go easy on stain color because the wood will deepen on its own. Conditioner helps control initial blotching.
Pressure-Treated Lumber
Outdoor lumber needs time to dry before staining. Fence boards may need 60–90 days. Smooth-milled deck boards often need 3–6 months. Test with the sprinkle test: if water absorbs within 10 minutes, the wood is ready. If it beads up, wait longer. For help choosing a species that takes stain beautifully, see our guide to the best wood for staining.
Project-Specific Prep Notes
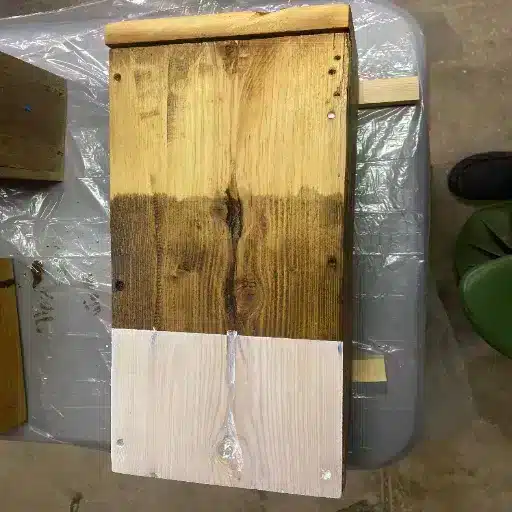
Different projects have different prep demands. Here’s how to adjust the basics.
Furniture and Cabinets
Furniture prep is all about smoothness and detail. Remove hardware, take doors off cabinets, and label pieces if needed. Fill holes and dents, sand through the full progression, and use conditioner on softwoods. For the staining phase, see our guide on how to stain wood furniture. For application tips, read our article on how to apply wood stain evenly.
Decks and Fences
Exterior prep focuses on cleaning and drying. Remove mildew with a cleaner or brightener, strip any peeling finish, and let the wood dry for at least 24–48 hours after cleaning or rain. A light sanding with 80–120 grit helps remove mill glaze and opens the grain.
Doors and Trim
Doors and trim often have old varnish or paint. Strip or sand back to bare wood, paying attention to detailed molding. Hand sanding works best for intricate areas.
Cutting Boards and Food-Safe Items
For items that contact food, avoid chemical strippers and harsh cleaners. Sand through fine grits, clean thoroughly with food-safe mineral oil, and finish with a food-safe oil or wax rather than a conventional stain.
Common Wood Stain Preparation Mistakes
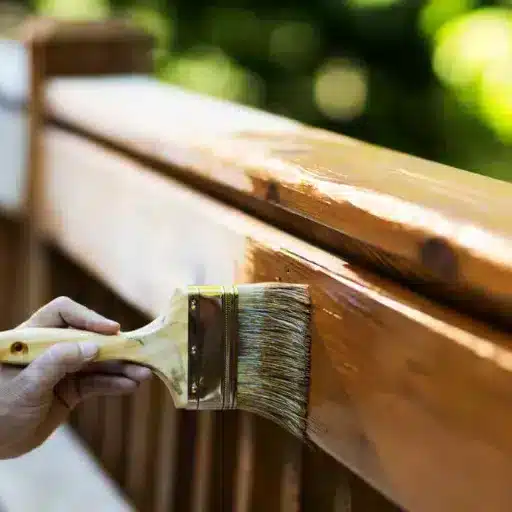
Even experienced woodworkers make these errors. Knowing them in advance saves you from sanding everything back down. Avoid these wood stain preparation mistakes, and your finish will look cleaner from the first coat.
Skipping Sanding
New wood isn’t ready to stain straight from the store. Mill glaze, fingerprints, and handling residue block even absorption. A quick sanding pass is always worth it.
Sanding Against the Grain
Cross-grain scratches act like tiny valleys that collect stain. They show up as dark lines across the wood. Always sand with the grain, especially on the final passes.
Skipping Grits
Jumping from 80-grit to 220-grit leaves deep scratches that the fine paper can’t remove. The stain then highlights every one of them.
Leaving Wood Glue
Dried glue doesn’t absorb stain. It shows up as pale, shiny spots. Wipe the surface with mineral spirits to reveal hidden glue, then scrape or sand it off.
Forgetting the Tack Cloth
Vacuuming removes most dust, but not all. A tack cloth picks up the fine particles that cause a gritty finish. It’s a two-minute step that makes a visible difference.
Staining Damp Wood
Moisture prevents the stain from absorbing and can cause streaking. Interior wood should be below 12–15% moisture content. Exterior wood should read 13% or less on a moisture meter.
Skipping the Test Piece
The color on the can is rarely what you get on your actual wood. Always test on a scrap piece that has been prepped the same way as the project.
When Is the Wood Ready to Stain?
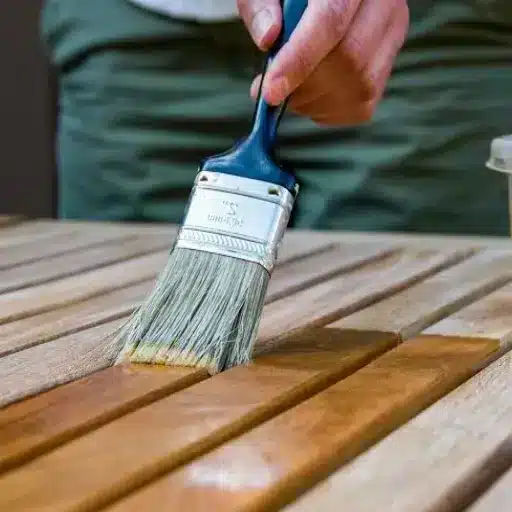
A well-prepared surface is clean, smooth, dry, and uniform. Before you open the stain can, run through this checklist.
- The surface feels smooth when you run your hand across it with the grain.
- All dust has been removed with a vacuum and tack cloth.
- No visible glue, grease, or old finish residue.
- Holes and cracks are filled and sanded flush.
- Knots are sealed if needed.
- Wood conditioner has been applied and wiped on soft/porous woods.
- A test piece shows the color and absorption you expect.
- The temperature is between 50°F and 85°F with low humidity.
- For exterior wood, no rain is expected for 24–48 hours.
If everything checks out, the wood is ready. If you’re unsure about dryness or cleanliness, wait longer and clean again. Stain is unforgiving when applied over a rushed prep job.
Timing, drying, and finishing all depend on the stain formula and sealer you choose next.
Frequently Asked Questions
Do you have to sand wood before staining?
Yes, for most projects. Sanding opens the wood pores, removes mill glaze and surface defects, and allows the stain to absorb evenly. Skipping sanding is one of the most common wood stain preparation mistakes and a frequent cause of blotchy or uneven stain.
What grit sandpaper should I use before staining wood?
For most furniture, use a progression like 100 → 150 → 220 grit. This is the most common answer to what grit sandpaper to use before staining wood. For softwoods like pine, stop at 180 grit. When refinishing, start with 80–100 grit to remove old finish, then move through finer grits.
How long after sanding can I stain?
You can stain as soon as the surface is clean and dry. There’s no required waiting time after sanding itself. Just make sure all dust is removed with a vacuum and a tack cloth.
Can you stain wood without sanding?
You can apply gel stain over a clean, sealed surface without sanding back to bare wood. For penetrating stains on raw wood, sanding is necessary for even color and absorption.
Do you need wood conditioner before staining?
Wood conditioner is strongly recommended for softwoods like pine, fir, and cedar, and for porous hardwoods like maple, birch, cherry, and alder. It helps prevent blotching by evening out absorption.
How do you remove old stains from wood before restaining?
Use a chemical stripper or sand the old finish back to bare wood. Start with 80–100 grit sandpaper for removal, then progress through 120–150, and finish with 180–220 grit before applying the new stain. This is the safest way to remove an old stain from wood before restaining.
How do I know if the wood is dry enough to stain?
For interior projects, use a moisture meter and aim for 12–15% or less. For exterior wood, the sprinkle test works: if water absorbs within 10 minutes, the wood is ready. If it beads, wait longer.
What happens if you stain over wood glue?
Glue doesn’t absorb stain, so it shows up as pale or shiny spots. Always inspect under bright light, remove glue with a scraper or sandpaper, and wipe with mineral spirits to reveal any hidden residue.
Conclusion
Learning how to prepare wood for staining is the difference between a finish that looks professional and one that looks accidental. Clean the surface. Sand progressively with the grain. Remove every speck of dust. Use conditioner on blotch-prone woods. Those four habits solve most staining problems before the can is even opened.
Preparation is also where the quality of your lumber shows. Sustainably sourced wood with consistent grain and fewer defects saves time on repairs and delivers better results.
Start with good material, follow the right steps, and the stain will reward you with rich, even color.
Once your wood is prepped, the next step is choosing the right stain formula and learning how to apply it evenly. Understanding the differences between oil-based, water-based, and gel stains will help you pick the best product for your project.