
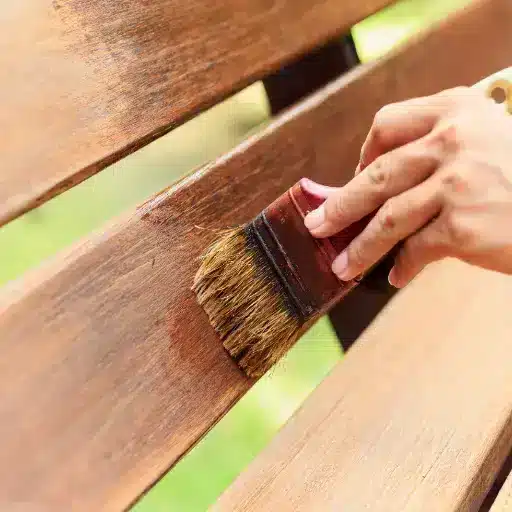
How to Seal Stained Wood: A Step-by-Step Guide to Lasting Protection
The best way to seal stained wood is to apply 2–3 thin coats of a compatible topcoat. Polyurethane, polycrylic, or shellac are the most common choices. Use water-based polyurethane for low odor and easy cleanup on most interior projects. Choose oil-based polyurethane or exterior-grade sealer for high-traffic floors and outdoor pieces.
If you’ve ever run your hand across a freshly stained tabletop and wondered whether it really needs another step, you’re not alone. Many DIYers assume stain is the finish. It isn’t.
Stain adds color, but it does little to protect the wood underneath. Sealing locks in that color. It guards against water, scratches, and daily wear.
In this guide, you’ll learn how to seal stained wood for furniture, countertops, outdoor pieces, and more. You’ll also discover which sealer works best for each project, how long to wait before sealing, and how to avoid the most common finishing mistakes.
For the full staining workflow that comes before sealing, see our How to stain wood pillar guide.
Key Takeaways
- Stain colors wood; sealer protects it. Most stained wood projects benefit from a topcoat.
- Polyurethane is the most durable all-around choice for furniture and high-traffic surfaces.
- Water-based sealers dry faster and stay clear; oil-based sealers add warmth and toughness.
- Wait until the stain is fully dry and no longer transfers to a cloth before sealing.
- Apply 2–3 thin coats, sand lightly between them, and allow the final coat to cure fully before use.
Do You Need to Seal Wood After Staining?
Yes, in almost every case. Wood stain penetrates the surface and adds color. But it leaves the wood vulnerable to moisture, scratches, UV rays, and household chemicals. Without a sealer, that beautiful oak coffee table can absorb water rings in minutes and show scuffs within weeks.
There are a few exceptions. Some exterior deck stains are sold as stain-and-sealer combos. A few specialty finishes are designed to be left alone. For most furniture, cabinets, countertops, and interior trim, a protective topcoat is the right next step.
Sealing also deepens the look of the stain. A good topcoat adds subtle sheen and makes the grain pop. It gives the surface a smooth, furniture-quality feel. The small extra effort separates a weekend project from a professional-looking finish.
Types of Sealers for Stained Wood
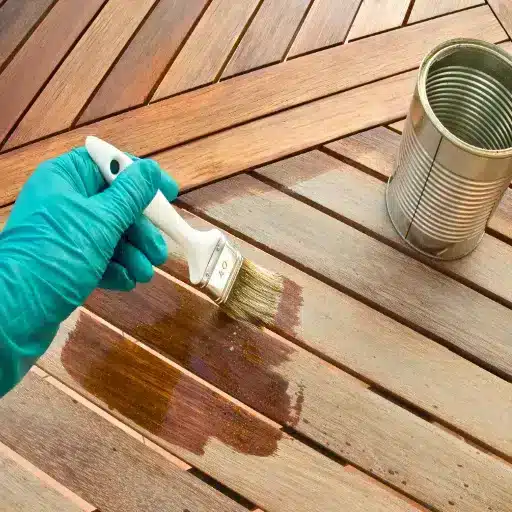
Choosing the best sealer for stained wood depends on your project, your workspace, and the look you want. Here’s a clear comparison of the most common options.
| Sealer Type | Finish | Durability | Drying Time | Best For |
|---|---|---|---|---|
| Oil-based polyurethane | Warm, amber tone | Very durable | 8–24 hours between coats | Floors, tables, high-traffic furniture |
| Water-based polyurethane | Clear, non-yellowing | Durable | 2–6 hours between coats | Light woods, cabinets, low-odor projects |
| Polycrylic | Clear, low sheen | Moderate | 2–4 hours between coats | Light-colored furniture, crafts |
| Shellac | Warm, glossy | Moderate (not waterproof) | 30–60 minutes | Antique restoration, quick projects |
| Lacquer | Hard, high-gloss | Good | 15–30 minutes | Cabinets, musical instruments |
| Varnish | Tough, UV-resistant | Very durable | 12–24 hours | Outdoor furniture, boats, doors |
| Natural oils (tung, linseed, Danish) | Matte, warm | Low to moderate | 24+ hours between coats | Cutting boards, food-safe items, rustic looks |
| Paste wax | Soft, satin sheen | Low | Minutes to hours | Decorative pieces, top layer over poly |
Polyurethane: The Workhorse Finish
Polyurethane is the most popular sealer for stained wood. It balances durability, appearance, and availability, with both oil-based and water-based versions.
Oil-based polyurethane adds a warm amber tone. Many people love it in the darker woods. It’s extremely tough once cured, which makes it ideal for dining tables, floors, and other high-traffic surfaces. The trade-offs are longer drying times, stronger fumes, and yellowing over light-colored woods.
Water-based polyurethane dries quickly, has little odor, and stays crystal clear. It’s a smart choice for white oak, maple, birch, and painted or light-stained surfaces.
Polycrylic and Shellac
Polycrylic is a water-based acrylic sealer that goes on clear and cleans up with soap and water. It’s less durable than polyurethane but works well for decorative furniture, picture frames, and light-use pieces where yellowing would be a problem.
Shellac provides a warm, glossy finish and dries extremely fast. It’s excellent for antiques and small repairs, but it isn’t water-resistant. Spilled wine or even a sweaty glass can leave marks on a shellac finish, so reserve it for low-risk indoor projects.
Natural Oils and Wax
Tung oil, linseed oil, and Danish oil soak into the wood rather than forming a thick film, enhancing the grain beautifully and feeling natural to the touch. But they offer less protection than polyurethane or varnish. These finishes are popular for cutting boards, butcher block, and rustic furniture, where a film finish would look out of place.
Paste wax is usually applied over cured polyurethane rather than used alone. It reduces the glossy look, adds depth, and gives furniture a silky feel. Just remember that wax isn’t waterproof and needs occasional renewal.
How to Choose the Right Sealer for Your Project
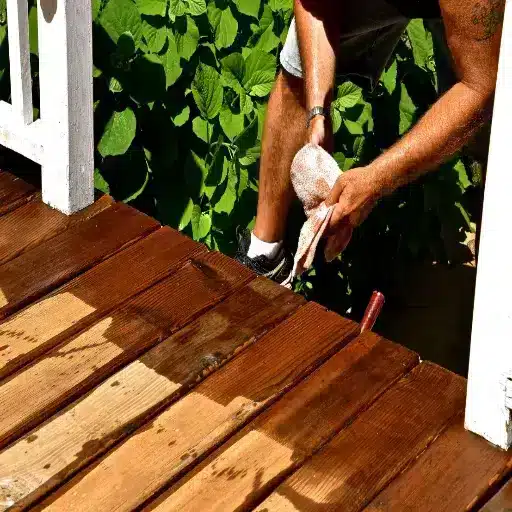
The right sealer depends on more than personal preference. Match the topcoat to the stain, the project, and the environment.
Match the base. Oil-based sealers generally work best over oil-based stains. Water-based sealers work best over water-based stains. Mixing bases can work, but it raises the risk of poor adhesion or a cloudy finish. When in doubt, follow the manufacturer’s recommendations.
Consider the traffic. A hallway bench or dining table needs oil-based polyurethane or a high-quality water-based equivalent. A decorative shelf can get by with polycrylic or wax.
Think about color. Water-based polyurethane stays clear, so it preserves the stain’s original color. Oil-based polyurethane deepens and warms the tone. It can look stunning on walnut, cherry, or mahogany, but it may yellow light woods over time.
Factor in ventilation and cleanup. Water-based products are easier to clean and produce fewer fumes. That makes them a better choice for basements, occupied homes, and anyone sensitive to solvents. Low-VOC water-based sealers are also the more eco-conscious option, aligning with a sustainable finishing approach.
How to Seal Stained Wood Step by Step
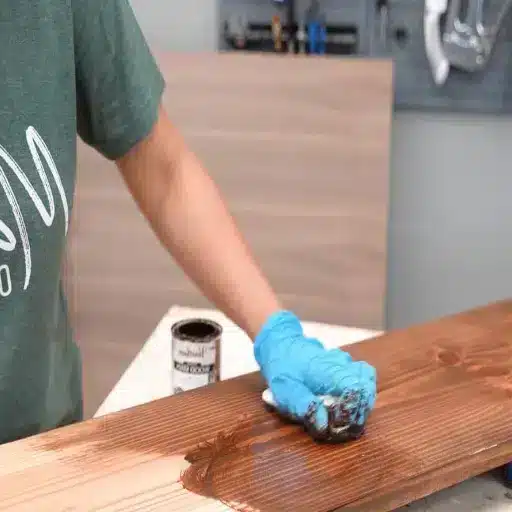
Follow this process for a smooth, durable finish every time.
- Let the stain dry completely. Rushing to seal is the fastest way to ruin a finish. Water-based stains usually need 2–6 hours; oil-based stains need 8–24 hours or more. Gel stains can take 24–48 hours. Cool or humid conditions extend to every timeline.
- Test for readiness. Press a clean white cloth against an inconspicuous spot. If any color transfers, wait longer. The surface should feel dry, smooth, and free of strong solvent odor.
- Prepare the surface. Lightly scuff-sand with 220-grit sandpaper if the stain raised the grain. Wipe away dust with a tack cloth or a lint-free rag slightly dampened with mineral spirits. Let any solvent evaporate fully before sealing.
- Stir the sealer. Stir the polyurethane gently with a clean stick. Don’t shake the can; shaking traps bubbles that show up on the finished surface.
- Apply a thin first coat. Use a high-quality bristle brush, foam brush, lint-free cloth, or sprayer. Work with the grain in long, even strokes. Thin coats level better and dry faster than thick ones.
- Sand lightly between coats. Once the sealer is dry, lightly sand with 220–320 grit sandpaper or a fine sanding sponge. Remove all dust before applying the next coat.
- Apply additional coats. Most projects need 2–3 coats for good protection. High-traffic floors may need 3–4 coats. Wipe-on polyurethane often needs 4–6 coats because each coat is thinner.
- Allow the final coat to cure. The surface may feel dry after a few hours, but full curing takes longer. Water-based finishes are usually ready for light use in 24 hours. Oil-based finishes need 48–72 hours or more before heavy use.
When Maya refinished her grandmother’s sideboard, she applied one thick coat of oil-based polyurethane because she wanted the job done in a day. The finish stayed tacky for a week, trapped dust, and eventually had to be stripped and redone. Her second attempt used three thin coats with light sanding between each. The piece still looks beautiful five years later.
How Long After Staining Can You Seal It?
The waiting period depends on the stain chemistry, the wood species, and the environment.
| Stain Type | Minimum Dry Time | Safer Wait Time | Full Cure Before Heavy Use |
|---|---|---|---|
| Water-based | 2–6 hours | 24 hours | 24–48 hours |
| Oil-based | 8–12 hours | 24–48 hours | 48–72 hours |
| Gel stain | 24–48 hours | 48–72 hours | 7–30 days |
Temperature and humidity matter just as much as the clock. Ideal sealing conditions are 70°F–75°F with 35%–50% relative humidity.
Below 65°F or above 70% humidity, drying slows dramatically. A small space heater and a fan on low speed can help. Never blow dust directly onto the wet surface.
If you’re unsure, wait longer. Applying sealer over tacky stain is a common cause of peeling, bubbling, and permanently soft finishes.
Sealing Stained Wood for Specific Projects
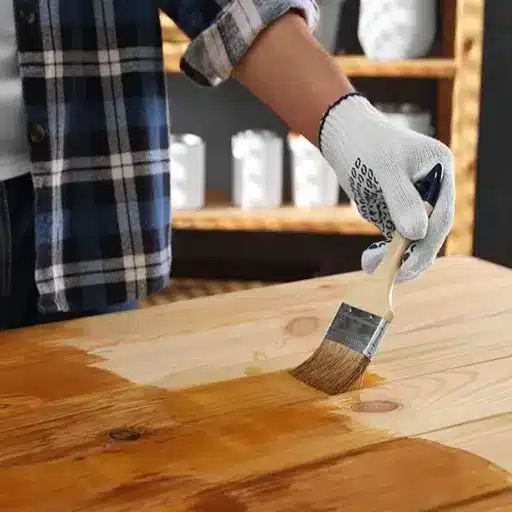
Different projects have different protection needs. Here’s how to adapt the process.
Furniture and Cabinets
Learning how to seal stained wood furniture starts with choosing a durable topcoat. Furniture sees hands, coasters, cleaning products, and spills, so oil-based or high-quality water-based polyurethane is usually the best choice. Two or three coats provide excellent protection without looking overly plastic. For a softer feel, apply paste wax over the cured polyurethane.
If you’re still in the staining phase, our guide to how to stain wood furniture covers prep, color choice, and application for tables, chairs, and cabinets.
When Daniel built his first bookshelf, he chose polycrylic because it was clear and easy. Within a year, the shelves showed water rings from houseplants and scuffs from sliding books. He eventually sanded back the finish and applied three coats of water-based polyurethane. The extra durability was worth the longer process.
Countertops and Butcher Block
Kitchen countertops and butcher block need water resistance above all else. Oil-based polyurethane is the most durable choice for surfaces that won’t come into direct contact with food. Bob Vila’s guide to sealing butcher block explains the trade-offs clearly.
For cutting boards or any surface where food is prepared, use food-safe mineral oil, beeswax, or a commercial butcher block oil. Don’t use film-forming finishes on these surfaces. Reapply oil monthly to keep the wood nourished and protected.
Outdoor Furniture and Decks
Outdoor wood faces sun, rain, and temperature swings. Use an exterior-grade sealer with UV and water protection. Varnish, marine-grade polyurethane, or a dedicated exterior deck sealer are all good options. Reapply every 1–3 years, depending on exposure.
Our guide to how to stain a deck covers exterior-specific prep and maintenance.
Floors and Stairs
Floors take the most abuse of any interior wood surface. Use oil-based polyurethane or a commercial water-based floor finish. Apply 3–4 thin coats and allow several days of cure time before moving furniture back.
Stairs need the same toughness. Pay extra attention to edges and risers where shoes strike.
Common Sealing Problems and How to Fix Them
Even experienced finishers run into trouble. Here’s a quick guide to the most common issues and what to do about them.
| Problem | Cause | Fix |
|---|---|---|
| Sticky or tacky finish | Sealer applied over wet stain, or applied too thick | Wait longer between coats, ensure ventilation, or strip and restart |
| Cloudy polyurethane | Moisture trapped in oil-based poly, or incompatible products | Sand lightly and recoat in drier conditions with a compatible sealer |
| Bubbles or brush marks | Shaken can, over-brushing, or thick application | Stir gently, use a quality brush, and apply thin coats |
| Peeling or poor adhesion | Incompatible sealer/stain base, or surface not clean | Strip, clean thoroughly, and use matching bases |
| Dust or debris in the finish | Dirty workspace or insufficient drying time | Sand smooth between coats and work in a cleaner area |
If the finish looks bad after two coats, resist the urge to keep adding more. Sand the surface smooth, remove the dust, and start fresh with thin, even coats.
Tips for a Professional-Looking Sealed Finish
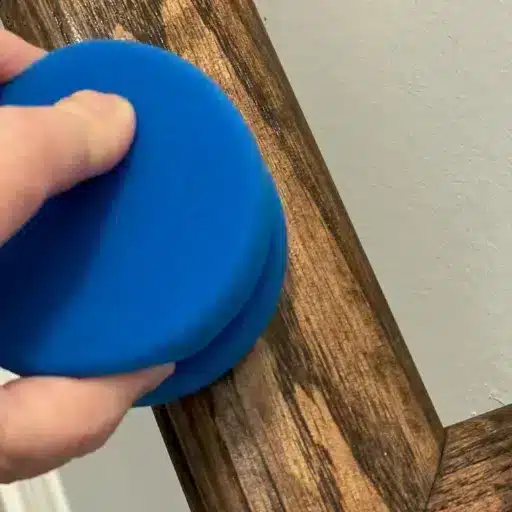
Small habits make a big difference in the final result.
- Work in a clean, well-ventilated space. Dust is the enemy of a smooth finish.
- Use the right brush. A high-quality natural-bristle brush works well with oil-based polyurethane. Synthetic bristles are better for water-based products.
- Apply thin coats. Thick coats take longer to dry, bubble more easily, and level poorly.
- Sand between every coat. This creates a mechanical bond and removes imperfections.
- Check the forecast for outdoor projects. Avoid sealing if rain or dew is expected within 24–48 hours.
- Consider low-VOC options. Water-based and plant-based sealers reduce fumes and environmental impact without sacrificing performance for most projects. My Chemical Free House reviews non-toxic, natural finishes for readers who want to avoid solvent-based products.
For the best stain application technique before you seal, read our article on how to apply wood stain evenly.
Frequently Asked Questions
Do you need to seal wood after staining?
Yes, for most projects. Stain adds color but offers little protection. A sealer guards against moisture, scratches, and wear while enhancing the appearance of the stain.
What can I use to seal stained wood?
Common options include polyurethane, polycrylic, shellac, lacquer, varnish, natural oils, and paste wax. Polyurethane is the most durable all-around choice for furniture and high-traffic surfaces.
How long after staining can I seal it?
Water-based stains need 2–6 hours minimum, oil-based stains need 8–24 hours, and gel stains need 24–48 hours. Safer practice is to wait 24–72 hours and test dryness with a clean cloth before sealing.
Can I put water-based polyurethane over an oil-based stain?
Yes, but only after the oil-based stain has fully dried. Most manufacturers recommend waiting at least 24 hours, with 48 hours preferred in cool or humid conditions.
How many coats of sealer should I apply?
Most projects need 2–3 thin coats. High-traffic floors and heavily used tables may need 3–4 coats. Wipe-on finishes often need 4–6 coats because each layer is thinner.
Can you put wax over polyurethane?
Yes. Paste wax is commonly applied over fully cured polyurethane to soften the sheen and add a silky feel. Wait until the polyurethane has cured completely, buff the wax on thinly, and then buff it off with a clean cloth. Wax isn’t waterproof, so reapply it occasionally on high-use pieces.
Can I seal stained wood for outdoor use?
Yes, but use an exterior-grade sealer with UV and water protection. Varnish, marine polyurethane, or dedicated deck sealers work well. Reapply every 1–3 years.
What is the best food-safe sealer for stained wood cutting boards?
Use food-safe mineral oil, butcher block oil, or a beeswax blend. Avoid polyurethane and other film finishes on surfaces that will contact food directly.
Why does my polyurethane look cloudy?
Cloudiness usually means moisture was trapped in the finish, often because humidity was too high or the stain underneath wasn’t fully dry. Sand lightly and recoat in drier conditions.
Conclusion
Learning how to seal stained wood is the difference between a project that looks good for a season and one that stays beautiful for years. Stain brings the color; sealer brings the protection. Match the sealer to your project, wait for the stain to dry fully, and apply thin, even coats. That’s how you get a finish that rivals professional work.
Start with the right materials. Work in good conditions. Don’t rush the curing process. Whether you’re finishing a dining table, a deck, or a small shelf, the same principles apply: clean surface, compatible products, thin coats, and patience.
At VitalWood Global, we believe that a great finish starts with great wood. Our sustainably sourced wood products give your projects a reliable foundation from the first cut to the final coat. Explore our how to stain wood pillar guide for the complete staining workflow.