
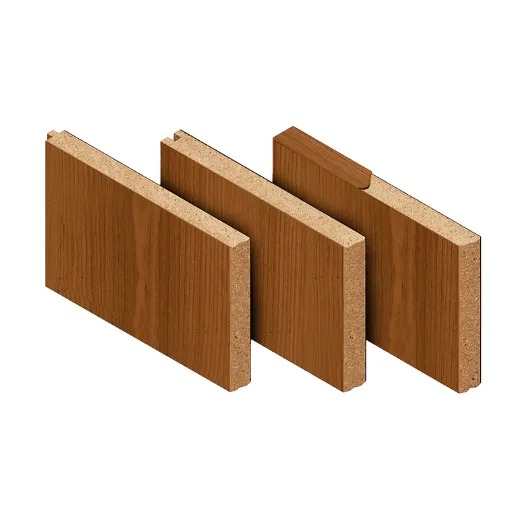
Wood Veneer Panels: Getting the Look Right Without Fighting the Material
Most arguments about panels start in the showroom, not the factory. Wood Veneer Panels sit right in the middle of that gap between “this looks great on the sample board” and “will this survive 200 office doors and a few years of cleaning crews,” so you can’t just treat them like generic sheet goods. If you’ve ever had a run go wrong on site, you already know why this matters.
Where Wood Veneer Panels Actually Make Sense
Wood Veneer Panels aren’t a catch‑all solution for every flat surface. They shine when you need premium wood grain appearance at scale without the headaches of solid lumber or the cheap look of laminate. A single 2.4 x 1.2 m panel can cover a cabinet door or wall section with consistent figure that would take days to match in solid stock.
Walls, cabinets, doors – different priorities, different builds
Wall panels prioritize large‑scale visual flow. Architects spec them for lobbies, corridors, or feature walls where book‑matched sets create a continuous grain pattern across 17 or 19 panels without awkward breaks. You’re not hanging hardware into them, so the focus stays on flatness and finish compatibility.
Cabinets shift the game. Here, edge durability and screw‑holding strength matter more than pure face quality, so the core choice—often a denser particleboard or plywood—carries as much weight as the veneer itself. Doors land somewhere in between: they need hinge and lock reinforcement zones, yet still demand tight grain matching across a full run so no two look like random pulls from a scrap bin.
Each application pulls different levers on the spec sheet. Wall panels might run thinner veneers over lightweight cores for easy handling; cabinet carcasses get beefier builds to survive decades of daily use.
When veneer beats laminate or solid wood
Laminate makes sense for budget runs or high‑abuse zones like rental kitchens. But it can’t take a local repair—scratch the surface and you’re repainting or replacing the whole door. Wood Veneer Panels let a carpenter sand out a ding, restain lightly, and blend it back in, which matters when a client wants “real wood” without constant replacement cycles.
Solid wood? Beautiful in small pieces. Painful at scale. Try milling 68 wardrobe doors from kiln‑dried oak boards and you’ll fight cupping, end‑checking, and endless sorting for matching grain. Veneer spreads that same species over stable cores, giving you repeatable quality without the movement drama. That said, veneer won’t carry structural loads or machine like solid stock. Know your limits.
Types of Wood Veneer Panels (And What They’re Good For)
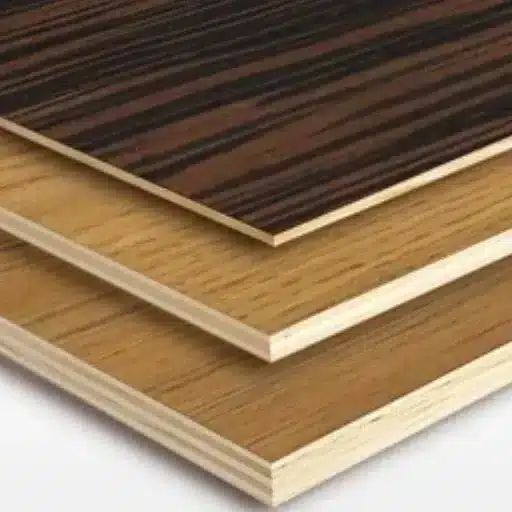
Wood Veneer Panels come down to three big choices that drive everything from handling to finish quality: the core, the face veneer type, and whether you want it raw or prefinished. Pick wrong and you’re fighting flatness, screw hold, or edge issues from day one. Get it right and the panel just works across your whole project.
MDF, particleboard, and plywood cores
MDF is the go‑to for clean faces and tight tolerances. Its uniform density—no voids, no grain to telegraph—makes it perfect for high‑gloss paints or lacquers where every imperfection shows. You’ll see it a lot on wall panels or cabinet doors because it sands flat and machines cleanly, though it’s heavier and thirstier for edge banding than lighter options.
Particleboard cores keep costs down without sacrificing smoothness. They’re a solid pick for painted or low‑stress applications like shelving backs or wardrobe bottoms, where screw hold isn’t brutal. But don’t overload them with hardware; the edges crush easier than MDF, especially after a few humidity swings.
Plywood cores—often poplar or mixed softwood plies—bring screw‑holding power and lighter weight to the table. At around 32 kg for a standard 2440 x 1220 x 19 mm sheet, they span better than composites and feel more forgiving if you’re hanging cabinets or running heavy hinges. The trade‑off is slight thickness variation, so always check your supplier’s calibration specs if tolerances matter.
Sliced, rotary, and engineered veneer faces
Sliced faces give you that architectural grain—think straight rift or quarter‑sawn oak running consistently across a run of 14 wall panels. They’re pricier per square meter but deliver on premium projects where the designer’s mood board isn’t negotiable.
Rotary veneer is the volume player. Peeled in a continuous sheet, it covers more ground cheaper and works fine for cores, backers, or painted faces where grain isn’t starring. You get bold cathedral effects sometimes, but expect more variation leaf to leaf.
Engineered faces solve the “I need 500 identical ebony doors next year” problem. Fast‑growth species get dyed and recombined, so color and pattern lock in perfectly—no log roulette. Great for chain stores or phased rollouts, less so if authenticity is the brief.
Raw vs prefinished panels
Raw panels give you control. You sand, stain, and seal exactly to spec, matching adjacent solid trim or touching up gouges later. They ship with protective wrap, ready for your line, but moisture protection starts the second they hit your shop.
Prefinished panels save weeks of labor. Factory UV‑cured topcoats mean you cut, edge, and install with zero finish hassle—ideal for rush jobs or sites without spray booths. The catch? Limited color range and no easy field repairs if a fork truck dings the corner. Check the sheen consistency across batches; factory finishes can drift a touch between runs.
Each combo has its sweet spot. MDF core with sliced raw oak for a feature wall. Particleboard core, rotary prefinished poplar for budget cabinets. Match the build to the abuse it’ll see.
How to Read a Wood Veneer Panel Spec Sheet
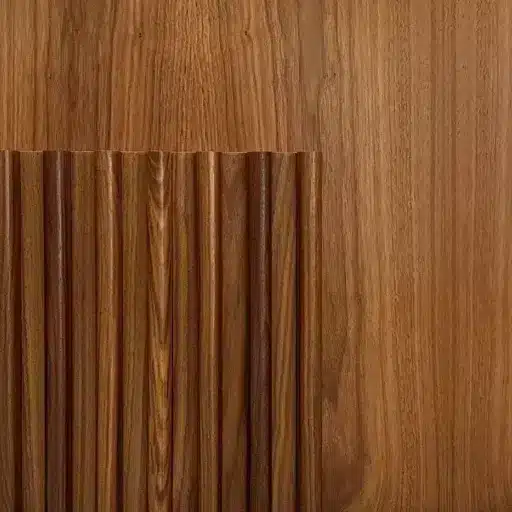
A good spec sheet for Wood Veneer Panels tells a story about how the panel will behave, not just what it looks like. Skip the pictures and marketing fluff; focus on core type, balance details, and matching notes—that’s where surprises hide. You can tell a rushed spec from a thoughtful one in about 90 seconds.
Thickness, core type, and balance construction
Thickness starts everything. Common calls are 12 mm, 18 mm, 25 mm total panel thickness, but always check veneer thickness separately—0.6 mm faces give more sanding room than 0.4 mm. A 19 mm cabinet door might sound standard, yet if the core is lightweight particleboard instead of plywood, expect different screw pullout and edge‑banding needs.
Core type drives stability and load. MDF cores machine flat and hold paint, but swell faster at cut edges. Plywood breathes better across humidity swings. Balance construction matters too: every face needs a backer veneer or sheet of equal thickness and properties, or the panel cups like a taco left in the sun. Look for “balanced both sides” explicitly; without it, you’re gambling on storage conditions.
Matching options: book, slip, random, sequence
Matching dictates visual flow. Book matching flips every other leaf for a mirror image—great for door pairs where symmetry sells the premium look. Slip matching slides leaves side by side for repeating grain, less dramatic but cheaper on material. Random match uses same‑species leaves from different flitches, fine for utility cabinets where cost trumps continuity.
Sequence matching locks the order across an entire run—say, 23 wall panels flowing like one giant flitch. It’s expensive because you can’t swap leaves around defects, but perfect for feature walls. Check the spec for “set matching” or “numbered leaves”; vague terms like “running match” often mean random with a fancy name.
Fire rating, emissions, and certifications
Fire ratings kick in for commercial jobs. Class B or Euroclass B-s1,d0 means the panel self‑extinguishes without dripping; untreated wood rarely qualifies. Emissions specs like E1 or CARB Phase 2 limit formaldehyde off‑gassing—critical for schools or hospitals. FSC or PEFC stamps prove chain‑of‑custody for green building points.
Yet specs lie if not backed up. Demand test reports, not logos. A “low VOC” claim without numbers means nothing when the glue line yellows under UV or the hotel inspector fails a sniff test. Cross‑check against project requirements; one missing certification can kill a whole bid.
Smart specs anticipate problems. Thickness tolerance ±0.2 mm. Matching clarified by diagram. Certifications with report dates. Anything less leaves you guessing when the truck arrives.
Appearance and Grain: What Architects and Designers Care About
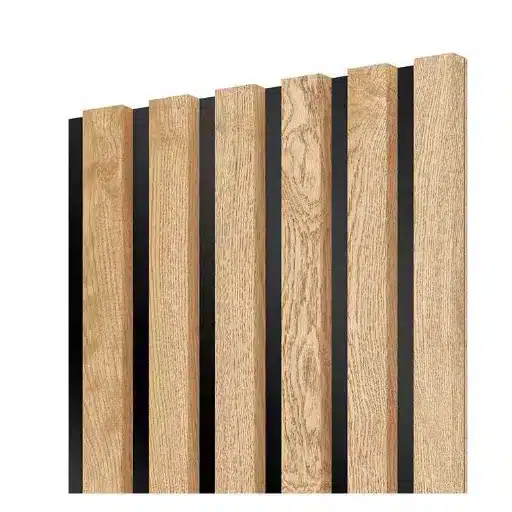
Architects obsess over Wood Veneer Panels because one off note in grain or color can kill an entire wall’s story. It’s not just “nice wood”—it’s about controlling how light plays across 27 square meters of continuous surface, making a lobby feel warm instead of disjointed. Nail the details here, and the rest of the build falls into place.
Color consistency across 20+ panels
Color drift murders continuity. Even same‑species leaves from adjacent flitches can shift a full shade warmer or cooler, especially on oaks or maples where heartwood streaks vary wildly between logs. Designers spec “color within Delta E of 2.0” to lock it down—that’s the point where human eyes struggle to detect difference under showroom lighting.
Yet logs aren’t uniform. A smart supplier sorts leaves by moisture history and exposure, not just visual match, because UV and oxidation keep working post‑manufacture. For a 23‑panel reception wall, insist on “flitch‑cut sets, numbered and banded”—random pulls from inventory won’t cut it. You’d notice the jump halfway across, even if the carpenter swears it’s all the same run.
Batch testing matters too. Suppliers who photograph sets under standardized light and share the files let you pre‑judge flow without flying samples worldwide. Anything less leaves you hoping the container gods deliver what the mood board promised.
Dealing with end grain, edges, and reveals
Exposed edges turn good panels into obvious veneer. Raw end grain soaks finish unevenly, pulls away from the core over time, and telegraphs every glue line if you don’t band or profile it right away. Reveals—those 3 mm gaps around doors or panels—amplify the problem; light rakes across, highlighting color breaks or sanding scratches you’d never see on a face.
So edge strategy starts at spec time. Solid edge banding matching the face veneer adds cost but hides the substrate completely. Thicker face veneers, around 0.6 mm, give you material to profile edges without exposing core. For flush reveals, sequence matching across edge and face keeps the grain flowing around corners, not stopping abruptly.
Miters and returns need extra love. A 45‑degree edge joint looks clean only if both faces came from the same leaf set—mismatched grain at the seam screams “veneer” louder than raw particleboard. That said, prefinished panels with factory‑banded edges save headaches on tight schedules, even if color lots need juggling.
Grain direction ties it together. Faces running horizontally on walls pair best with vertical edge grain on reveals; crossed directions fight visually and machine unevenly. Check the arrow on the backer sheet. Small callout, big payoff when the installer doesn’t have to guess.
5 Practical Decisions That Affect Performance on Site
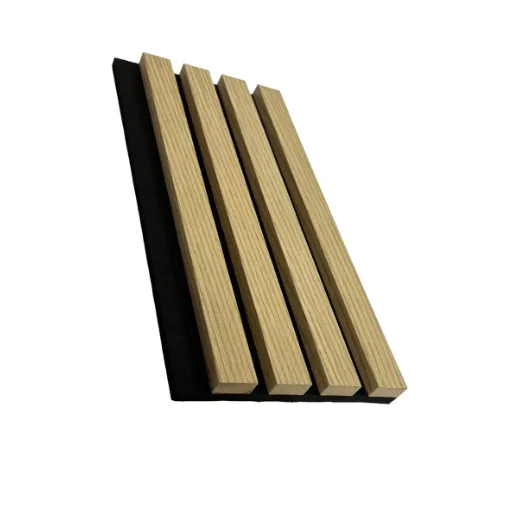
Specifying Wood Veneer Panels is half materials science, half site reality. The decisions you lock in now determine whether installers curse your name or thank you quietly when the job runs smooth. Get these five right and half your callbacks disappear.
1. Choosing the right core for hardware and fixings
Hardware decides the core. Heavy hinges or adjustable shelf pins need plywood or veneer core—around 32 kg per full sheet—for screw pullout resistance that particleboard just can’t match. Light duty pulls or glue‑only fixes? MDF or particleboard saves weight and cash without drama.
Plywood cores span better between supports. A 900 mm shelf on 600 mm centers holds 27 kg of books without sagging if built on poplar veneer core; the same load on particleboard starts bowing by month three. Check screw‑hold specs if your detail includes repeated adjustments—cheap cores strip fast under torque.
2. Veneer thickness and sanding allowance
Thinner veneer looks good on paper. At 0.4 mm, it’s tempting for cost. But after 0.2 mm sanding allowance and minor site dings, you’re exposing core on every edge profile. Go 0.6 mm minimum for doors and cabinets; it gives field repairs breathing room without telegraphing patch marks.
Sanding eats veneer fast. Factory sandthrough reveals itself under finish as fuzzy grain or core show. A 19 mm panel with 0.6 mm faces lets you hit 220 grit clean, edge all four sides, and still have buffer for touch‑ups. Skimp here and every gouge turns into a full panel swap.
3. Backer choices and panel stability
No backer, no balance. Face veneer without equal‑thickness backer cups toward the pretty side like a smiling banana. Match veneer thickness both sides—0.6 mm face needs 0.6 mm back—or swap back for phenolic sheet of equal weight.
Uneven builds fight humidity. A dry face over moist core starts warping the day it unpacks. Stable backers like 100 gsm phenolic paper or thin utility veneer keep tension even, especially on wide wall panels where 1 mm bow across 2.4 m wrecks alignment. You’d notice it when doors won’t close flush.
4. Edge banding strategy for doors and cabinets
Exposed edges kill veneer panels. Raw core soaks finish and swells; mismatched banding screams cheap. Solid wood banding matching face species hides substrate but costs 12–15% more per door. Thin veneer over edge strip blends cheaper if grain wraps the corner right.
Doors need thicker bands—2 mm minimum—to resist clamp pressure and hardware bite. Cabinets can run 1.5 mm if edges stay protected. Always spec banding hardness close to face wood; soft pine on oak edge dents on first contact. Profile after banding, never before.
5. Finish system compatibility
Finish dictates core and veneer prep. High‑build lacquer loves MDF’s uniform bite. Oil‑based poly reveals every core void on plywood unless you’ve got premium 2‑step construction. Waterborne finishes demand tight glue lines and balanced moisture or they flash dry uneven across the face.
Test compatibility early. A UV‑cured factory prefinish saves site time but locks your color—drift between batches shows under side‑by‑side panels. Field‑applied oils let you match trim but need 48 hours minimum cure before handling or you’re smudging wet edges all day.
These aren’t optional line items. Core voids under hardware. Sandthrough on edges. Cupped panels at install. Every one traces to a spec call you rushed. Nail them and your panels just work.
Frequently Asked Questions (FAQ)
-
How do I pick the best core for wood veneer panels in cabinets?
Plywood cores win for cabinets—they hold screws better than particleboard, especially for heavy hinges on a 24 kg door. MDF works fine for paint‑grade faces but swells at cut edges without thick banding. Check the screw pullout rating; anything under 400 N likely fails after a year of adjustments. Match core density to your hardware load. -
Will wood veneer panels warp if I don’t acclimate them first?
Yes, skipping acclimation is a classic mistake. Panels shipped from humid factories hit dry job sites and cup immediately—1–2 mm bow across a 2.4 m span makes doors bind. Leave them flat in the install room for 72 hours at site humidity. You’ll avoid gaps at reveals that show up after the first heating season. -
What’s the difference between book match and random match on veneer panels?
Book matching mirrors leaves for symmetry, perfect for door pairs where the left reflects the right. Random match mixes flitch pulls, cheaper but inconsistent on walls. For a 16‑panel elevator lobby run, book match sells premium; random saves 18% but risks color jumps you spot under fluorescents. -
Can I repair scratches on prefinished wood veneer panels?
Prefinished panels hate field repairs—UV topcoats don’t take stain well, so a fork truck gouge on a corner shows forever. Raw panels let you sand to 320 grit, restain lightly, and blend with adjacent trim. Spec raw for high‑abuse zones; prefinished only where perfection lasts through install. -
Why do some wood veneer panels telegraph core defects after finishing?
Uneven cores push through thin faces under tension. Particleboard voids or plywood ply gaps show as ridges once sanded and coated, especially on gloss finishes. Demand “lumber core” or 5‑mm minimum veneer faces for clean results. A 19 mm office desk top with rotary core veneer often reveals knots you’d never see on MDF.
References
-
Architectural Woodwork Institute (AWI). (2024). AWI 300 Performance Quality Standards: Section 3.3 Panel Products and Veneer Matching. https://awinet.org/standards/materials/requirements-materials/3-2-lumber-2/
-
States Industries. (2021). Custom Panels Specification Guide: Core Types and Construction Standards. https://www.statesind.com/wp-content/uploads/2021/10/Custom-Panels-Specification-Guide.pdf