
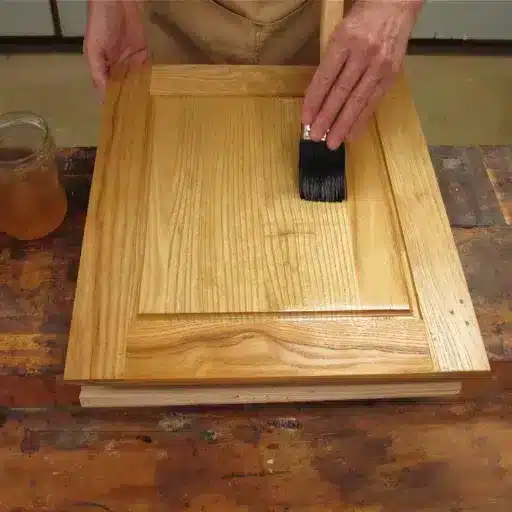
How to Apply Wood Stain Evenly: A Step-by-Step Guide
To apply wood stain evenly, work in small sections, keep a wet edge, apply the stain with the grain using a brush or rag, let it sit for a few minutes, then wipe off all excess in the direction of the grain before it starts to dry.
Lap marks, streaks, and blotches are almost always caused by technique, not by the stain itself. Many DIYers make the mistake of treating stain like paint. They brush it on and leave it. Stain is meant to penetrate, then be wiped back. The professionals who get furniture-store finishes know how to control timing, tool choice, and wiping pressure. In this guide, you will learn the exact steps, tool comparisons, and environmental tips that keep stains looking even from the first coat to the last.
For the full staining process from start to finish, see our complete guide to how to stain wood.
Key Takeaways
- Stain must be applied and wiped back; leaving it on like paint causes streaks.
- A natural-bristle brush or lint-free rag gives the most even results on flat surfaces.
- Maintaining a wet edge prevents lap marks on large areas.
- Temperature, humidity, and airflow control how fast stain dries.
- Proper prep, including sanding and conditioning, is half the battle for even color.
Tools You Need to Apply Stain Evenly
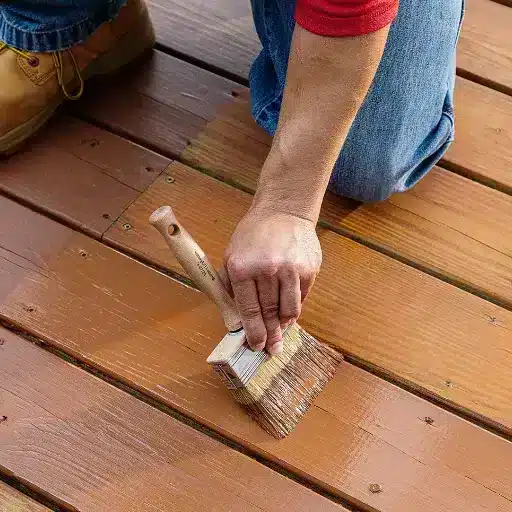
The right tools give you control over how much stain goes on and how much comes off. Cheap or wrong tools make even application much harder.
Natural-Bristle Brush
Natural-bristle brushes are the classic choice for oil-based stains. They hold plenty of product and lay it down smoothly. A 2- to 3-inch flat brush works well for most furniture and trim. Clean brushes thoroughly with mineral spirits after use.
Synthetic Brush
Synthetic brushes work with both water-based and oil-based stains. They are easier to clean and less prone to shedding bristles. Use them for water-based stains, especially.
Lint-Free Rags
Clean cotton rags, old t-shirts, or shop towels are ideal for wiping stains. The rag applies stain, spreads it, and removes the excess. Always use lint-free material. Fuzzy residue will stick in the finish.
Foam Brush
Foam brushes are cheap and disposable. They work for small projects and tight corners, but they can leave bubbles and do not hold much stain. They are not the best choice for large, visible surfaces.
Sprayer
HVLP sprayers or aerosol cans can apply stain evenly on large areas or intricate work. However, they require masking, ventilation, and careful wiping afterward. Spraying is faster but less beginner-friendly.
| Tool | Best For | Pros | Cons |
|---|---|---|---|
| Natural-bristle brush | Oil-based stains, furniture | Smooth application, good control | Requires solvent cleanup |
| Synthetic brush | Water-based and oil-based stains | Easy cleanup, versatile | Can leave brush marks |
| Lint-free rag | Wiping and applying stain | Excellent control, cheap | Can leave lint if of poor quality |
| Foam brush | Small projects, corners | Cheap, disposable | Bubbles, limited capacity |
| Sprayer | Large areas, detailed trim | Fast, even coverage | Requires setup and ventilation |
Prepare the Surface First
Even the application starts long before you open the stain can. The wood surface must be clean, smooth, and consistent.
Sand to the Right Grit
Sand through the grit progression. Start with 120-grit to remove scratches and mill marks. Move to 150-grit, then 180-grit, and finish with 220-grit for most stains. Do not skip grits. Each grit removes the scratches left by the previous one. Deep scratches act like tiny reservoirs that hold extra stain and create dark lines.
Remove Dust
Vacuum the surface and wipe it with a tack cloth. Even a speck of dust can create a bump or a light spot in the finished stain.
Raise the Grain for Water-Based Stains
Water-based stains raise the wood grain as they dry. Wipe the wood with a damp cloth after final sanding, let it dry, then sand lightly with 220-grit. This prevents a rough, fuzzy texture after staining.
Use Pre-Stain Wood Conditioner
A wood conditioner partially seals the wood so soft areas cannot over-absorb stain. It is essential for pine, fir, spruce, cedar, maple, birch, and cherry. Pine is especially tricky because its soft earlywood absorbs stain much faster than the harder latewood rings. For pine-specific techniques, see our guide on how to stain pine wood. Apply conditioner evenly, wait the recommended time, wipe off the excess, and stain within about two hours.
Brush vs. Rag vs. Foam Brush vs. Sprayer
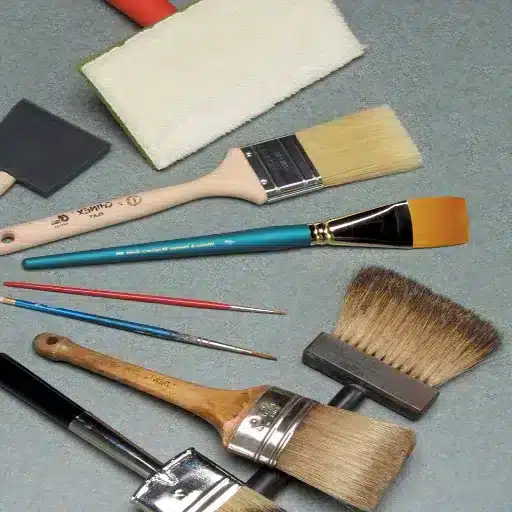
Choosing the right tool depends on the project size, the stain type, and your skill level.
When to Use a Brush
Use a brush for oil-based stains, large flat surfaces, and when you want controlled, even coverage. A brush lets you work the stain into the grain and reach corners. If you are unsure which stain type fits your project, our guide to the types of wood stain compares oil, water, and gel options.
When to Use a Rag
Use a rag when you want to apply and wipe in one step. Rags are great for furniture, small pieces, and when you want a lighter, more natural look. They also make it easier to avoid drips.
When to Use a Foam Brush
Use a foam brush for quick touch-ups, small crafts, or getting into tight spaces. Avoid foam brushes for large surfaces where streaks will show.
When to Use a Sprayer
Use a sprayer for decks, fences, large cabinets, or detailed millwork. Spray lightly, then immediately back-brush or wipe with a rag to even out the finish.
The Step-by-Step Even Application Method
Follow this sequence every time you stain. It works for furniture, trim, cabinets, and doors.
Step 1: Stir the Stain Thoroughly
Pigments settle in the can. Stir, do not shake. Shaking introduces bubbles. Stir until all color is uniformly suspended. Minwax covers the basics of how to stain wood evenly using proper stirring and application technique.
Step 2: Test on Scrap
Always test the full finish schedule on a piece of scrap wood from the same batch. This lets you see the actual color, drying time, and absorption.
Step 3: Work in Small Sections
For large surfaces like tabletops or floors, work in sections about two to three feet wide. This keeps the stain wet long enough to blend each section into the next.
Step 4: Apply With the Grain
Dip your brush or rag and apply stain in the direction of the wood grain. Cover the section completely, but do not overload the surface.
Step 5: Maintain a Wet Edge
A wet edge means each new section you stain overlaps slightly with the previous section while it is still wet. If the previous section starts to dry before you overlap, you will get a lap mark.
Step 6: Let It Sit Briefly
Let the stain sit for 3 to 10 minutes, depending on the product and how dark you want the color. Check the manufacturer’s instructions. Thicker stains and cooler temperatures need more time.
Step 7: Wipe Off Excess With the Grain
Use a clean rag and wipe firmly in the direction of the grain. This step is critical. Stain left on the surface will be dry, tacky, and uneven. Keep turning the rag to a clean area as it becomes saturated.
Step 8: Inspect From Different Angles
Look at the surface from multiple angles and in different lights. Catch drips, puddles, or thin spots before the stain dries.
How to Stain Vertical Surfaces Without Drips
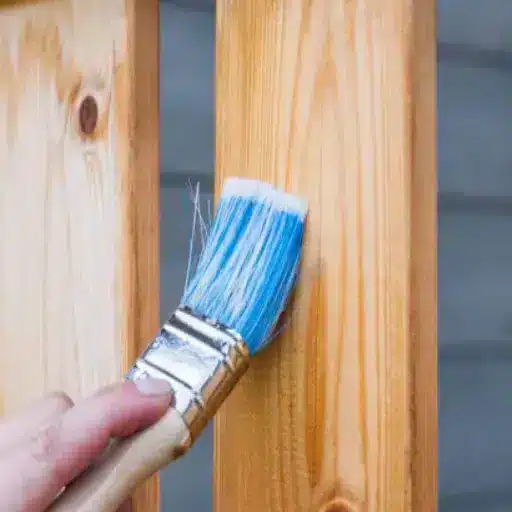
Doors, cabinets, posts, and trim are harder to stain evenly because gravity pulls the stain downward.
Start at the Top
Work from the top down. Any drips that form can be caught before they run too far.
Use Thinner Coats
Apply a lighter amount of stain on vertical surfaces. A heavy coat will drip and pool in corners.
Catch Drips Immediately
Keep a clean rag handy. Wipe drips as soon as they appear. Once a drip dries, it is much harder to blend in.
Work in Vertical Strips
Stain one vertical strip at a time, keeping a wet edge between strips. This prevents horizontal lap marks.
Avoiding Lap Marks and Streaks
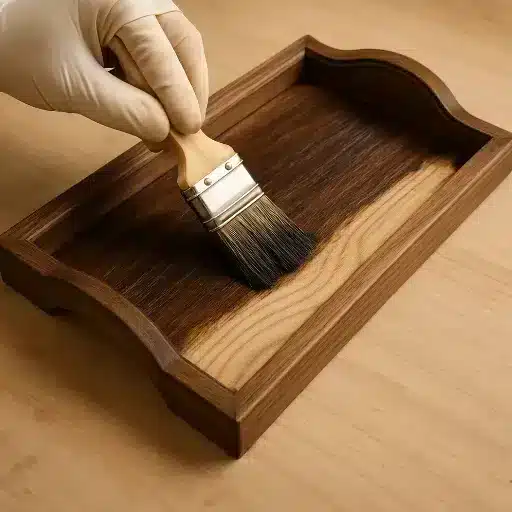
Lap marks are the most common sign of uneven staining. They appear as dark lines where two wet sections overlapped incorrectly or where one section dried before the next was applied.
What Causes Lap Marks
- Stain drying too fast in hot or windy conditions
- Working too large an area at once
- Overlapping partially dried stain
- Wiping against the grain
- Using too much stain in some areas
How to Prevent Them
Work in small sections, keep a wet edge, and wipe with the grain. If the stain is drying too fast, work in a cooler area, reduce airflow, or choose a slower-drying product.
How to Fix Lap Marks
If lap marks appear while the stain is still wet, rewet the area and blend it with a clean rag. If the stain has dried, you may need to sand lightly and reapply, or use a gel stain to even out the color. For more on fixing uneven color, see our guide on how to fix blotchy wood stain.
A Quick Story
A homeowner named Priya decided to stain her oak dining table over the weekend. She bought a water-based stain, opened all the windows for ventilation, and started brushing on a hot Saturday afternoon. Within minutes, the stain began drying at the edges of each brush stroke. By the time she finished the tabletop, dark lines marked every section break. Priya sanded the surface back to 220-grit, waited for a cooler evening, closed the windows slightly to slow drying, and worked in smaller sections. The second attempt came out perfectly even. Her lesson: environment and timing matter as much as technique.
Climate, Temperature, and Timing
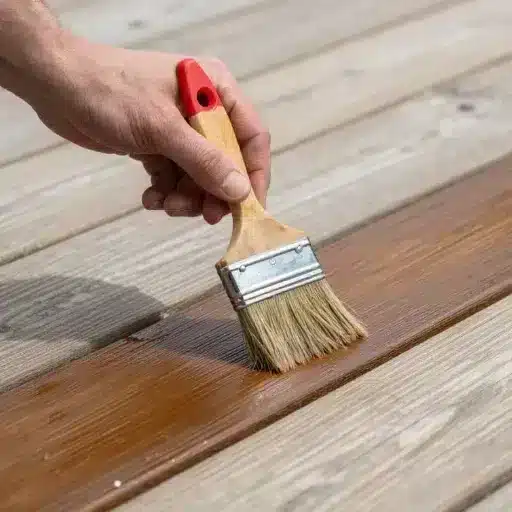
Stain behaves differently depending on the weather. Understanding this helps you adjust your technique.
Hot and Dry Conditions
In hot, dry, or windy conditions, the stain dries quickly. This increases the risk of lap marks because your wet edge disappears faster. Work in smaller sections, keep windows closed if indoors, and consider staining in the cooler morning or evening.
Cold and Humid Conditions
In cold or humid conditions, the stain dries slowly. This can be helpful for large surfaces but increases the chance of dust settling in the wet finish. Allow extra drying time before recoating or sealing.
Ideal Conditions
Most stains perform best at temperatures between 60°F and 80°F (15°C to 27°C) with moderate humidity around 50%. Good airflow prevents fumes from building up, but direct drafts across the surface can cause uneven drying.
Sunlight
Avoid staining in direct sunlight. The heat makes the stain dry too fast and can cause blotching and lap marks.
How Many Coats of Stain Should You Apply?
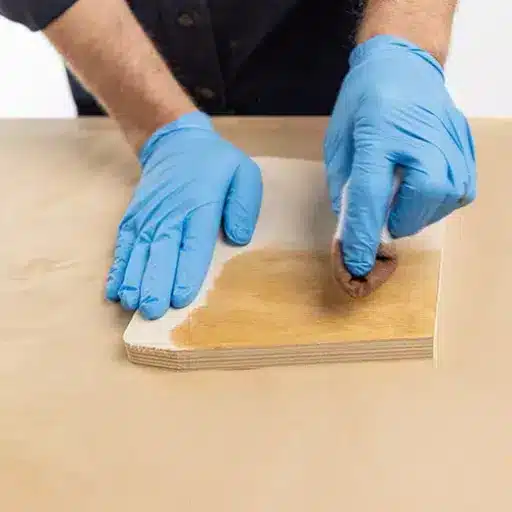
One coat is usually enough for oil-based stains on absorbent woods. Water-based stains and gel stains may need two coats to reach the desired depth.
When a Second Coat Helps
A second coat can deepen the color or even out thin spots. Make sure the first coat is fully dry. Apply the second coat lightly and wipe back evenly.
When a Second Coat Hurts
If the first coat already looks good, adding another can make the finish look muddy, sticky, or uneven. Always test a second coat on scrap first.
For specific drying times and recoat windows, read our guide on how long does wood stain take to dry. Family Handyman also shares practical tips on how to stain wood without streaks or lap marks.
Common Mistakes That Cause Uneven Stains
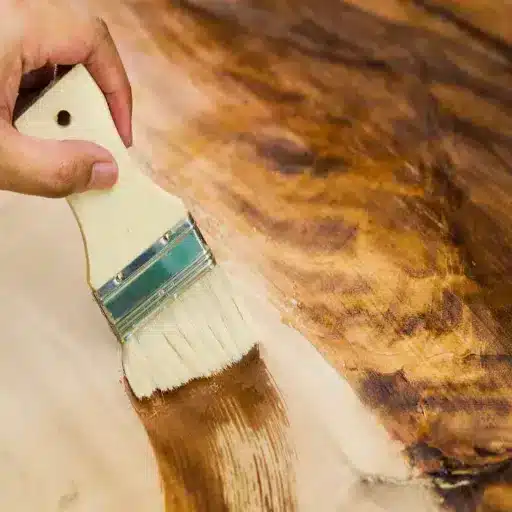
Even experienced woodworkers make these mistakes. Avoid them for a cleaner finish.
Overloading the Brush or Rag
Too much stain leads to drips, pooling, and thick spots that dry tacky. Load the brush lightly and add more as needed.
Wiping Against the Grain
Wiping across or against the grain pushes stain into scratches and creates visible streaks. Always wipe with the grain.
Letting Stain Dry Before Wiping
Stain is not paint. If it dries on the surface, it becomes sticky and difficult to seal. Wipe within the recommended window.
Skipping Prep
Stain highlights every sanding scratch, dust speck, and uneven area. Skipping prep guarantees uneven results.
Working Too Large an Area
Trying to stain an entire tabletop or floor in one pass almost always causes lap marks. Divide the work into manageable sections.
Sustainable Staining Practices
Applying stain evenly is not just about looks. It also reduces waste.
Use the Right Amount
Applying too much stain wastes product and creates cleanup problems. Wiping off excess properly means less stain is used overall, and fewer solvents are needed for cleanup.
Choose Low-VOC Products
Water-based and plant-oil stains emit fewer volatile organic compounds than traditional oil-based products. The EPA explains how volatile organic compounds affect indoor air quality.
Reuse and Dispose Properly
Old cotton rags can often be washed and reused for initial staining passes. Oil-soaked rags must be dried flat or stored in water-filled metal containers to prevent spontaneous combustion.
Frequently Asked Questions
Should I use a brush or a rag to apply the stain?
Both work well. A brush gives more control on flat surfaces and oil-based stains. A rag is better for wiping and achieving a lighter, more natural look.
How long should the stain sit before wiping?
Most stains should sit for 3 to 10 minutes before wiping. Check the manufacturer’s instructions. The longer it sits, the darker the color.
How do I fix lap marks after the stain dries?
Lightly sand the affected area and reapply stain, blending into the surrounding section. Alternatively, use a gel stain or toner to even out the color.
Can I stain over already-stained wood?
Yes, but the existing finish must be clean and lightly scuffed. Gel stain works best for staining over an existing color because it sits on top of the surface.
Why is my stain streaky after wiping?
Streaks usually come from wiping against the grain, using a saturated rag, or not wiping soon enough. Rewet the area slightly and wipe again with the grain using a clean rag.
What is the best temperature for staining wood?
The ideal range is 60°F to 80°F (15°C to 27°C) with moderate humidity. Avoid direct sunlight and strong drafts.
Conclusion
Applying wood stain evenly comes down to three things: good preparation, the right tool, and careful timing. Sand the wood consistently, choose a brush or rag suited to your stain and project, work in small sections, and always wipe off the excess before the stain starts to dry.
Climate matters more than most beginners expect. Hot, dry, or windy conditions cause lap marks. Cold, humid conditions slow drying. Control the environment when you can, and adjust your section size when you cannot.
If you need help choosing the right wood species or finish for your next project, contact our team. We are here to help you build something beautiful and lasting.