
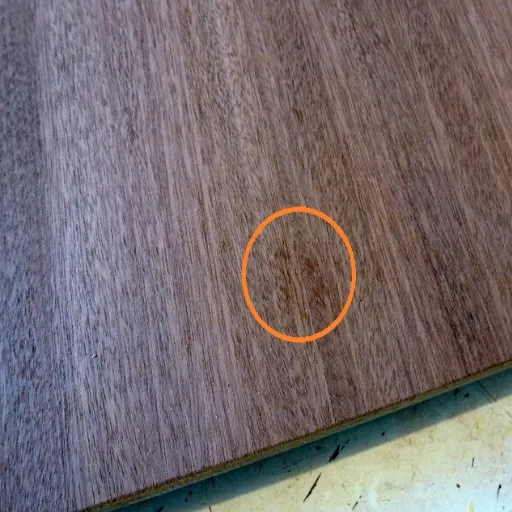
Veneer Glue Bleed-Through: Prevent Surface Contamination Before Pressing
Prevent veneer glue bleed-through by matching the adhesive to the layup, applying an even, measured spread and following its assembly and press instructions. Then test the actual veneer, core and finish together before releasing the process for production.
A pale fleck under stain can turn a good-looking face into a repair job. Less glue isn’t always the answer. It may leave a weak bond.
If you’re unsure what caused the mark, start with its location and the material record. This guide walks through the checks that matter before the next panel enters the press.
Key takeaways
- Separate glue in pores from edge smears, tape residue and optical color changes.
- Check the actual veneer and backing; a species name alone is not a risk assessment.
- Measure deposited wet glue rather than judging film thickness by eye.
- Use the exact adhesive’s timing and press requirements, not a borrowed recipe.
- Approve both the finished appearance and the cured bond before production.
Choosing materials for a project? Discuss your veneer and panel requirements with the veneer construction, core and intended finish identified.
What Causes Veneer Glue Bleed-Through?
Bleed-through occurs when adhesive passes through the veneer to its visible face. With water-based systems, moisture can carry adhesive solids through open pores. A heavy spread can increase that risk, as CP Adhesives explains.
Locate the mark before changing the process
Look at a sample under raking light and the lighting planned for the finished work. Where is the mark? Note whether it follows pores, sits near an edge, traces a seam or matches a tape footprint. Compare it with an unbonded offcut from the same material, and photograph its position before trying cleanup.
Use the pattern to choose the next check, not to declare the cause proved.
| Pattern on the face | Check next |
|---|---|
| Flecks within pores | Compare bonded and unbonded stock; review glue, spread and press settings. |
| Broad smear by an edge | Look for squeeze-out wiped across the face during handling. |
| Mark shaped like tape | Review tape and removal steps before blaming glue migration. |
| Glue on a tool contact area | Check gloves, rollers and cauls, the flat supports used in pressing. |
An edge smear or glue carried by a dirty tool does not prove that glue passed through the veneer. Changing only the spread rate would leave those routes open.
Illustrative scenario: A fabricator sees small flecks within the field of one trial panel and a broad smear at another panel’s edge. The operator marks both locations and checks the handling sequence separately from the glue-line settings. Neither hypothetical panel has passed inspection.
Rule out an optical look-alike
Alternating leaves can appear lighter and darker as the viewing angle changes. That may call for an assessment of the veneer barber-pole effect, rather than glue removal. A color difference alone cannot identify a contaminant or its chemistry.
Keep an untreated reference beside the bonded sample. If the cause is unclear, show the recorded mark to the veneer and glue suppliers. Don’t change the glue mix yet. Avoid treating every pale patch as bleed-through: the next useful check depends on how the mark was made.
Screen the Veneer, Backing and Core Before Glue-Up
Start with the construction you will actually press. Note the veneer species, cut, thickness, backing and lot. Add the core type and the state of its surface.
This gives the glue supplier a real layup to check. A broad question about wood glue leaves too much unknown.
Check the routes through the face
The TVAA decorative veneer manual, section 10.7.1, relates bleed-through to veneer porosity, adhesive characteristics and press conditions. It describes how angled pores in some interlocked-grain veneers can provide paths through the sheet. This is a reason to trial the actual stock, not to reject every sheet of a named species.
Look closely at thin, open or strongly figured faces during trials. Check actual thickness and how much surface work the supplier allows. Do not assume you can sand away a problem later: the amount of face wood you can remove matters when you choose the sheet.
Inspect seams and handling marks before coating. Keep face-side tools and supports clean so that a contaminated caul does not confuse the trial. Label the face and glue side on a safe offcut or job record, rather than putting an untested marking product on the visible surface.
Identify what the backing changes
Check what you are bonding to. Raw veneer, paper-backed sheets and fleece-backed stock present different surfaces. Use the veneer backing guide to identify the construction, then confirm compatibility with the actual supplier instructions. A backing label does not prove that it blocks glue or that any wet adhesive will work.
Test the backed sheet you plan to use. Raw stock is not the same trial material. A pressure-sensitive adhesive sheet is also a distinct bonding system; adding wet glue without approval does not turn it into a safer version of the same layup.
Bring material condition into the record
Check veneer and core condition against the material and adhesive requirements. Record the shop conditions and any required moisture checks. Use veneer storage and handling guidance for preparation, while keeping the job’s actual requirements on the work sheet.
One moisture limit won’t cover every core, veneer and glue system. Use the limits for your job.
Hold the glue-up if you cannot identify a backing, an existing coating or the required bonding surface. Find out what the layer is before coating. You can’t check a bond system well if you don’t know what is in it.
Control Veneer Glue Bleed-Through Before Loading the Press
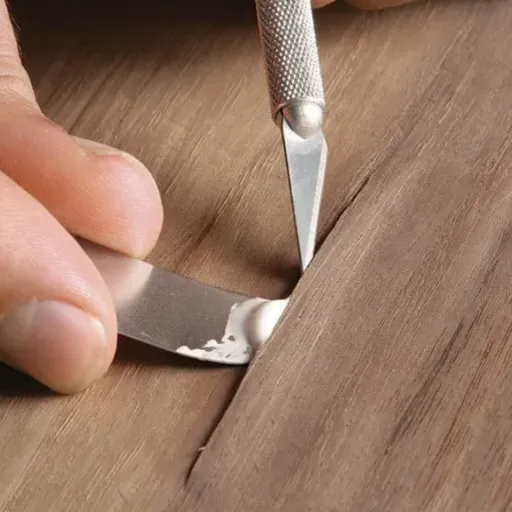
A thin-looking film is not a measured spread rate. Control the amount and keep the coating even. Follow the approved timing, pressure and cure schedule. For broader choices, see the veneer adhesive selection guide.
Use a documented adhesive system
Confirm the named product, batch, preparation and mixing instructions. For a multi-part system, use the specified resin, hardener and any approved extender in the prescribed proportions. Do not improvise a filler or dilute the glue to make it roll more easily. Record the actual mix and use window.
Filled formulations may help limit penetration, but that does not authorize adding household flour to another product. A pigment may make a glue mark harder to see. That doesn’t prove the glue has stopped passing through the sheet or affecting the finish. Ask about compatibility rather than treating color as the control.
Measure the wet glue deposited
Use a coupon, a small test piece, that represents the bonding surface. Choose a scale suited to the small mass change you need to measure.
- Measure and record the area you will coat. Keep glue off the sides and back so it does not inflate the result.
- Weigh the bare coupon, or place it on the scale and tare the reading to zero. Keep the face and your hands clean.
- Apply glue with the planned tool and method. Weigh the coated piece promptly, before moisture loss makes the result hard to compare.
- Subtract its bare mass if you did not tare the scale. Log the mass gain, area and time, then work out the wet coat weight.
Wet coat weight = deposited wet adhesive mass ÷ coated area.
Illustrative scenario: An operator records an 18 g mass increase over 0.12 m² of coated area. The calculation is 18 ÷ 0.12 = 150 g/m². These chosen inputs show arithmetic, not a target rate, test result or proof of bonding.
Check the product’s stated method and units before comparing your result. Do not count adhesive left on a brush or roller as deposited glue. Wet mass per area is not dry solids or film thickness.
Nor is it coverage per container. To convert those figures, you need the right product data and a clear method.
Inspect distribution too. The average can hide a problem. One part may have a thick ridge while another has too little glue. Keep the coating tool clean and use a repeatable application method.
Keep timing and press instructions together
Titebond Cold Press Veneer application data illustrates why settings need their context. Its listed open assembly time is 15 minutes, and total assembly time is 15–20 minutes, at 70°F and 50% relative humidity. These are instructions for that product, not universal waiting periods or press times.
Open time is not an instruction to leave every coated surface exposed until it skins over. Log coating, layup and press-loading times against the actual instructions. Do not extend the window to solve bleed-through at the expense of bonding.
Use press conditions approved for the adhesive and construction. A vacuum gauge reading is not the same as a stated glue-line pressure. Don’t transfer settings between a bag and a mechanical press. If the adhesive data and equipment capability do not match, resolve that conflict with the suppliers before pressing production panels.
Run a Representative Trial Through the Planned Finish
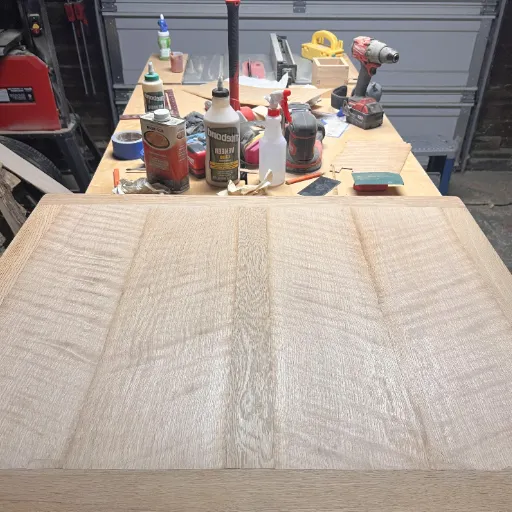
The trial is not complete when a clean face leaves the press. It must also show how the planned finish behaves and whether the cured bond meets the agreed requirements. Use this record to develop the process. It isn’t a certification test and does not replace the project’s stated requirements.
Build a record someone else can repeat
Use the actual veneer construction, core, adhesive and finish. Include representative seams and edges rather than selecting only a flawless central offcut. Label and keep a reference piece. Record the lots too, so you can spot a change in stock later.
| Trial record | Details to enter |
|---|---|
| Material identity | Veneer lot, species, cut, thickness, backing and core |
| Adhesive preparation | Product, batch, components, mix and use window |
| Coating measurement | Coated area, deposited wet mass, calculated spread and method |
| Assembly conditions | Temperature, relative humidity and coating/layup/loading times |
| Press cycle | Equipment, achieved condition, duration and cure instructions |
| Finished appearance | Preparation, finish system, lighting and observed marks |
| Bond decision | Agreed assessment method, cure stage, observation and disposition |
| Release | Reviewer, retained reference and approved process revision |
Record the baseline first. Then change one approved factor at a time. Keep the rest steady.
For example, compare an uneven application with a controlled application that remains within the adhesive instructions. Stay within approved process limits. A dramatic contrast is no reason to test an unsafe setting.
Assess the finish and the bond separately
After the required cure and preparation, carry a representative sample through the intended stain or clear finish. Compare it with the untreated reference under raking light and the intended viewing conditions. Note pores, seams, edges and any patch that takes the finish differently. Keep finish selection details in the veneer surface treatment guide.
Agree on a suitable bond assessment with the adhesive supplier or project specifier. A good-looking face can’t prove bond strength. Pulling on a corner may not be the test the job requires. If a specification calls for a defined test, use that method and its agreed acceptance criteria.
Illustrative scenario: A fabricator likes a trial panel’s appearance straight from the press. The team holds release until the finish sample and the agreed cured-bond assessment have been reviewed. No pass, saving or production yield is implied by this hypothetical decision.
Check that the trial represents production
Before scaling up, check the planned panel size, loading order and press conditions. A small test piece won’t show every full-panel handling or timing problem. Agree how to check the process on work that represents the job. Use the sample plan the job needs.
For background on adhesive choices, this verified video is supplementary learning; use the exact product instructions for settings.
If Glue Has Already Reached the Face, Stop Before Finishing
Label and hold the affected work before applying more stain or clear finish. Photograph the marks, keep an untreated offcut and retain the process record. Is the glue raised above the face, or lodged in pores? The answer affects which cleanup steps may work.
Check cleanup against the chemistry and face allowance
Follow the actual adhesive maker’s cleanup instructions and assess a spare sample first. A direction to remove dried excess is not a promise about glue in pores. You may damage a thin face before that glue is gone. Avoid choosing water, solvent, heat or abrasion from a generic online remedy.
Check the remaining face allowance before sanding. If a spot lies below the surface, continuing to sand until it vanishes may sacrifice the face. More stain, tint or topcoat may conceal a mark without establishing finish compatibility or bond quality.
Keep the work on hold if you can’t show that the repair suits the system and the finished face is acceptable. Ask the relevant supplier or specifier to review the evidence and the required acceptance decision. Some panels may be repairable; others may need replacement. The mark alone does not settle that choice.
If replacement becomes the agreed route, consider adjacent appearance and sequence before changing one panel. The veneer panel replacement guide addresses that decision. Detailed restoration methods belong to the repair task; this prevention workflow should not become an untested rescue recipe.
Questions About Glue Bleed-Through and Staining
These questions address shortcuts that may leave a clean-looking but unproven trial. Keep the product identity and material construction beside the answers. A change that suits one layup may not suit a different glue, backing or press.
If someone suggests less glue, more pressure or another finish coat, return to the record. What would it change? Check that the change is approved and that the next trial can show its effect. A face that looks different may still have the same cause of failure.
Can I prevent bleed-through by using less glue?
Reduce excess and uneven spread only within the adhesive’s requirements. Too little glue can leave inadequate bonds even when the face looks clean. Measure the deposited coating, check its distribution and compare a representative trial through the intended finish. Approve the cured bond separately before accepting the change.
Does paper-backed veneer prevent glue bleed-through?
Paper backing changes the construction, but its name alone does not prove that it blocks every adhesive or suits every bonding method. Identify the actual backing and follow its compatibility instructions. Test the complete layup, including the planned finish, instead of substituting results from raw veneer or another backed product.
Should I seal raw veneer before bonding?
Do not add a sealer as a universal preventive step. It changes the surface the adhesive must bond to and needs explicit compatibility guidance for the complete system. If a supplier recommends a sizing or sealing process, obtain the exact materials, preparation and cure instructions, then trial that construction.
Can sanding or stain hide glue in the pores?
Neither is a sure cure for a mark whose cause you don’t know. Sanding may exhaust the usable face before removing glue within pores, while stain may reveal uneven uptake. Identify the adhesive and the mark, test compatible cleanup on spare material and assess the intended finish before deciding whether repair is acceptable.
Does a clean face prove the panel is ready for production?
No: face appearance and bond performance answer different questions. Review a sample through the planned finish, and assess the cured bond using the agreed method. Keep both decisions in the trial record. Missing bond evidence cannot be replaced by a photograph showing that the face has no visible flecks.
Release the Process Only After Both Checks
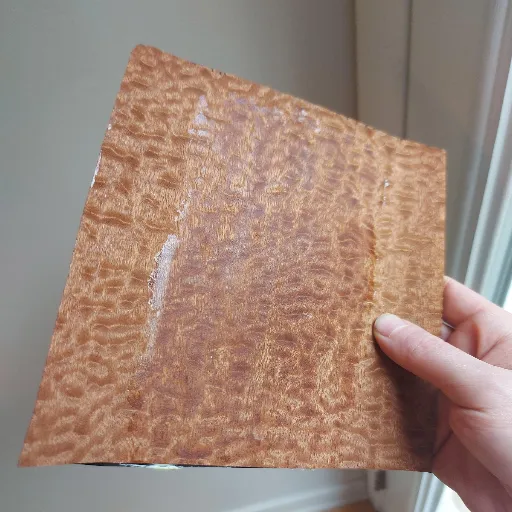
Veneer glue bleed-through prevention starts before pressing, with an identified construction and a controlled glue application. It ends with two decisions: acceptable finished appearance and acceptable cured bonding. Neither decision can stand in for the other.
Keep the approved material list, coating method, assembly window and press schedule with the retained reference. When a veneer lot, backing, adhesive or finish changes, review whether the previous trial still represents the work. Do not let a successful-looking offcut become a permanent approval for different materials.
The practical next step is to assemble the missing job information. If the mark is unexplained, retain it for diagnosis. If the process instructions conflict, resolve them before the next production glue-up. If either acceptance check remains open, hold release rather than hide the uncertainty beneath a finish.
To discuss veneer or panel requirements with VitalWood, include the veneer and backing, core, adhesive identification, pressing method and intended finish. That information gives the discussion a clear starting point without assuming that one glue recipe fits every project.